How to install IBM QRadar CE V7.3.3 on VirtualBox
Posted on 30 May 2020
TweetIn this tutorial, we will learn how to install IBM QRadar Community Edition V7.3.3 on VirtualBox.
Note: IBM has issued a flash notice for QRadar Administrators.
According to IBM: QRadar development has recently identified a defect in the product licensing function, which may cause the deployment to stop functioning. All QRadar versions are affected by this issue.
QRadar CE Administrators must SSH into QRadar as
rootand run the single-line command for QRadar CE as detailed in the flash notice. Once completed, wait 5 minutes for the changes to complete. Administrators are not required to restart any services for this change as the file loads automatically. Log in to the QRadar Console. Click the Log Activity tab and verify Events are received correctly.
IBM QRadar SIEM is a world-class SIEM tool used by organizations for monitoring and correlating logs from different systems. QRadar can quickly alert SOC Analysts about potential malicious activity and prompt them to take appropriate action.
QRadar Community Edition is a version of QRadar which is great for enthusiasts and learners. According to IBM:
Community Edition is a fully-featured free version of QRadar that is low memory, low EPS, and includes a perpetual license. This version is limited to 50 events per second and 5,000 network flows a minute, supports apps, but is based on a smaller footprint for non-enterprise use.
Pre-requisites
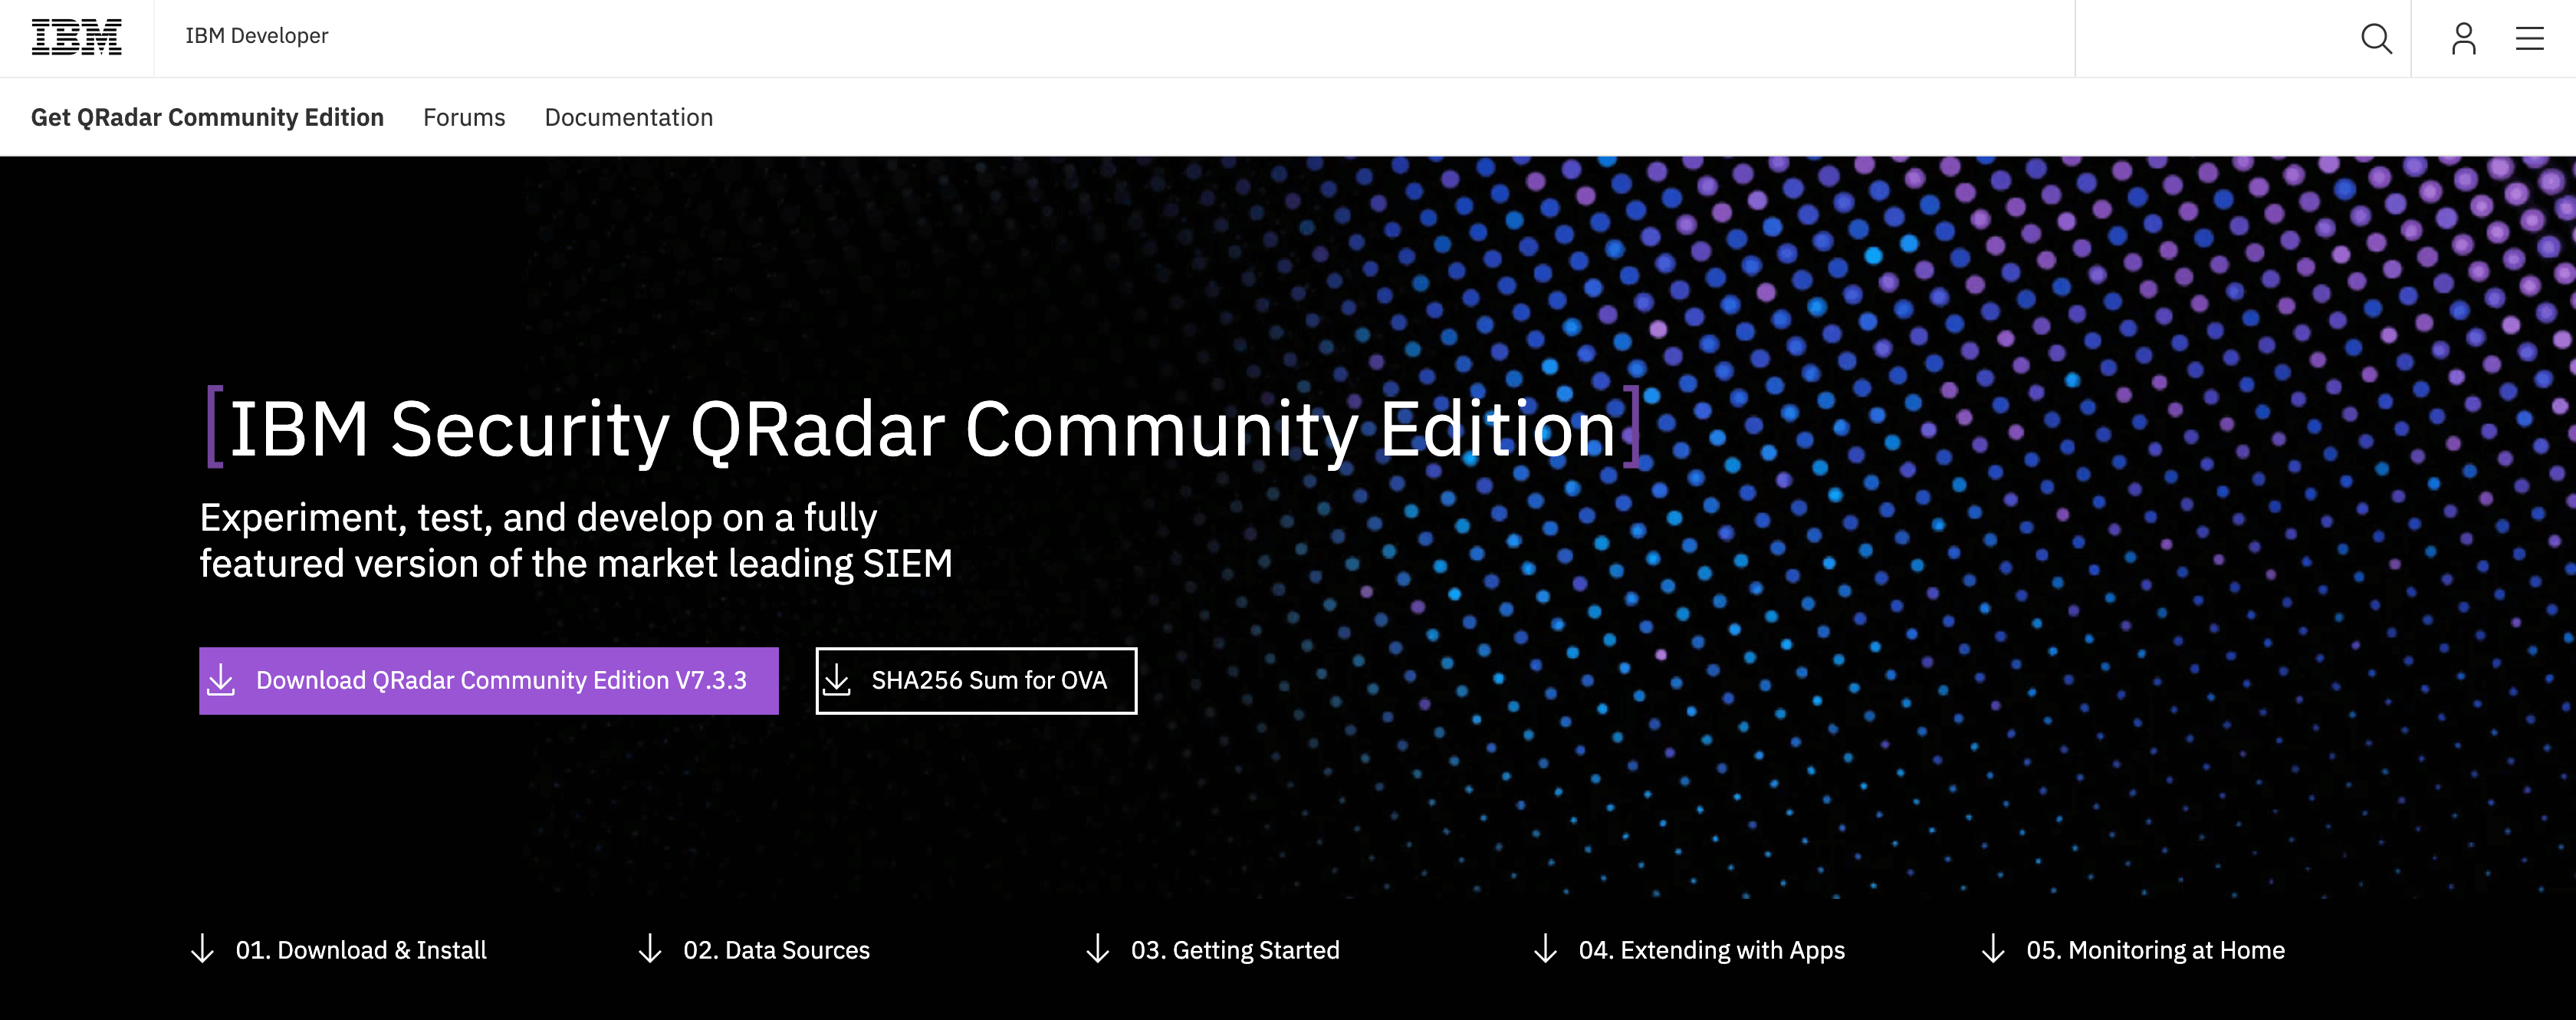
- Download the QRadar CE V7.3.3 OVA from the official website
You will need to create an IBM account to complete the download
- Download and install VirtualBox from the official website
I am using VirtualBox 6.0 on my MacBook Pro with macOS Mojave
-
According to IBM, the minimum system requirements are:
- 8 GB RAM (10 GB is recommended)
- 250 GB free disk space
- 2 CPU cores (6 cores is recommended)
- At least one network adapter with Internet connection
1. Verify the QRadar CE OVA
Once the QRadar CE V7.3.3 OVA is downloaded, let us start by verifying the integrity of the file. IBM provides a button on the QRadar CE page called SHA256 Sum for OVA. Click on it to open a .txt file with the SHA256 checksum. Use your checksum utility of choice to generate the SHA256 checksum for the downloaded OVA file. I will use shasum utility accessible via the Mac terminal.
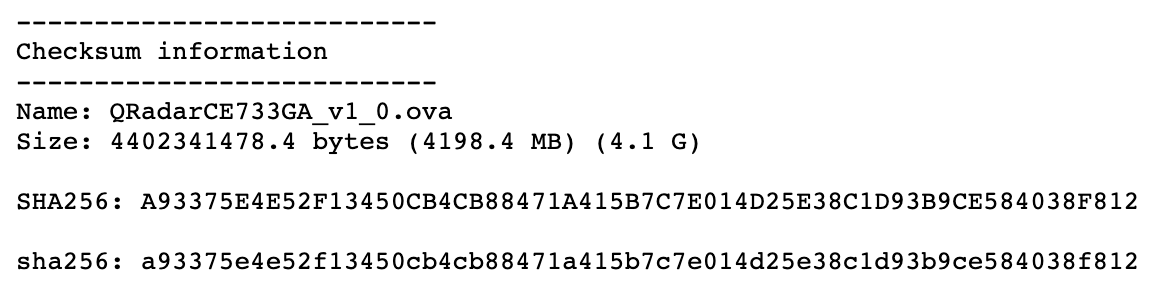

As seen in the screenshot above, the integrity of the OVA file has been confirmed.
2. Import QRadar CE OVA into VirtualBox
The next step is to launch VirtualBox.
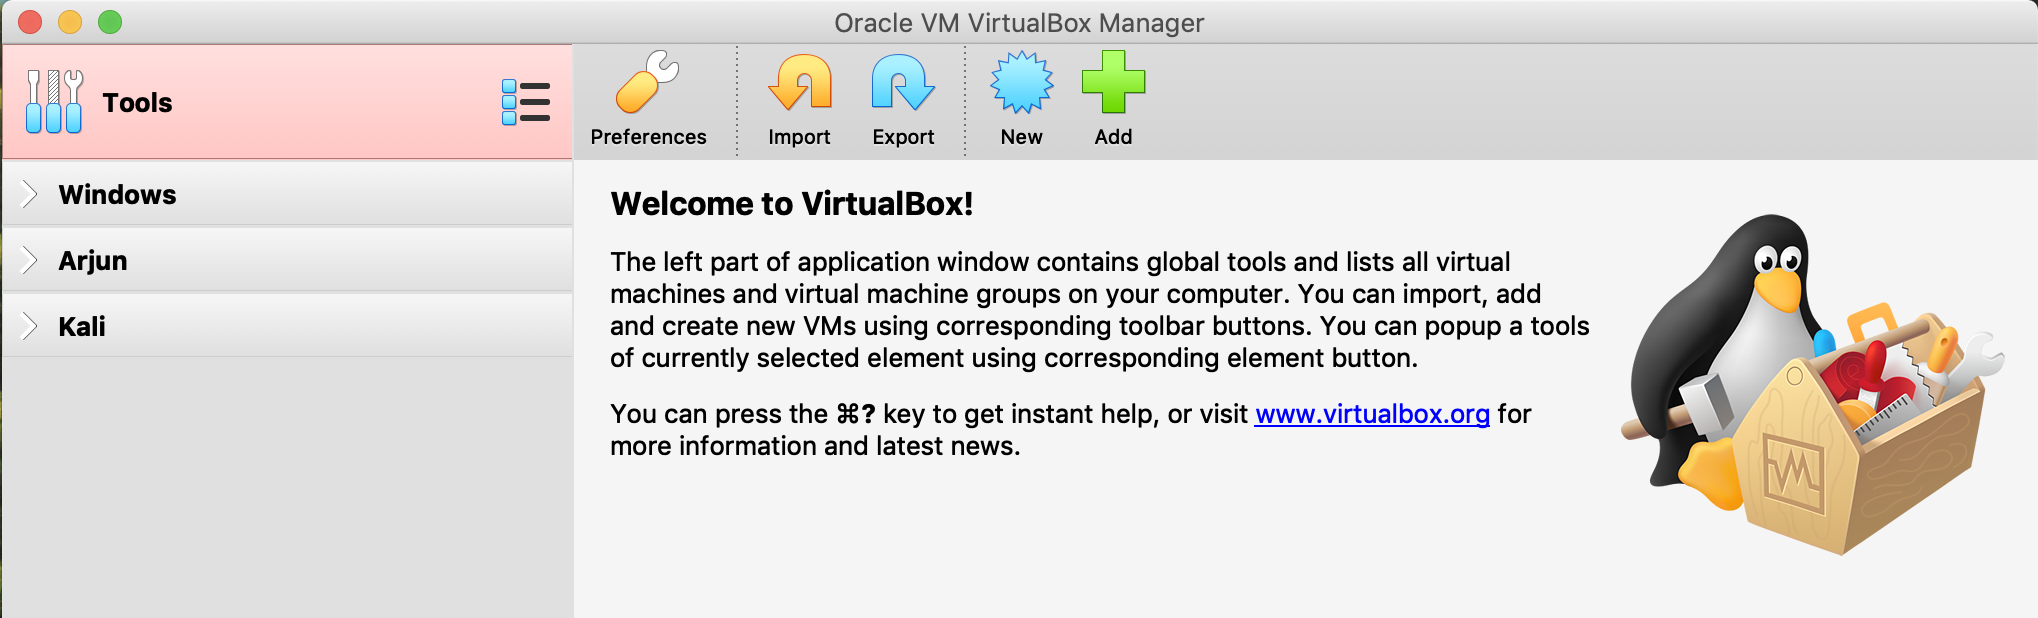
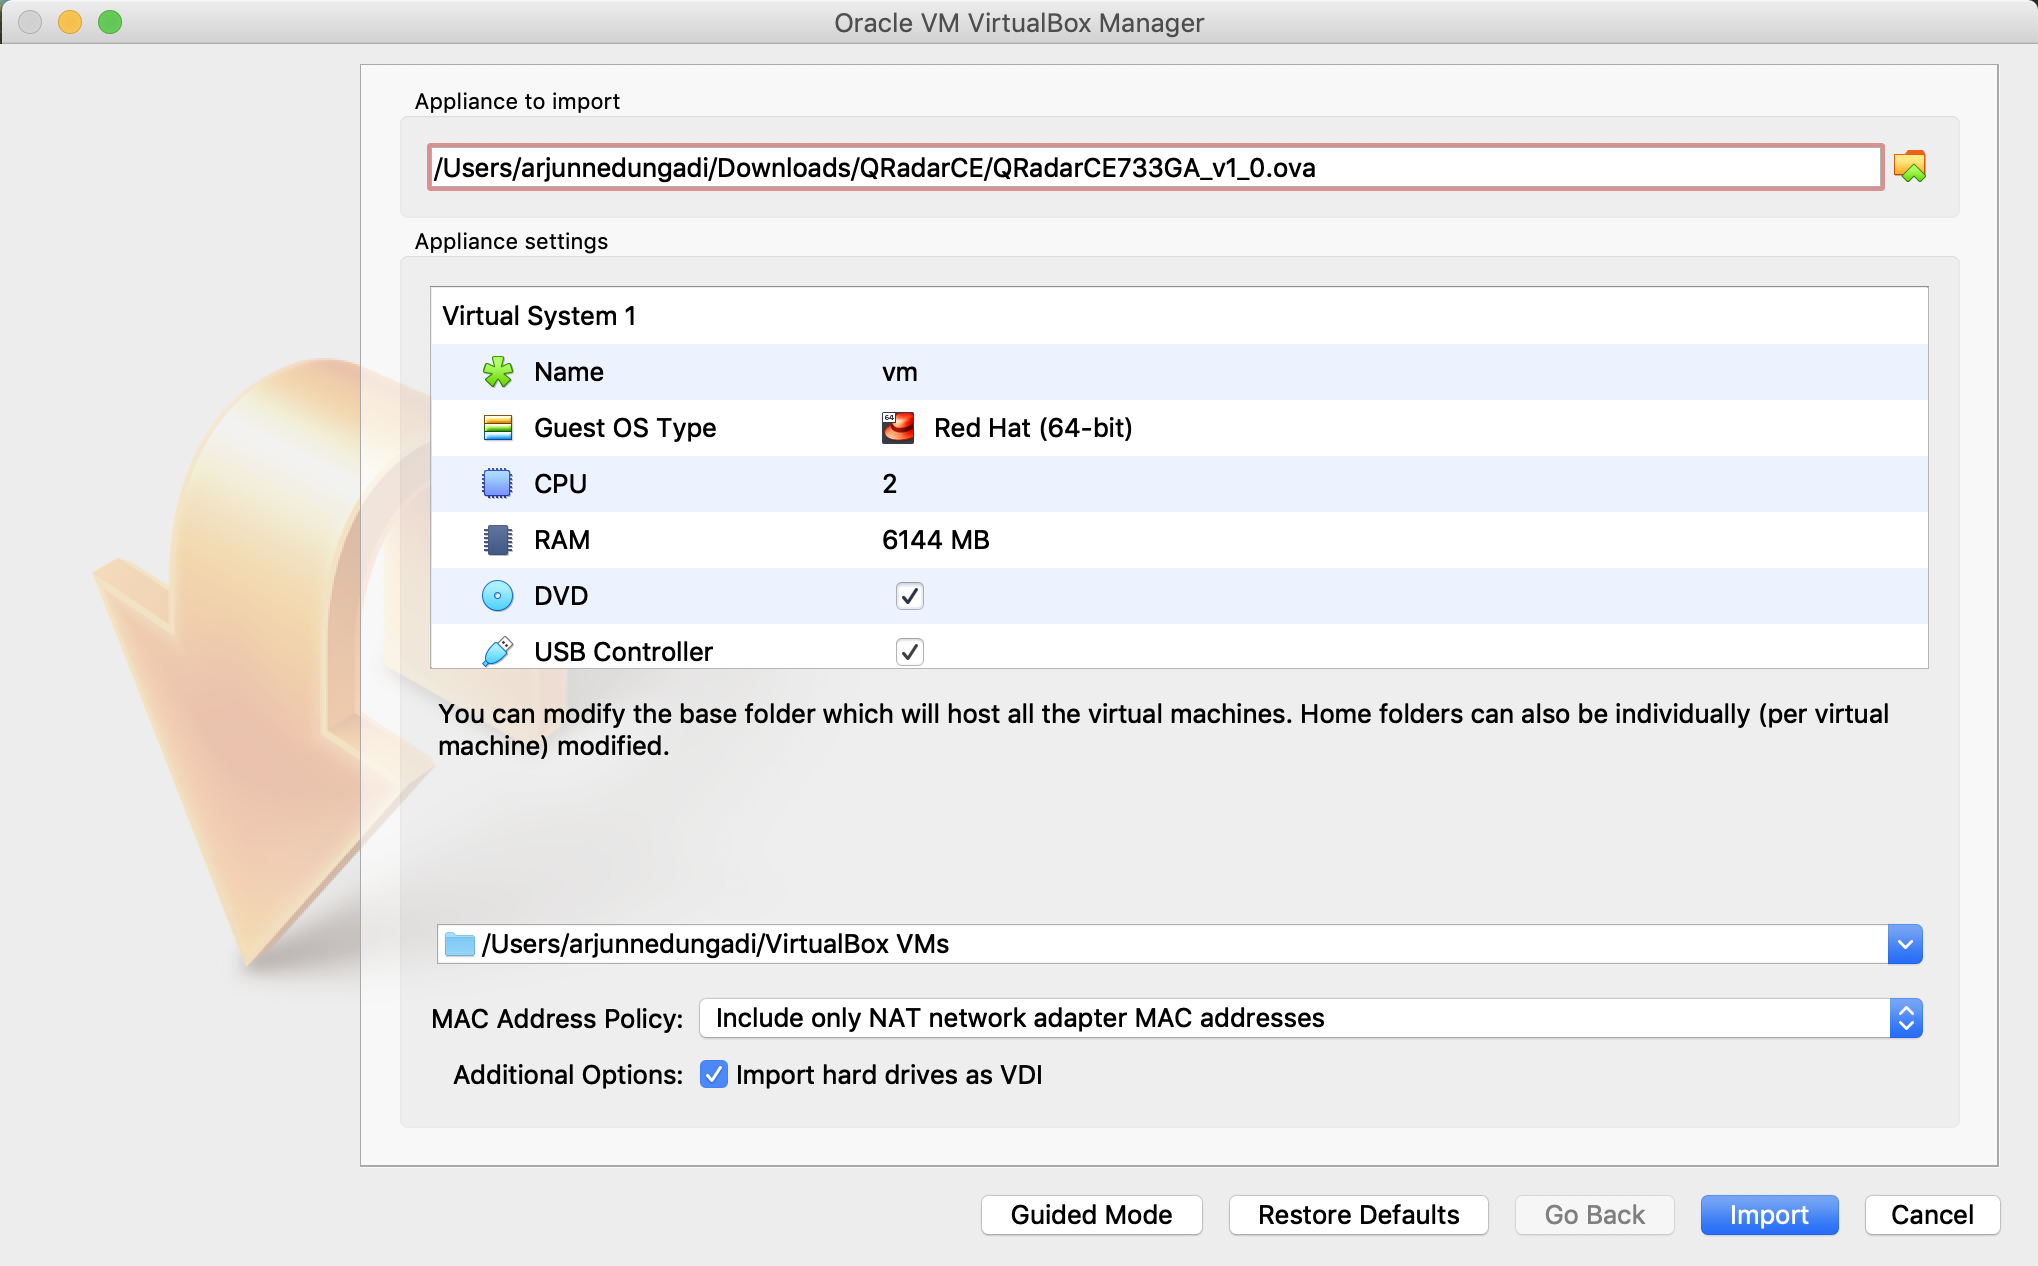
Click on the Import button and choose the downloaded QRadar CE OVA file. VirtualBox should automatically populate the Appliance settings information. At this stage, we can choose to leave the settings in their default state or make minor changes such as VM name. If required, these settings can be modified later. Click on Import.
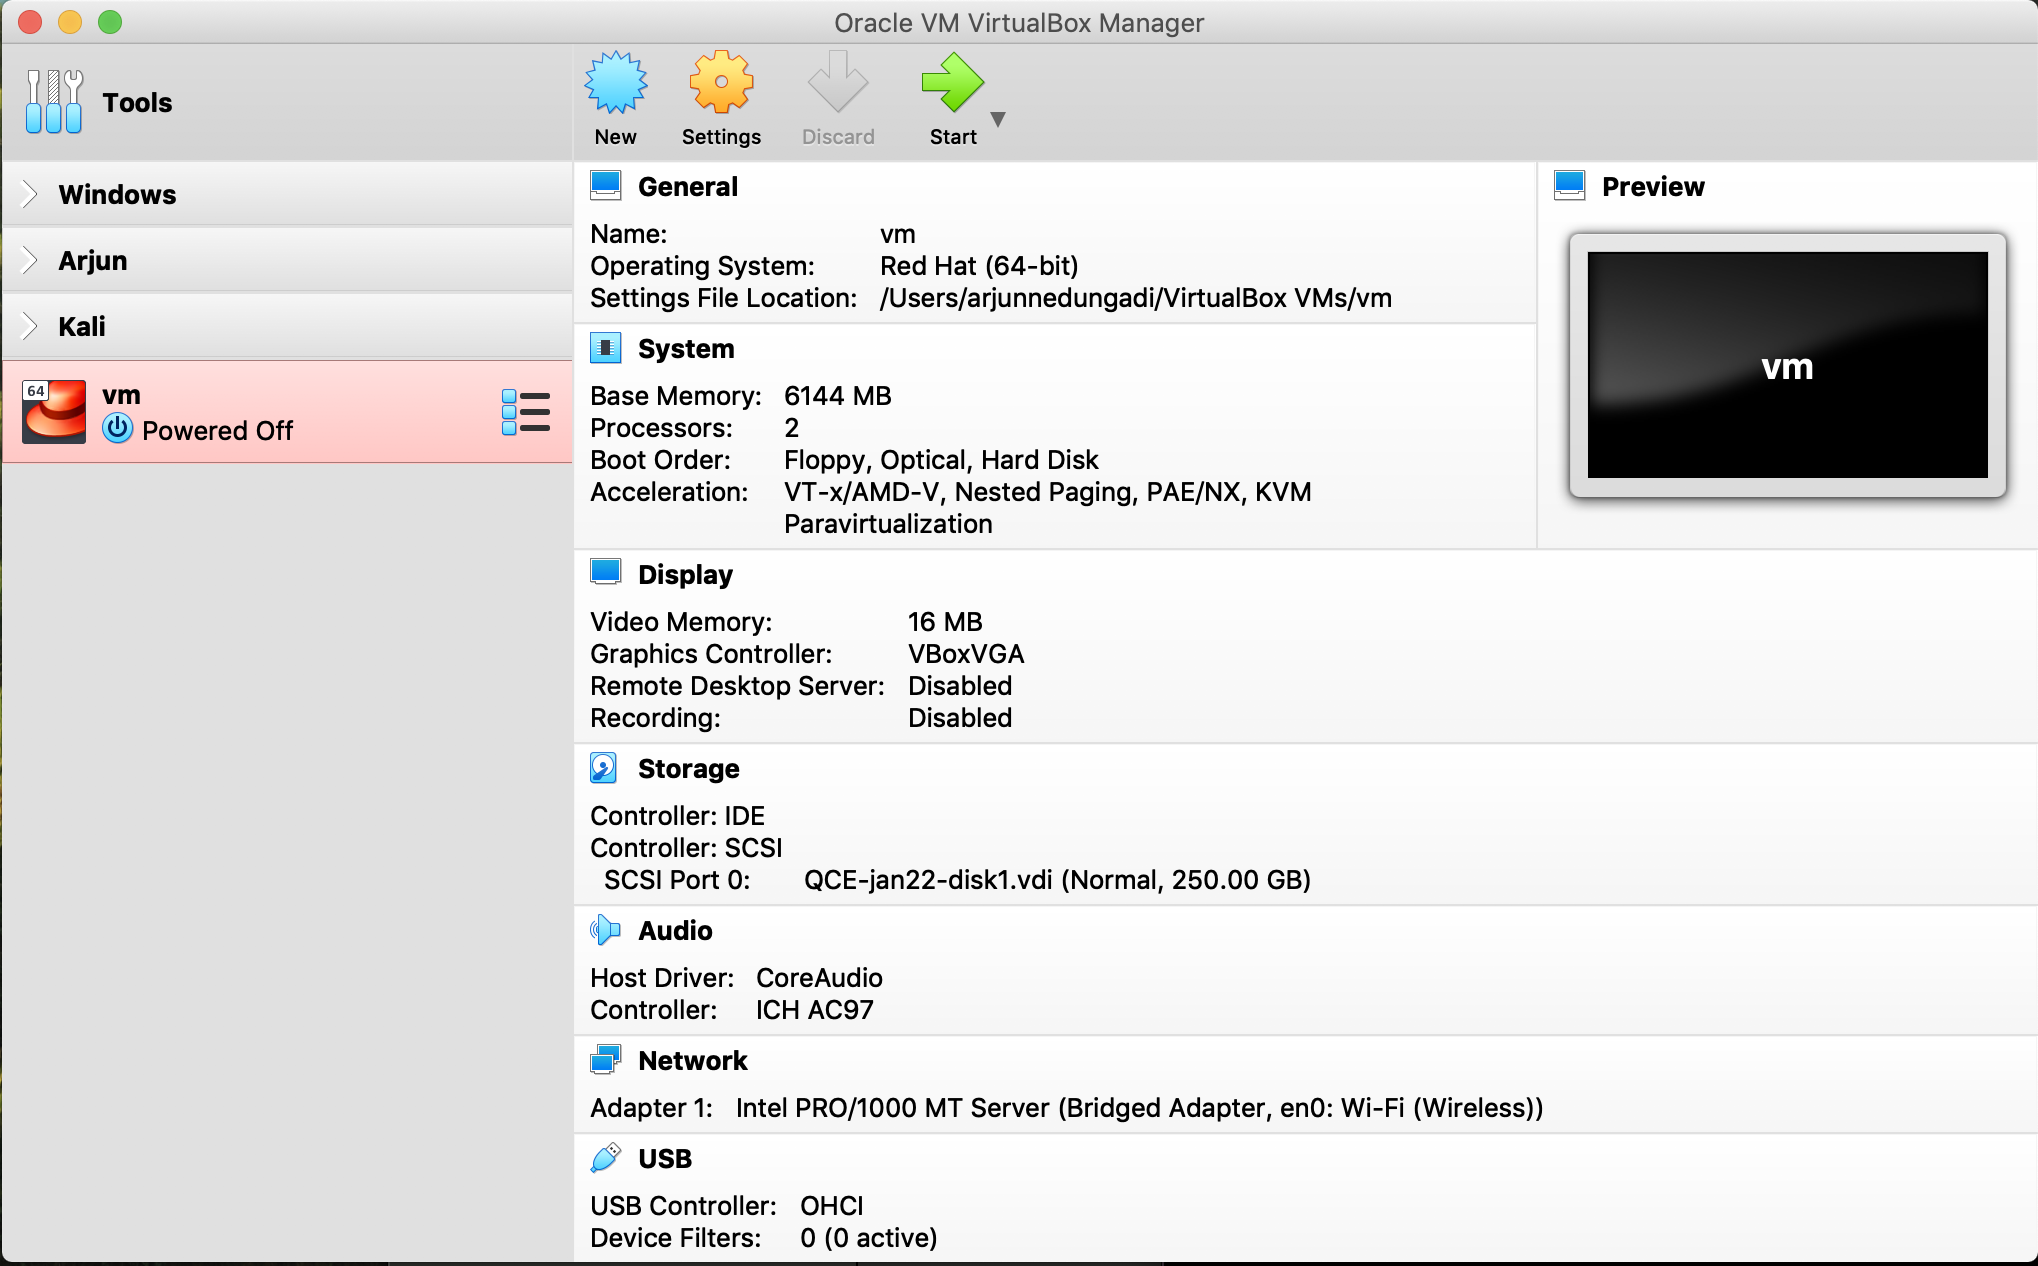
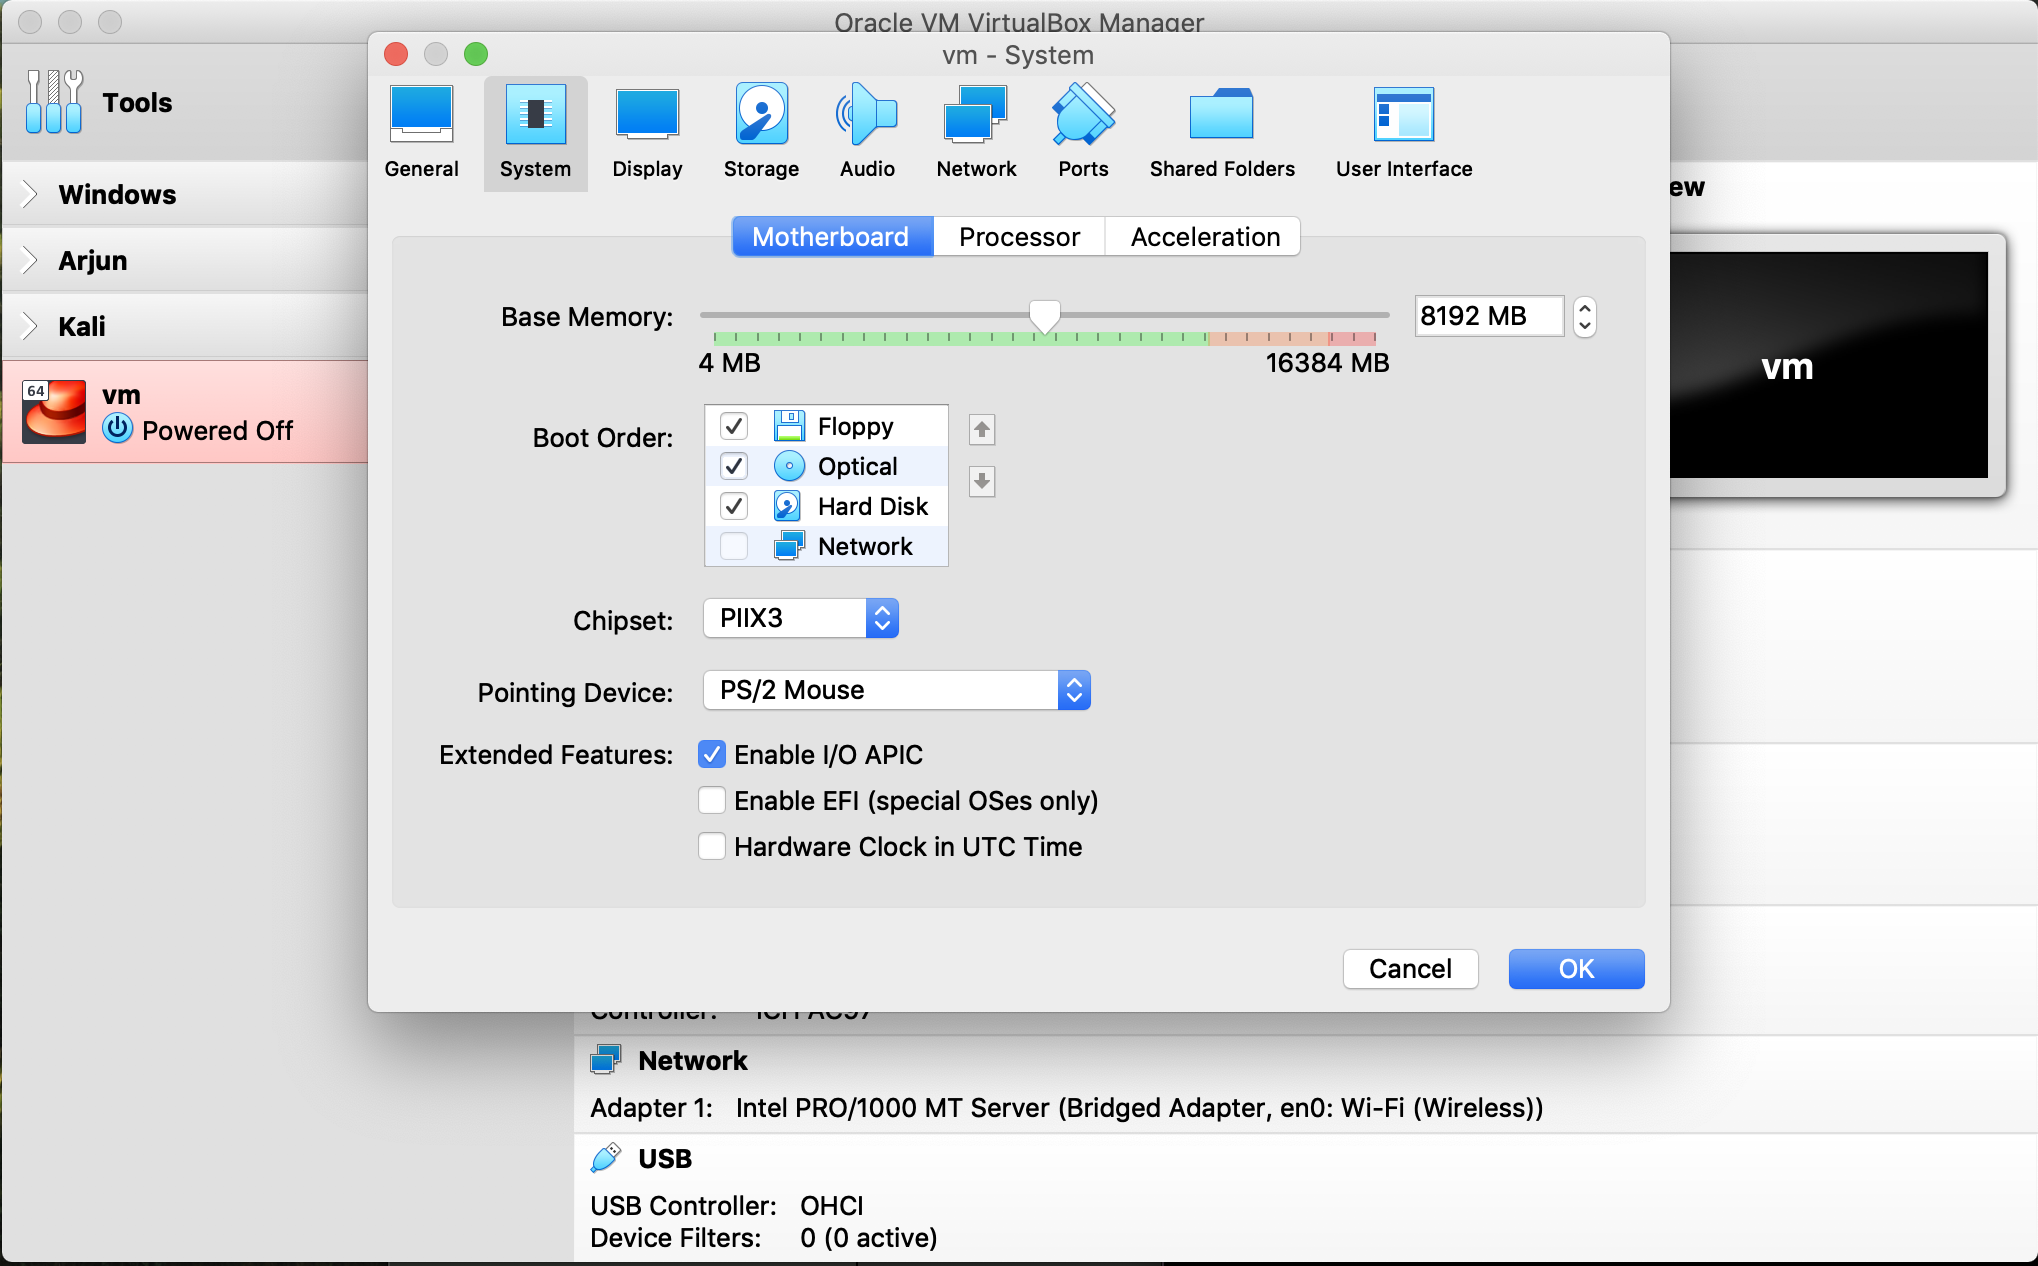
As seen in the screenshot above, the memory assigned to the VM is 6144 MB (6 GB). I will pump this up to 8192 MB (8 GB) as recommended by IBM. To achieve this, click on the Settings button and navigate to System > Motherboard > Base Memory. Increase the memory and press OK.
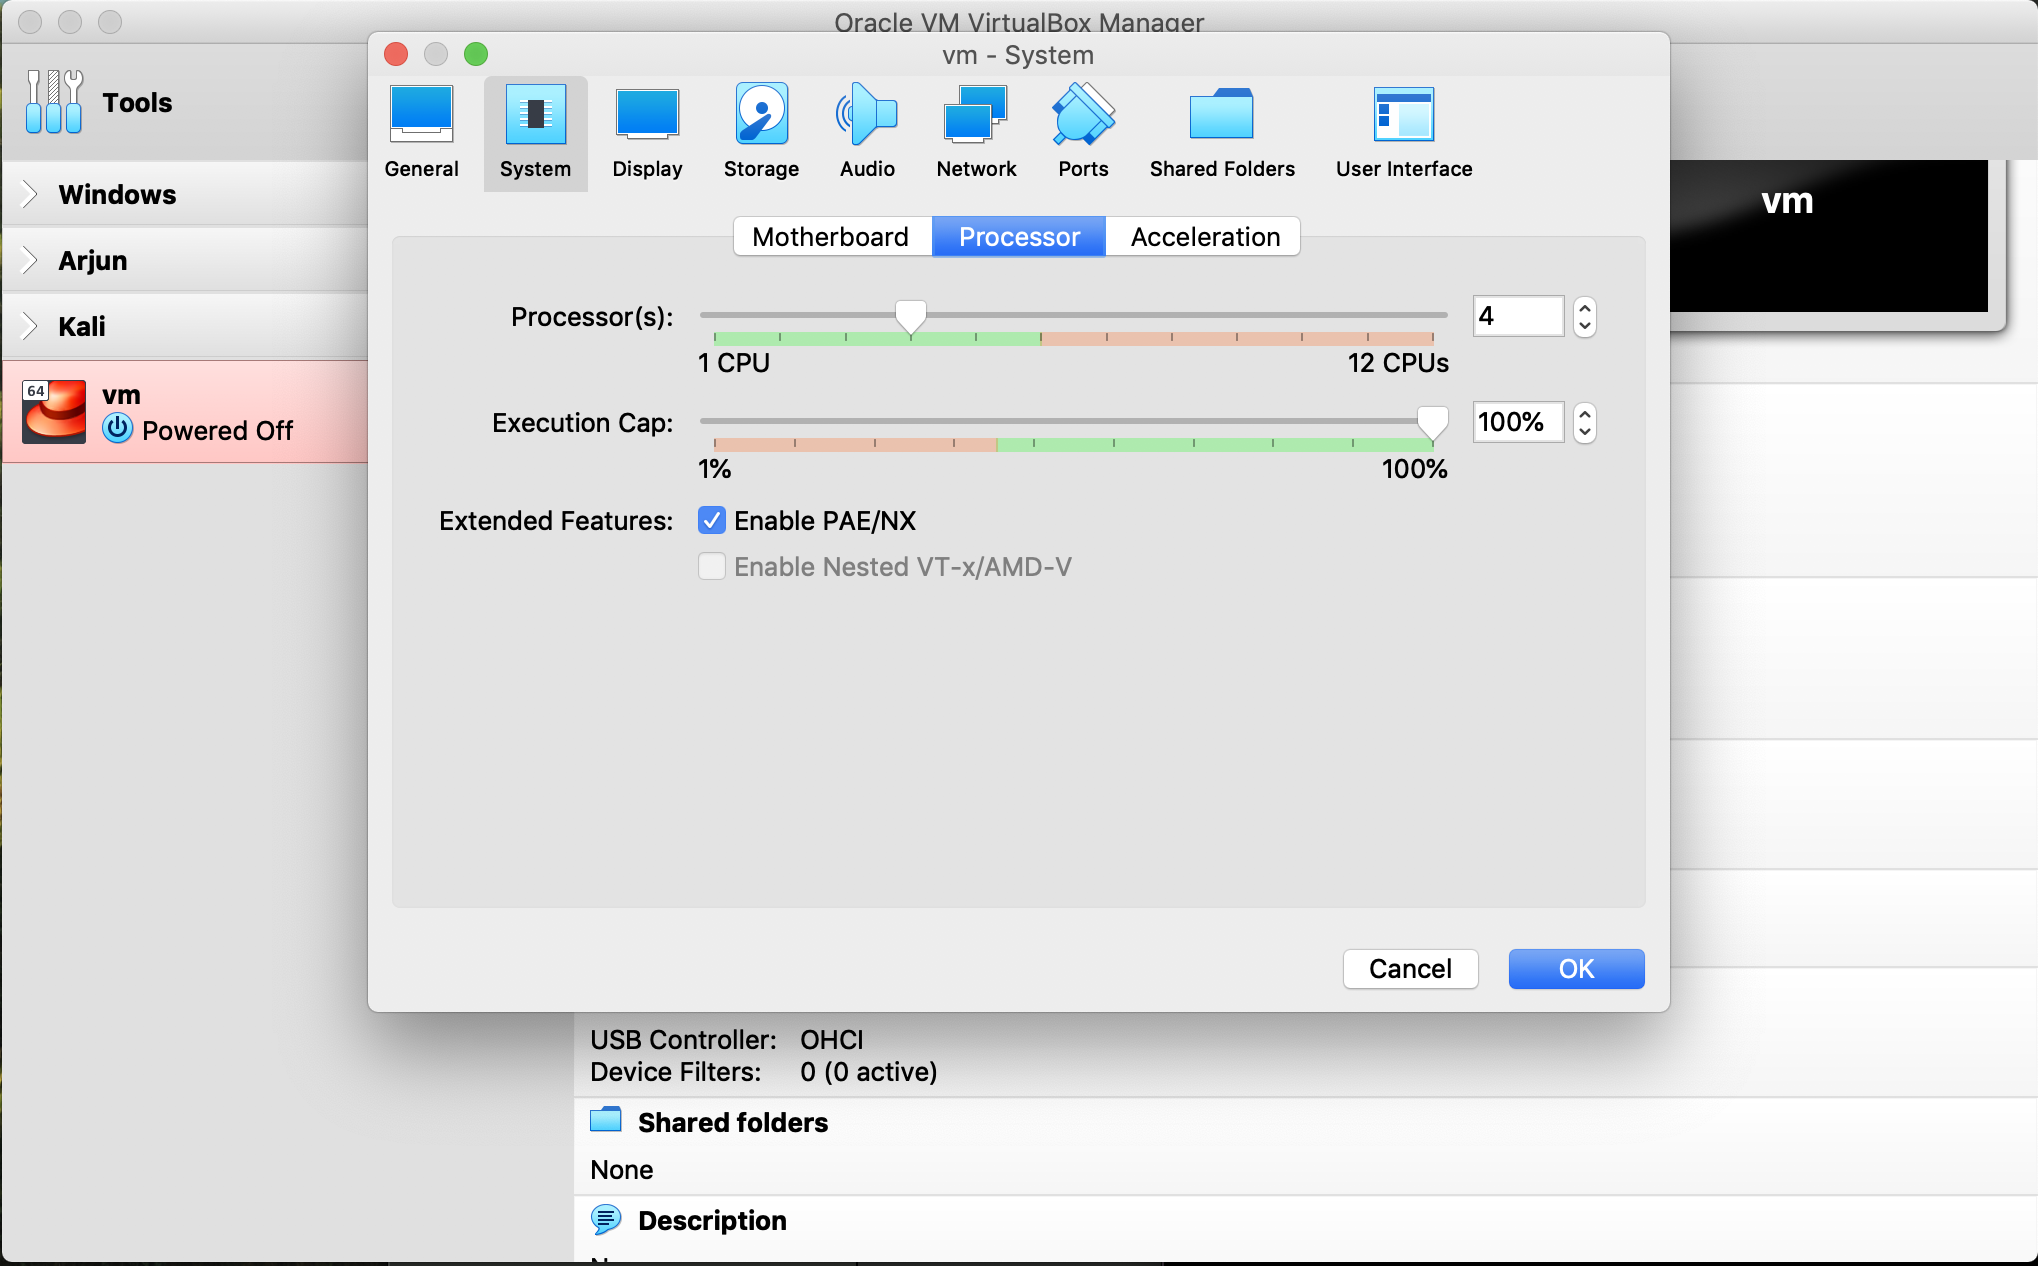
The storage is 250 GB is by default and the number of processors is 2. I will increase this to 4 for better performance. To achieve this, click on the Settings button and navigate to System > Processor > Processors and increase the processors to 4. Press OK once completed.
I will leave the networking settings as the default - Bridged mode. Please take care when changing the networking settings as it is important to ensure that the VM has access to the Internet.
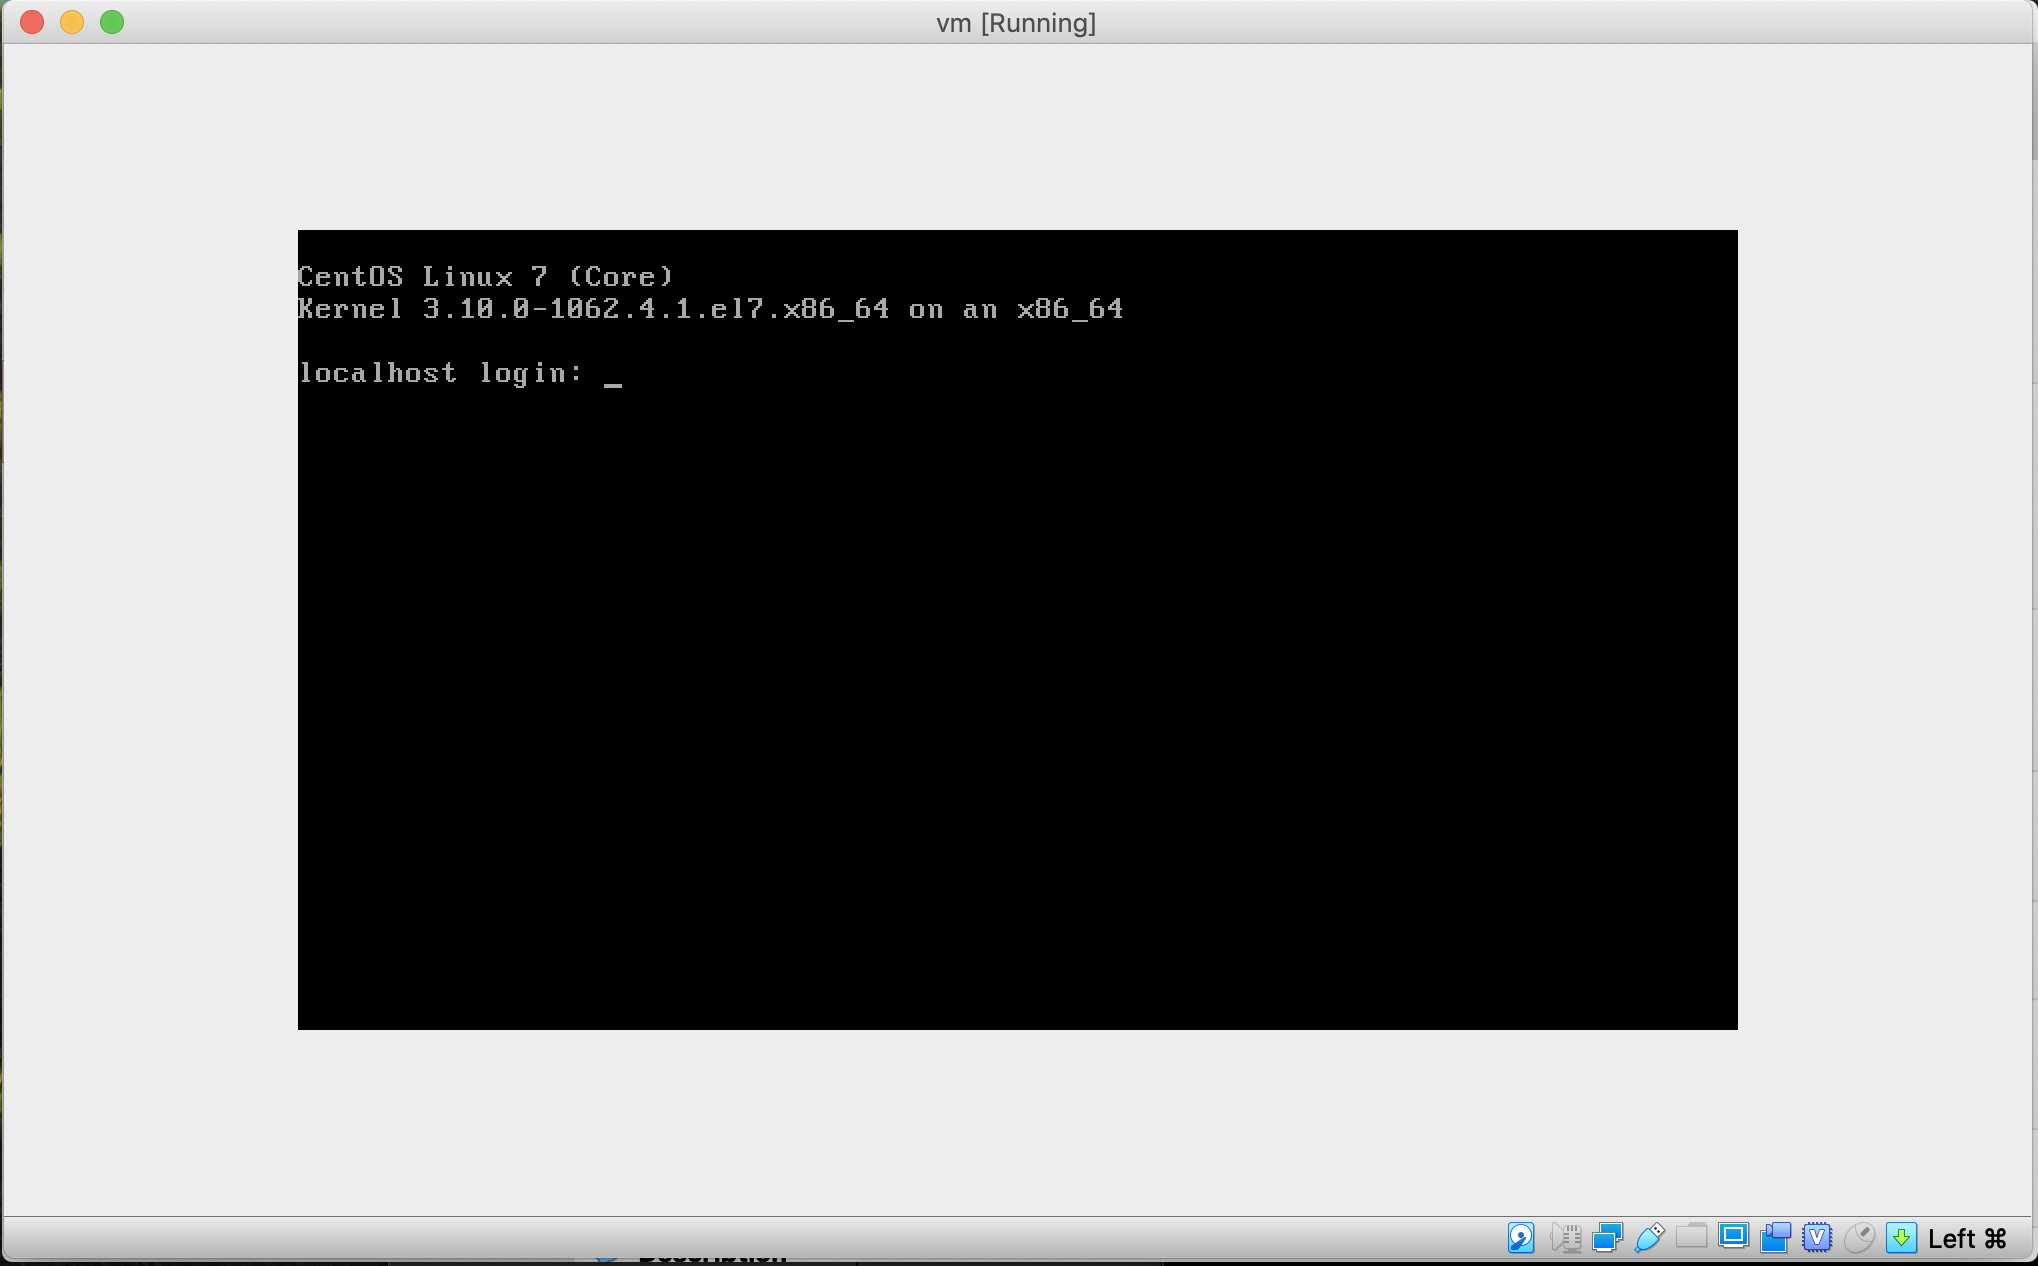
3. Launch QRadar CE VM
The next step is to launch the VM by clicking on Start.
The default username is root. Type in root and press Enter.
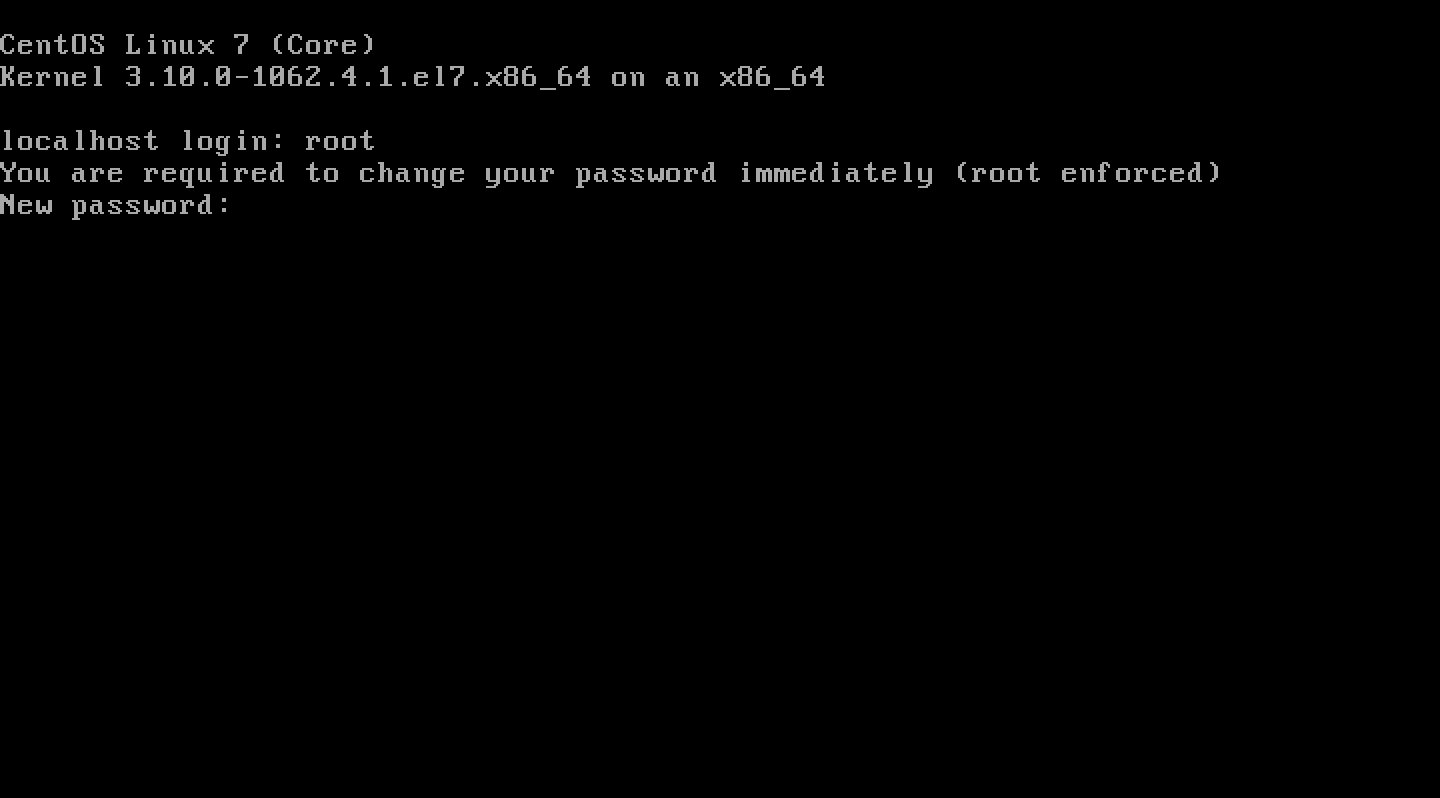
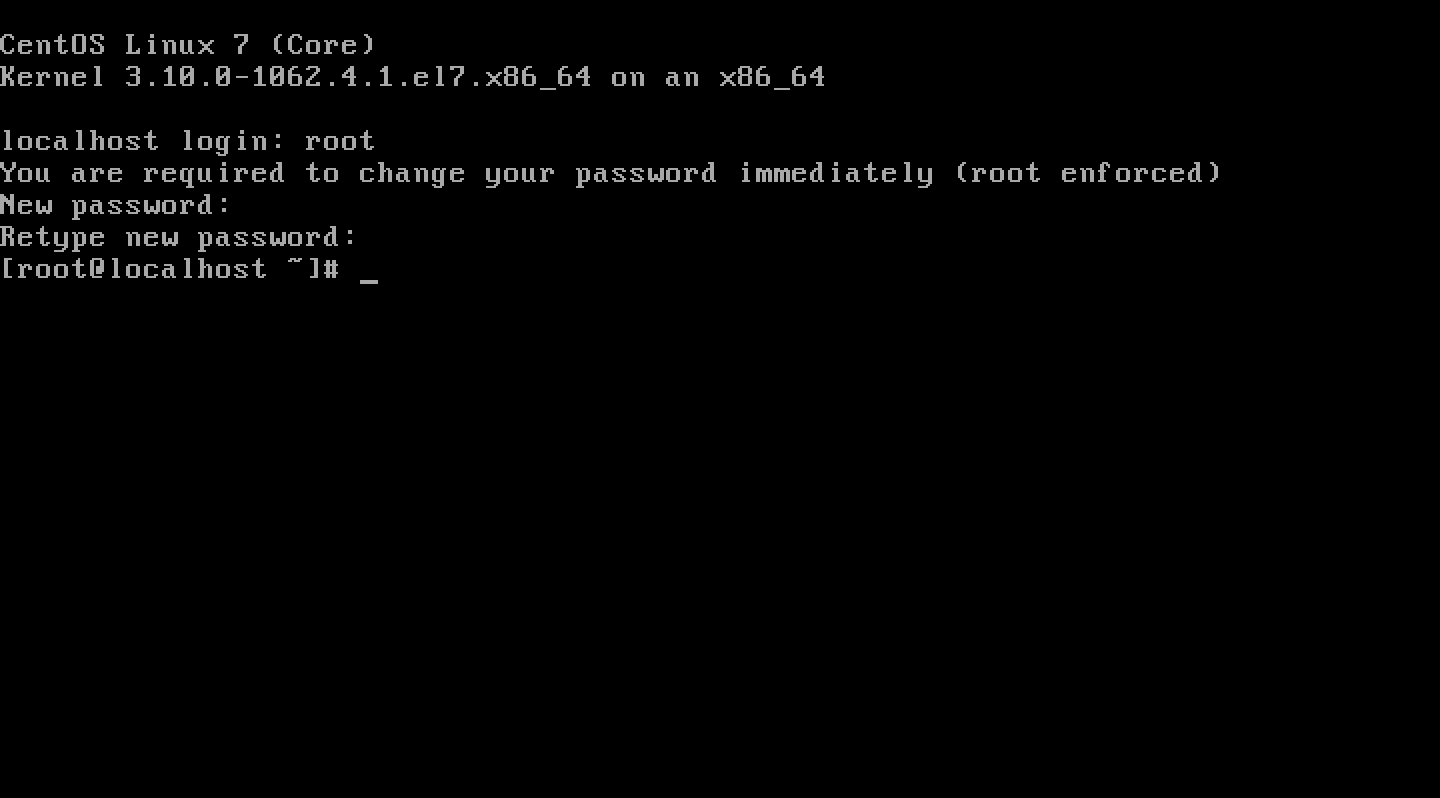
We are immediately prompted to change the password. Remember to use a strong password.
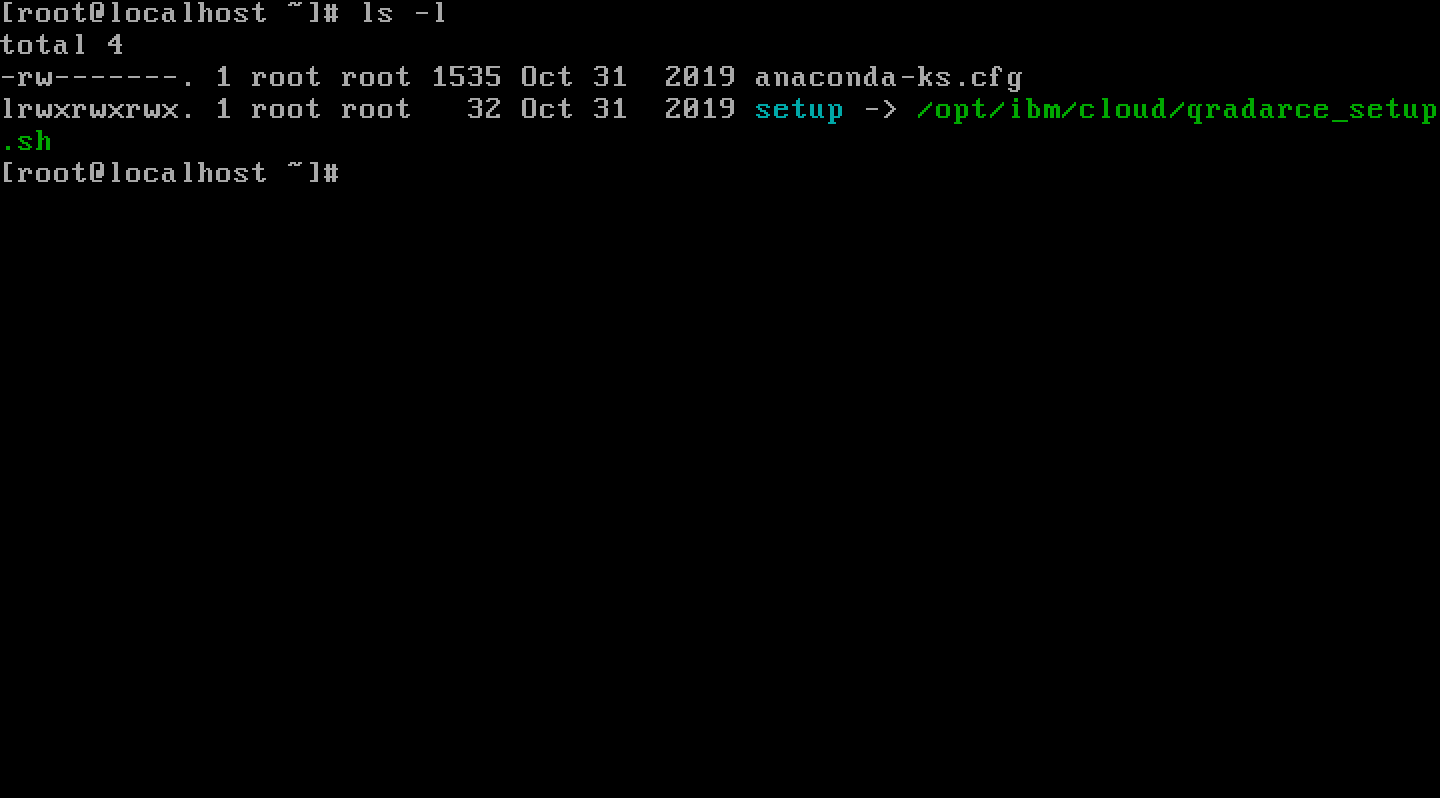
The next step is to launch the setup script and complete the setup process. Run an ls command to verify that the setup script exists in the directory and run it using the command ./setup
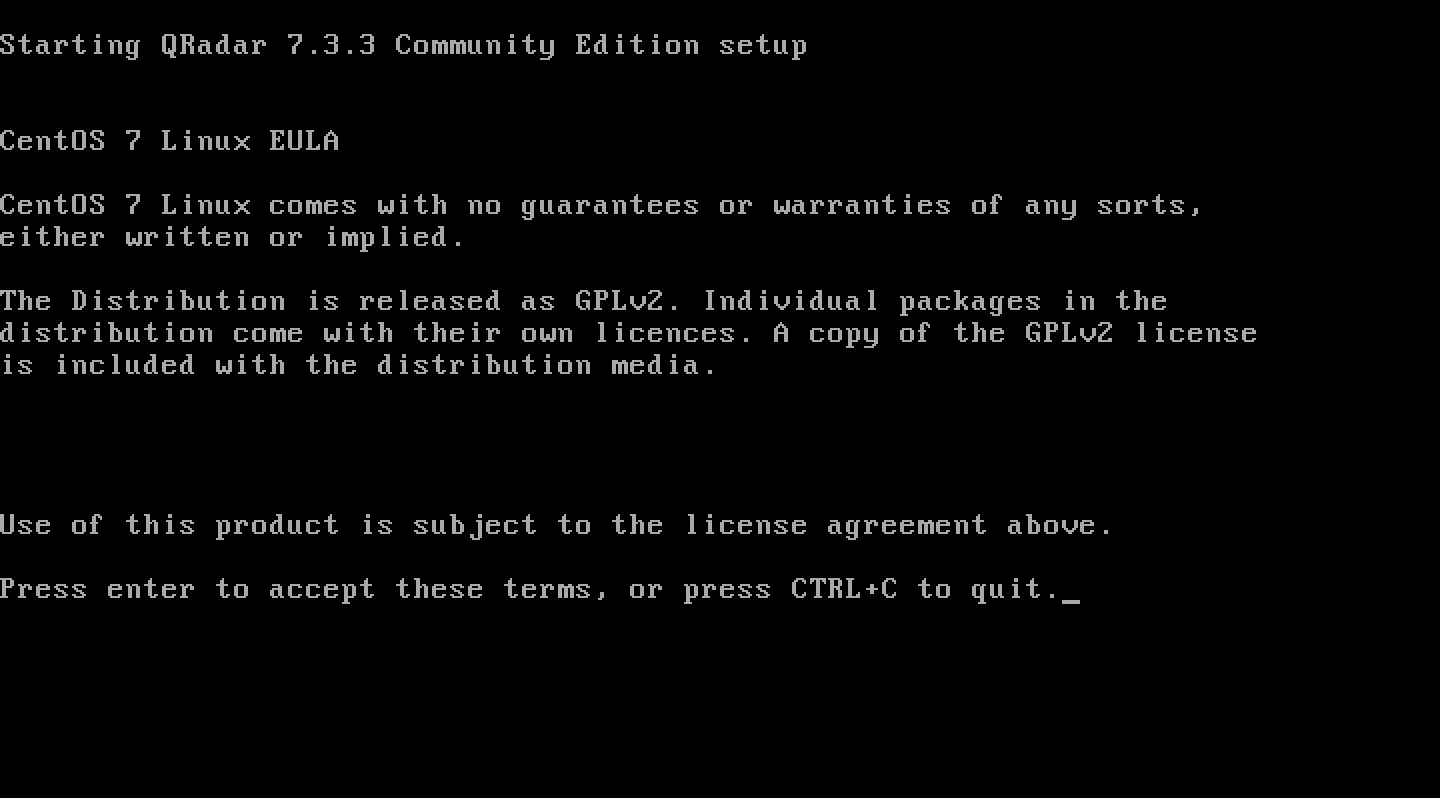
You will be prompted to accept the CentOS 7 Linux EULA. Read and press Enter to accept the license terms.
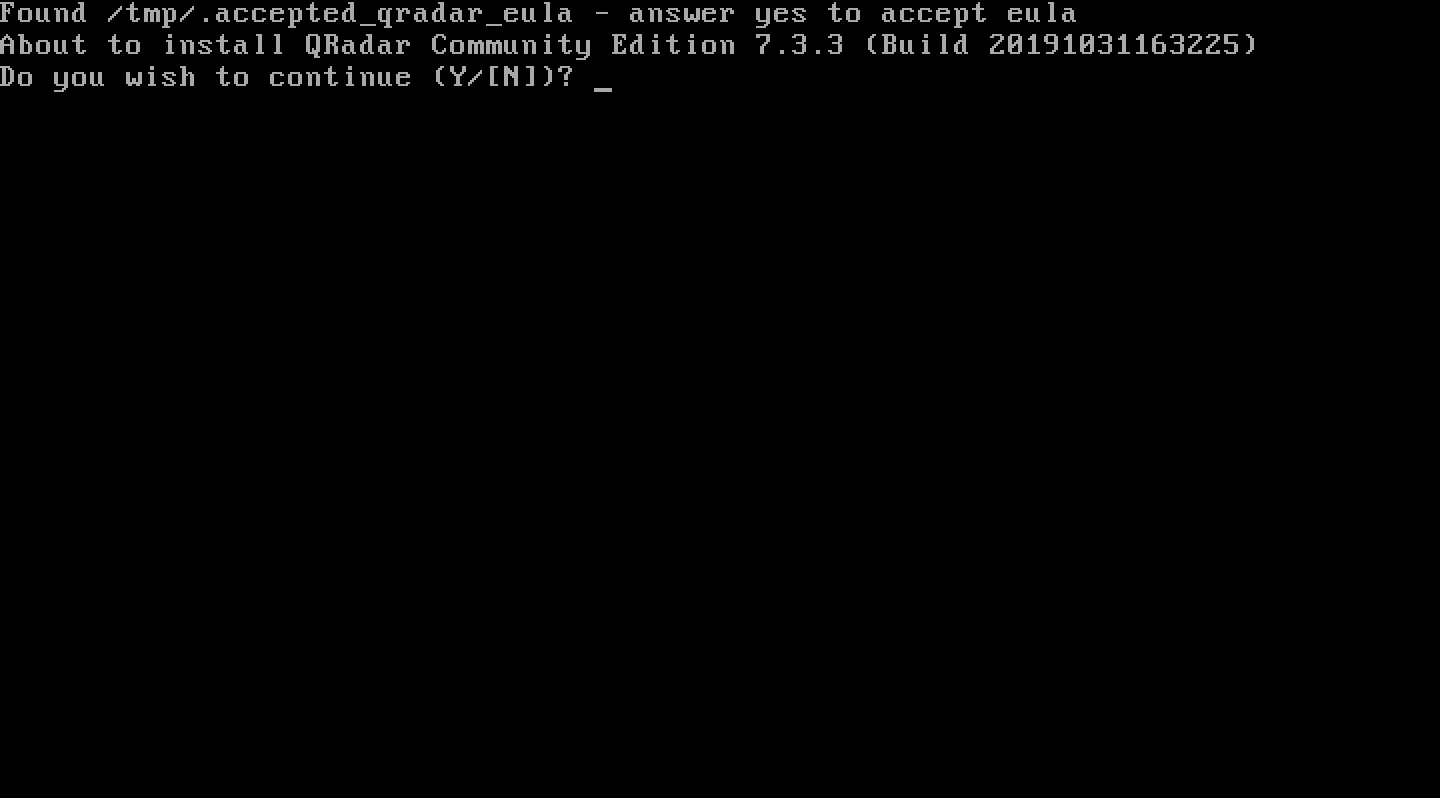
Press Y to proceed with the installation process.
Let QRadar complete the installation steps. This might take a while; be patient!
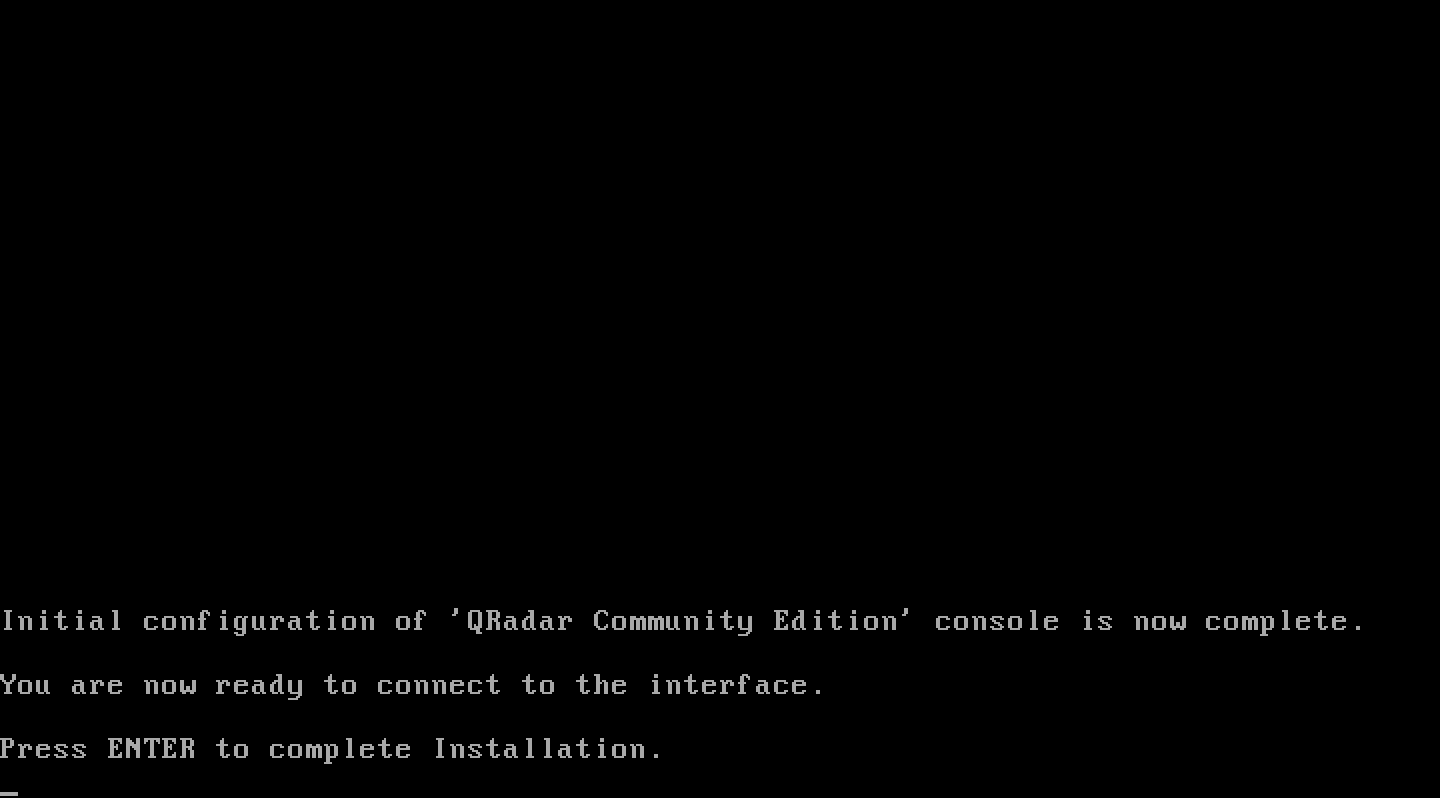
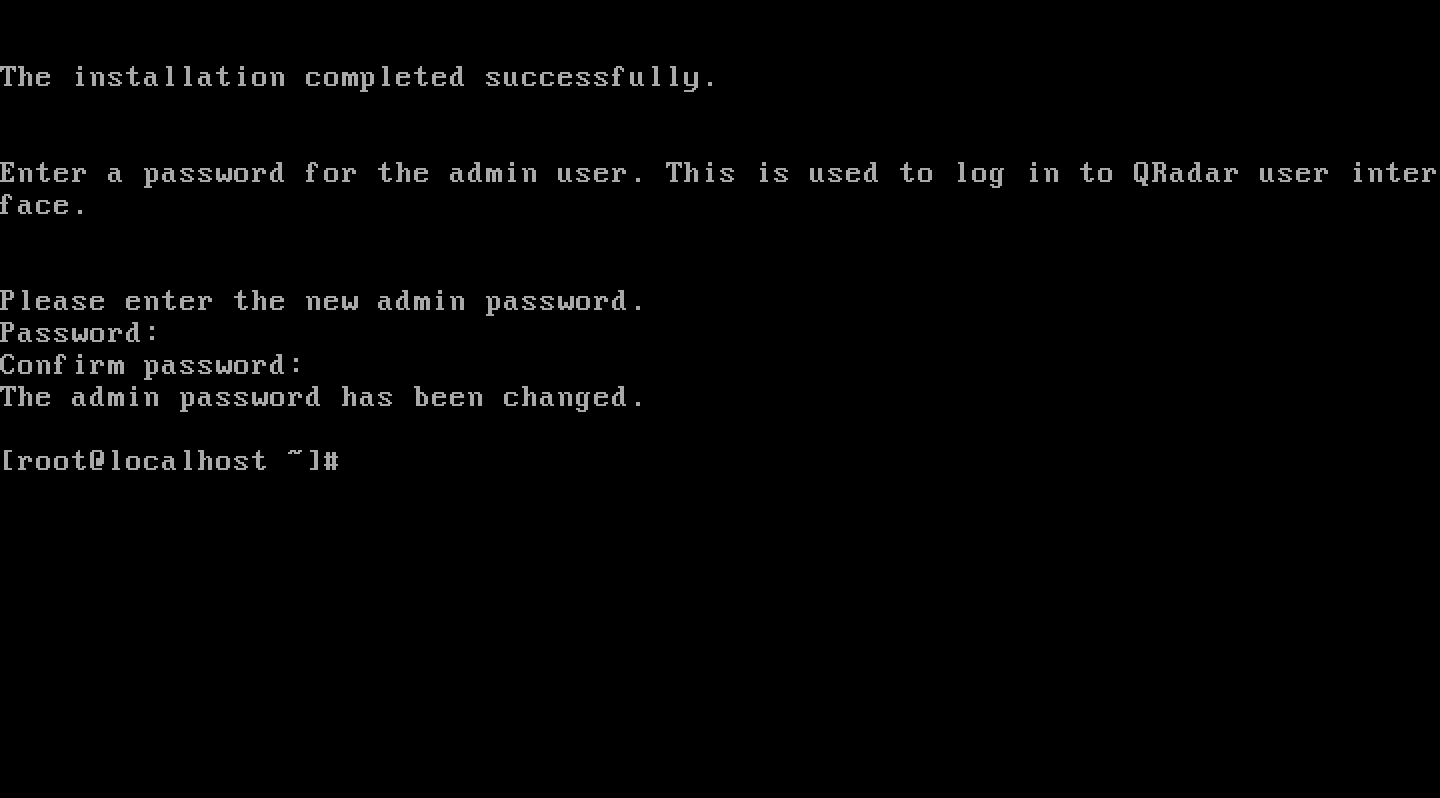
After a while, you should see a message saying Press ENTER to complete Installation. Press Enter as directed by the message.
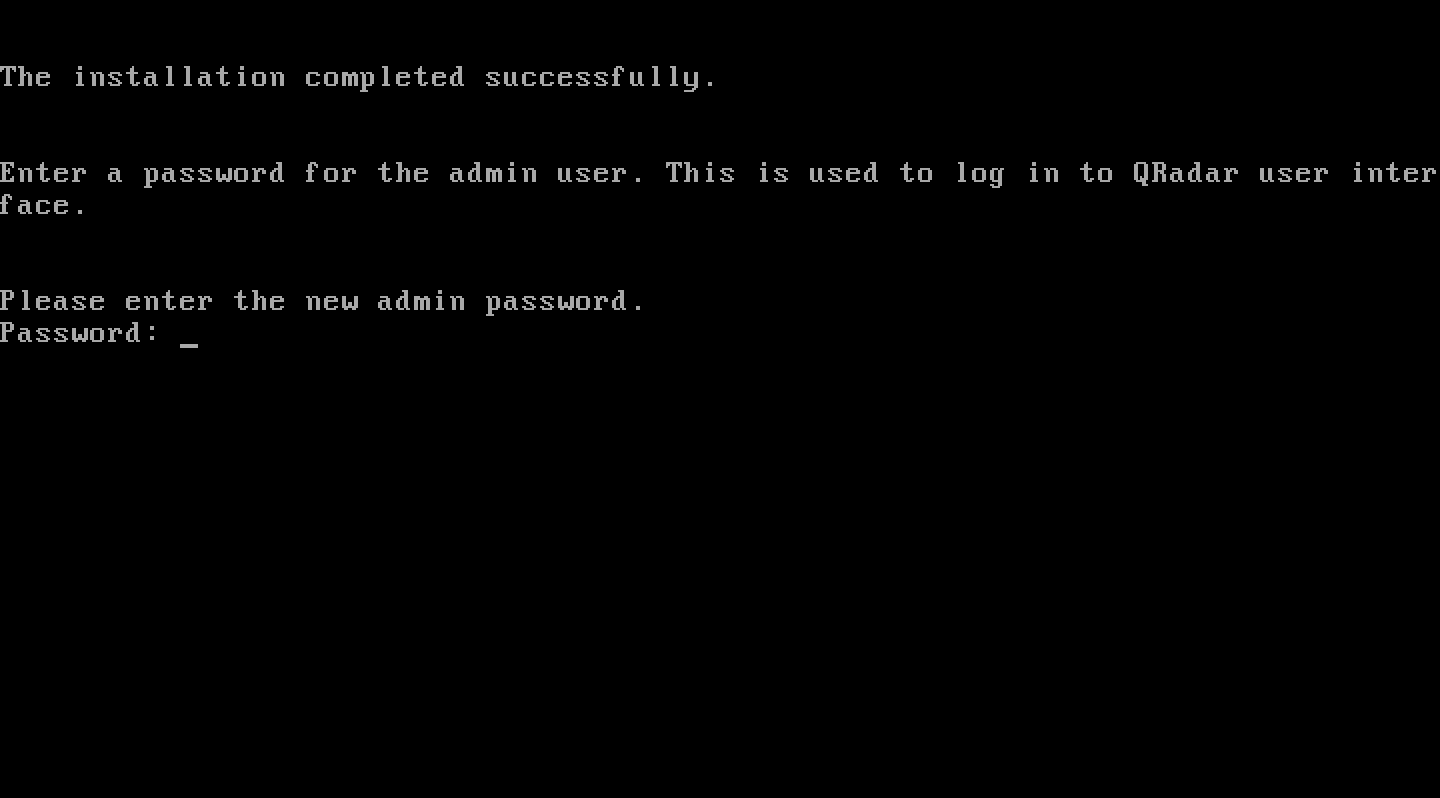
You will be prompted to enter the new admin password. This is the password for the admin user on QRadar CE web user interface. Remember to use a strong password. Note that this is a different account from the previous root user account for the CentOS VM.
The next step is to verify the installation and access the QRadar CE user interface.
4. Verify the QRadar CE Installation
The easiest way to verify if the QRadar CE user interface is up and running is to use the curl command on the CentOS VM.
Run the command: curl https://localhost -k and the output should be as seen in the screenshot below.

Note the -k option in the curl command which skips certificate validation. You can also use --insecure.
Now that QRadar CE is working on localhost (CentOS VM), we can try accessing it remotely from the host machine. To achieve this, we need to grab the IP address of the CentOS VM.
Use the ifconfig command to quickly view the IP address.

As seen in the screenshot above, the IP address is 192.168.0.182. I will now attempt to connect to this IP from my host machine (MacBook Pro).
Before attempting access from a web browser, I will repeat the curl command on the Mac terminal: curl https://192.168.0.182 -k. If all goes well, the output should be same as what we see below and in the previous curl output from the CentOS VM.

Great! Looks like there is proper connectivity. I will fire up Google Chrome and attempt to access QRadar CE.
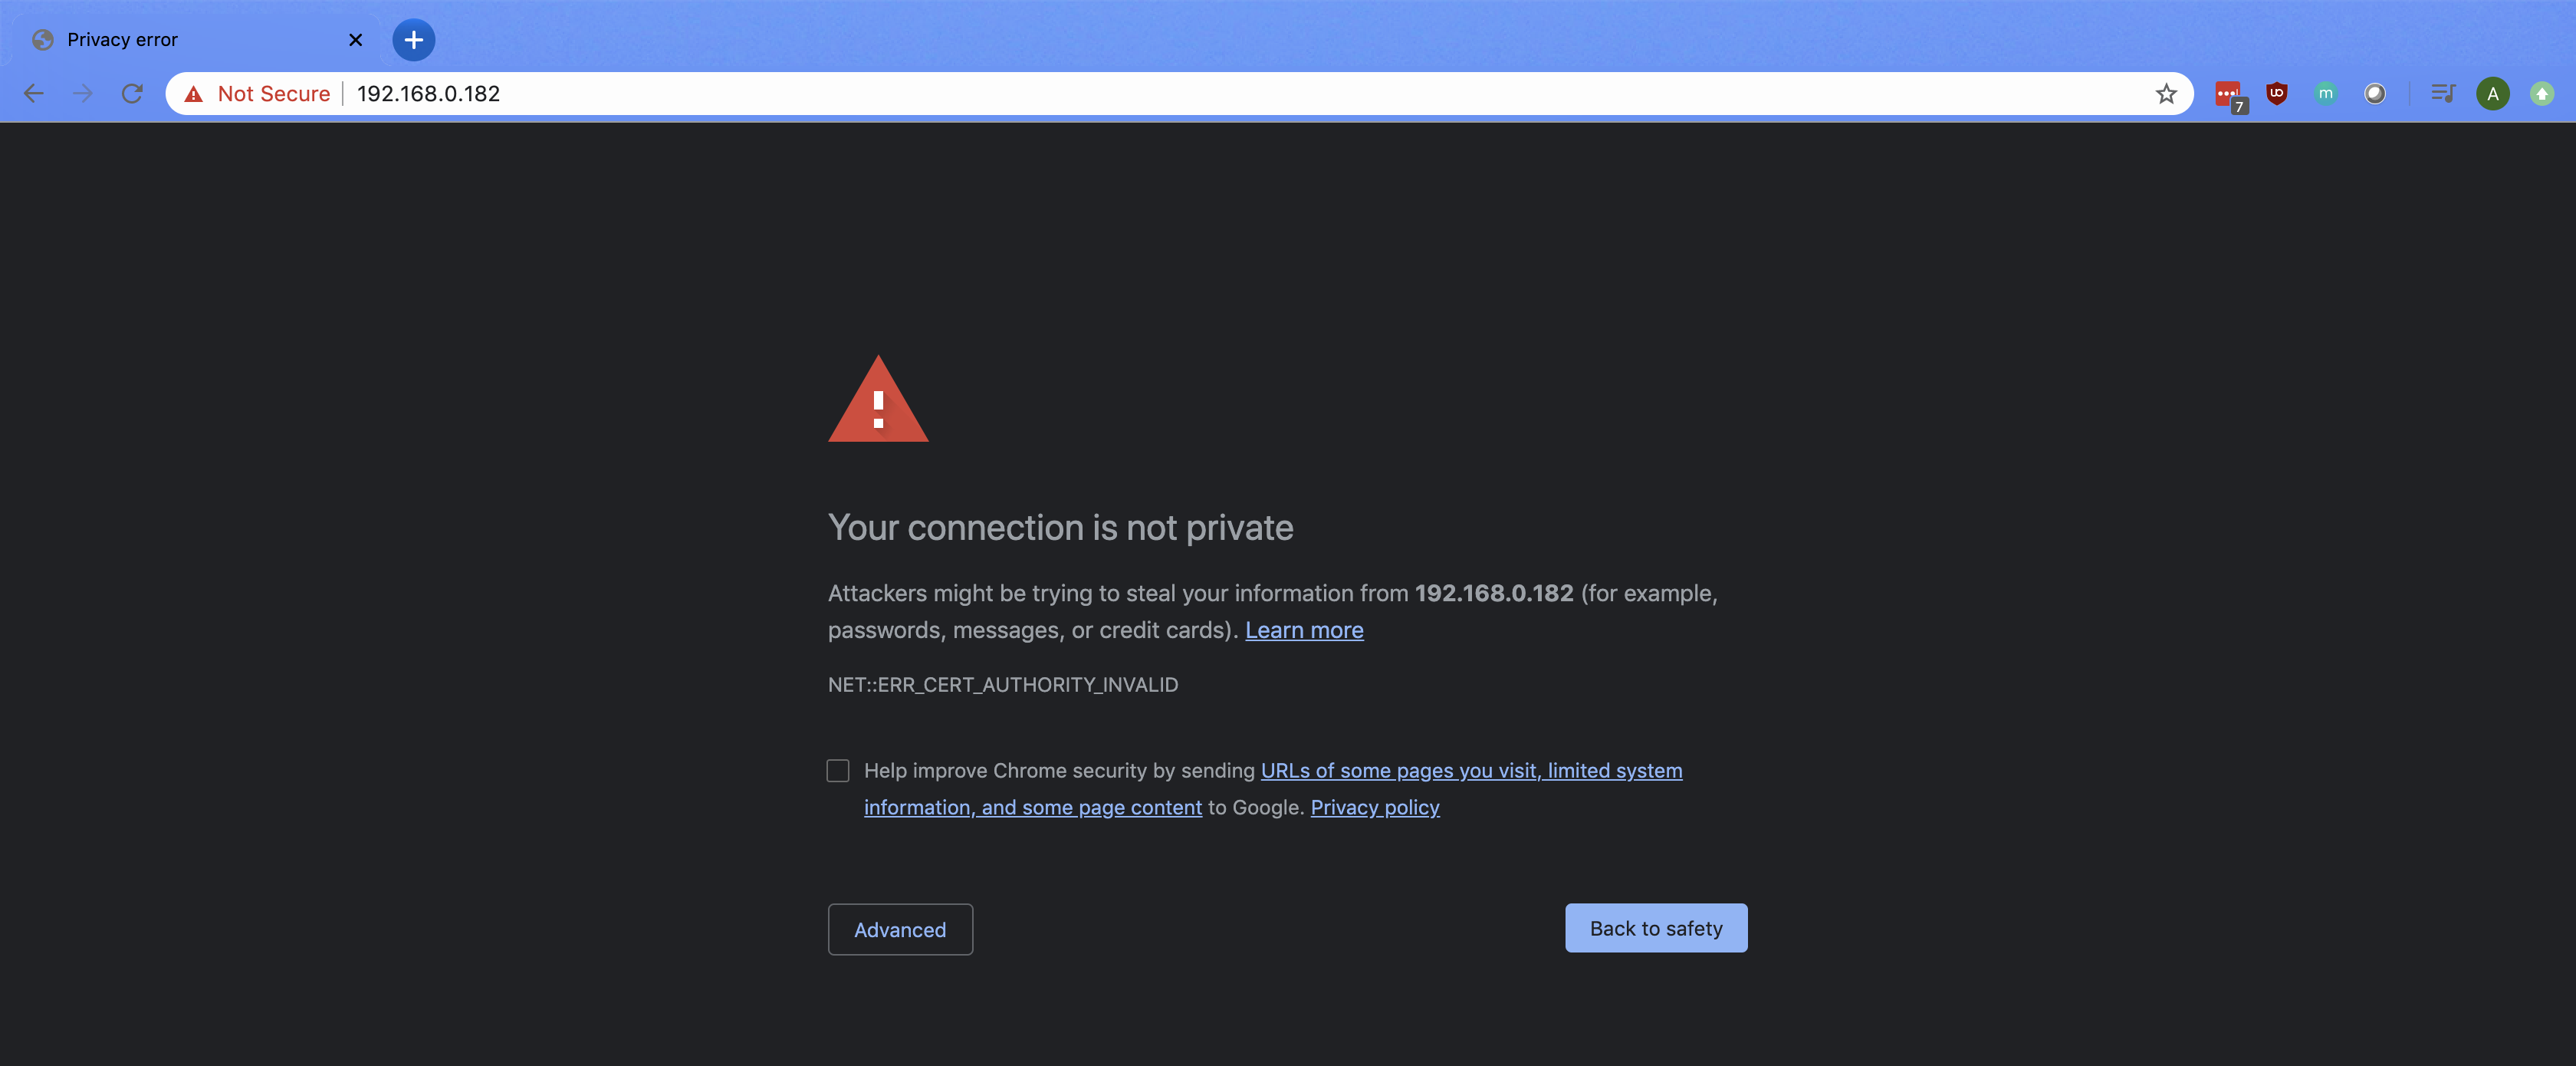
Chrome will display a Your connection is not private warning. We can ignore this for now and click on Advanced > Proceed to 192.168.0.182 (unsafe)

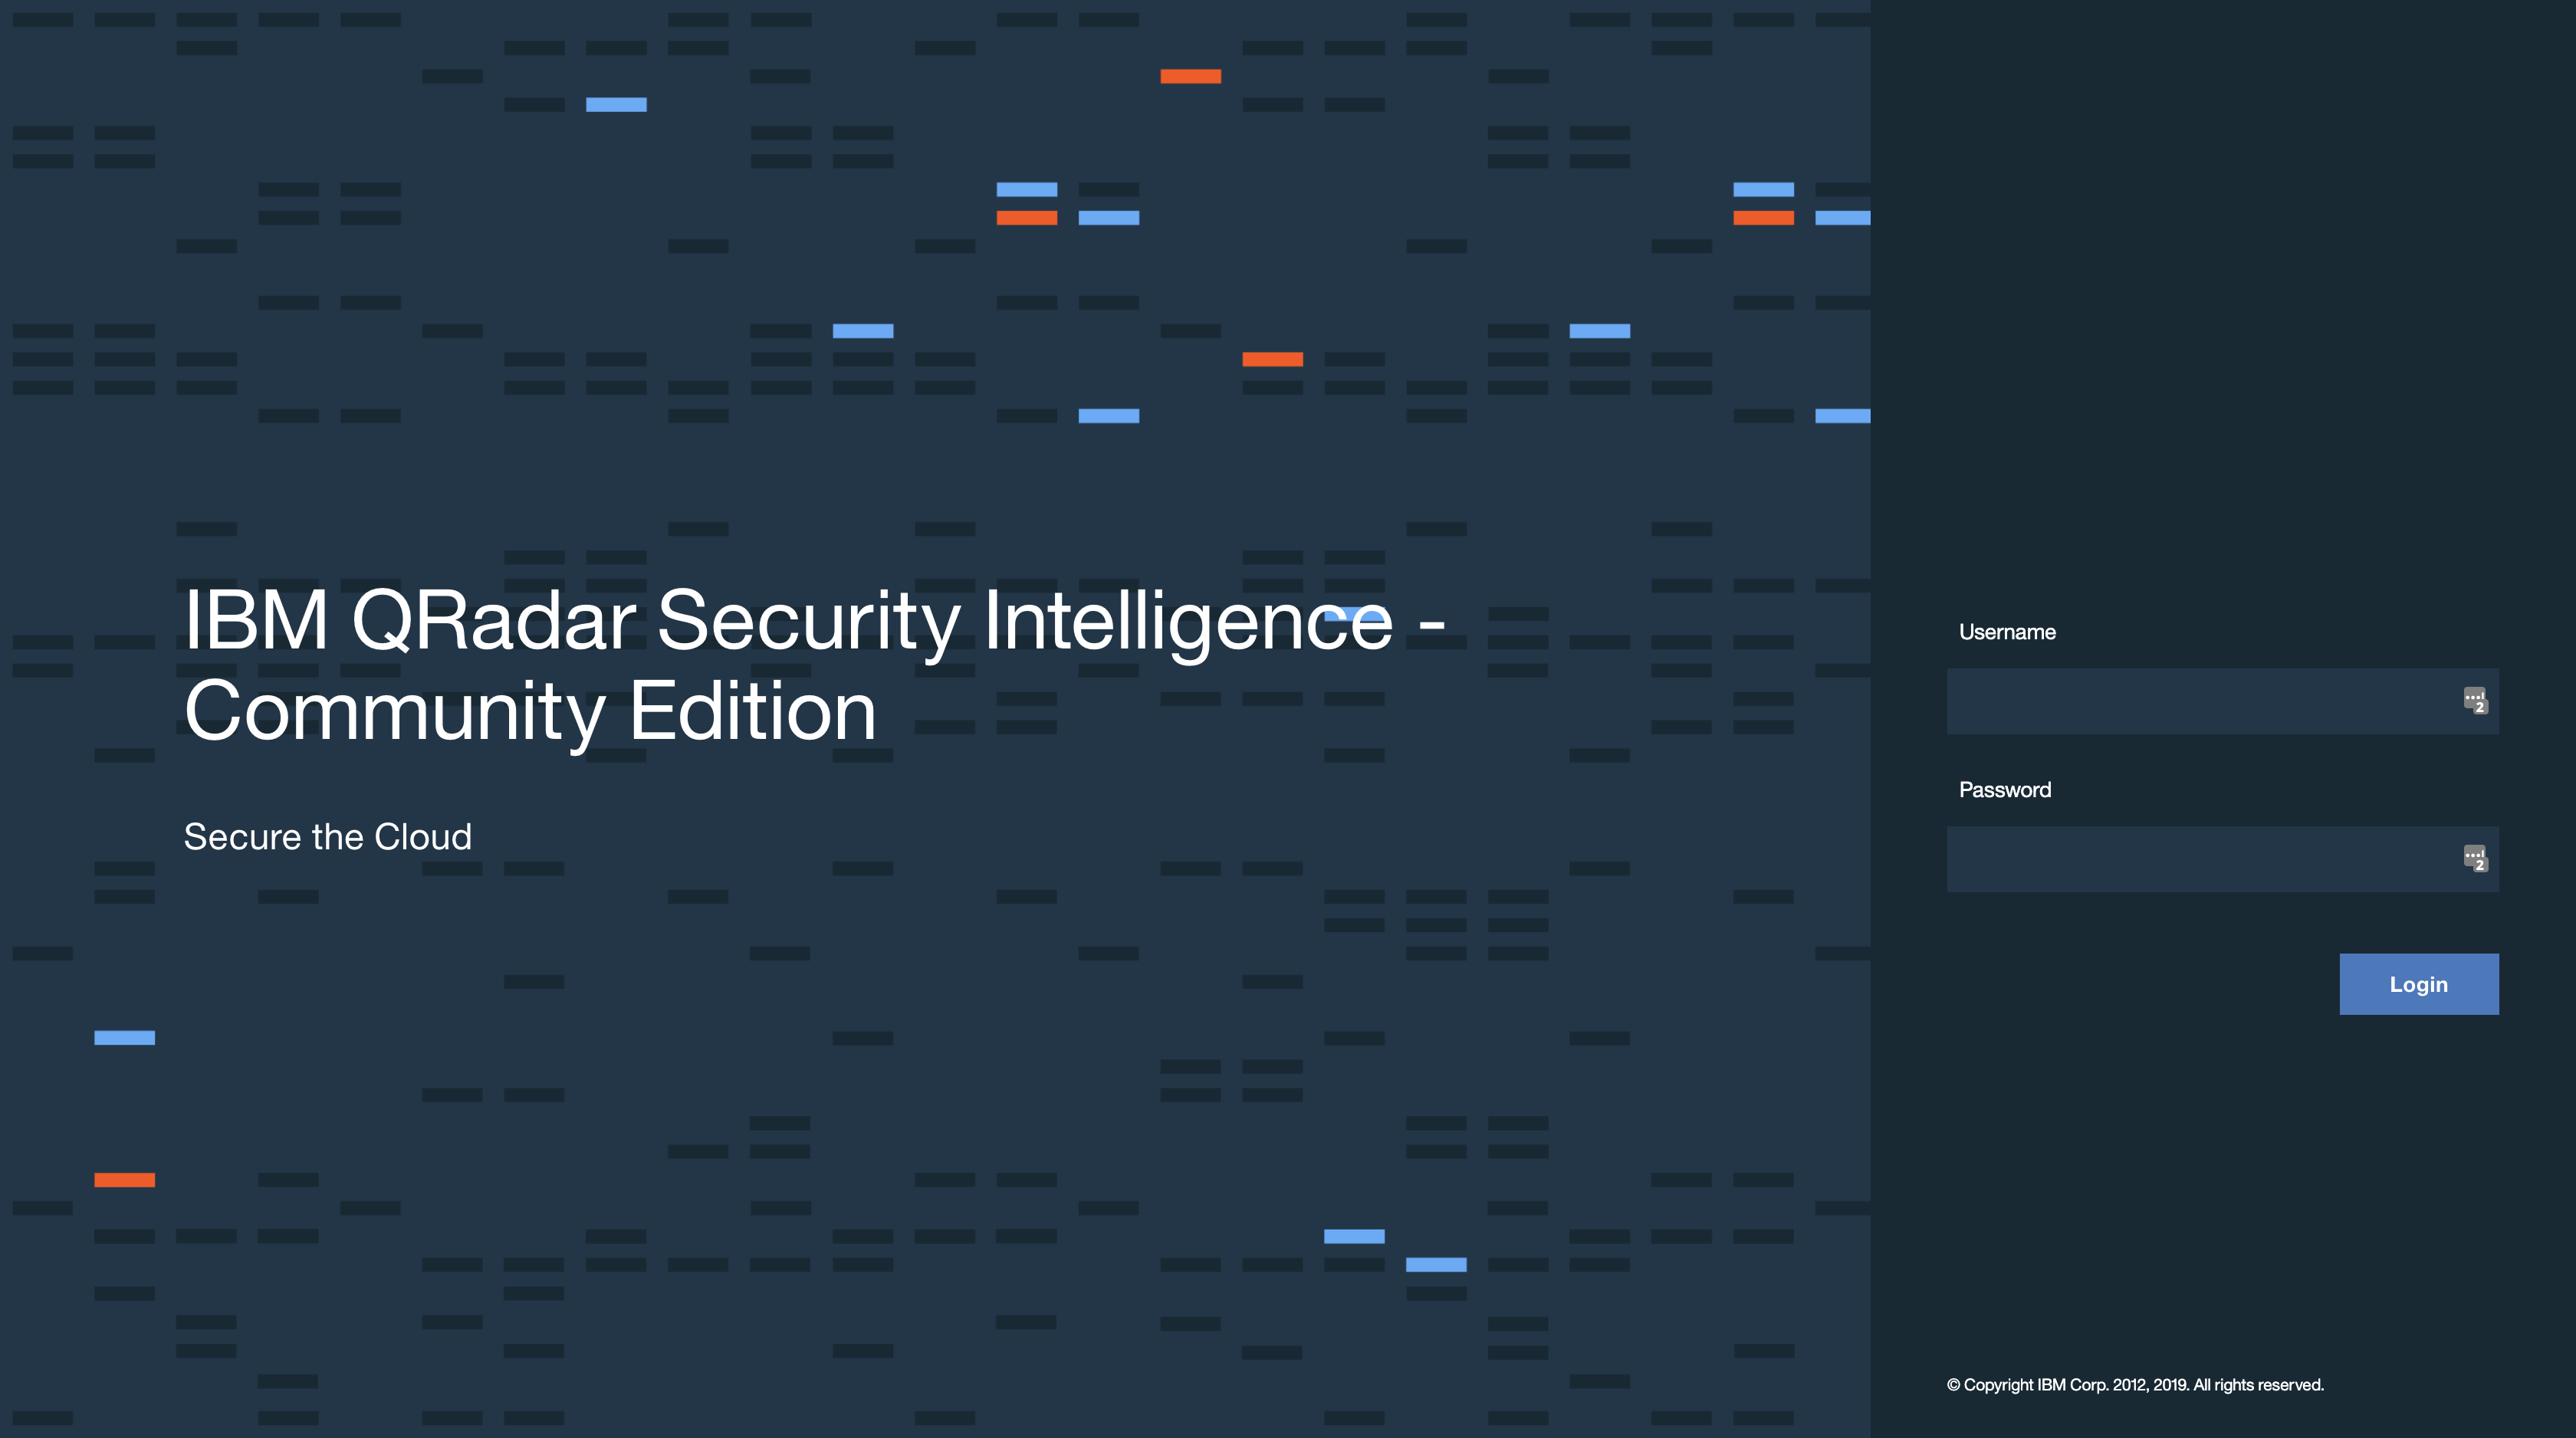
There you go! Welcome to QRadar CE. Log in with the username admin and password which was set on the console during the installation step.
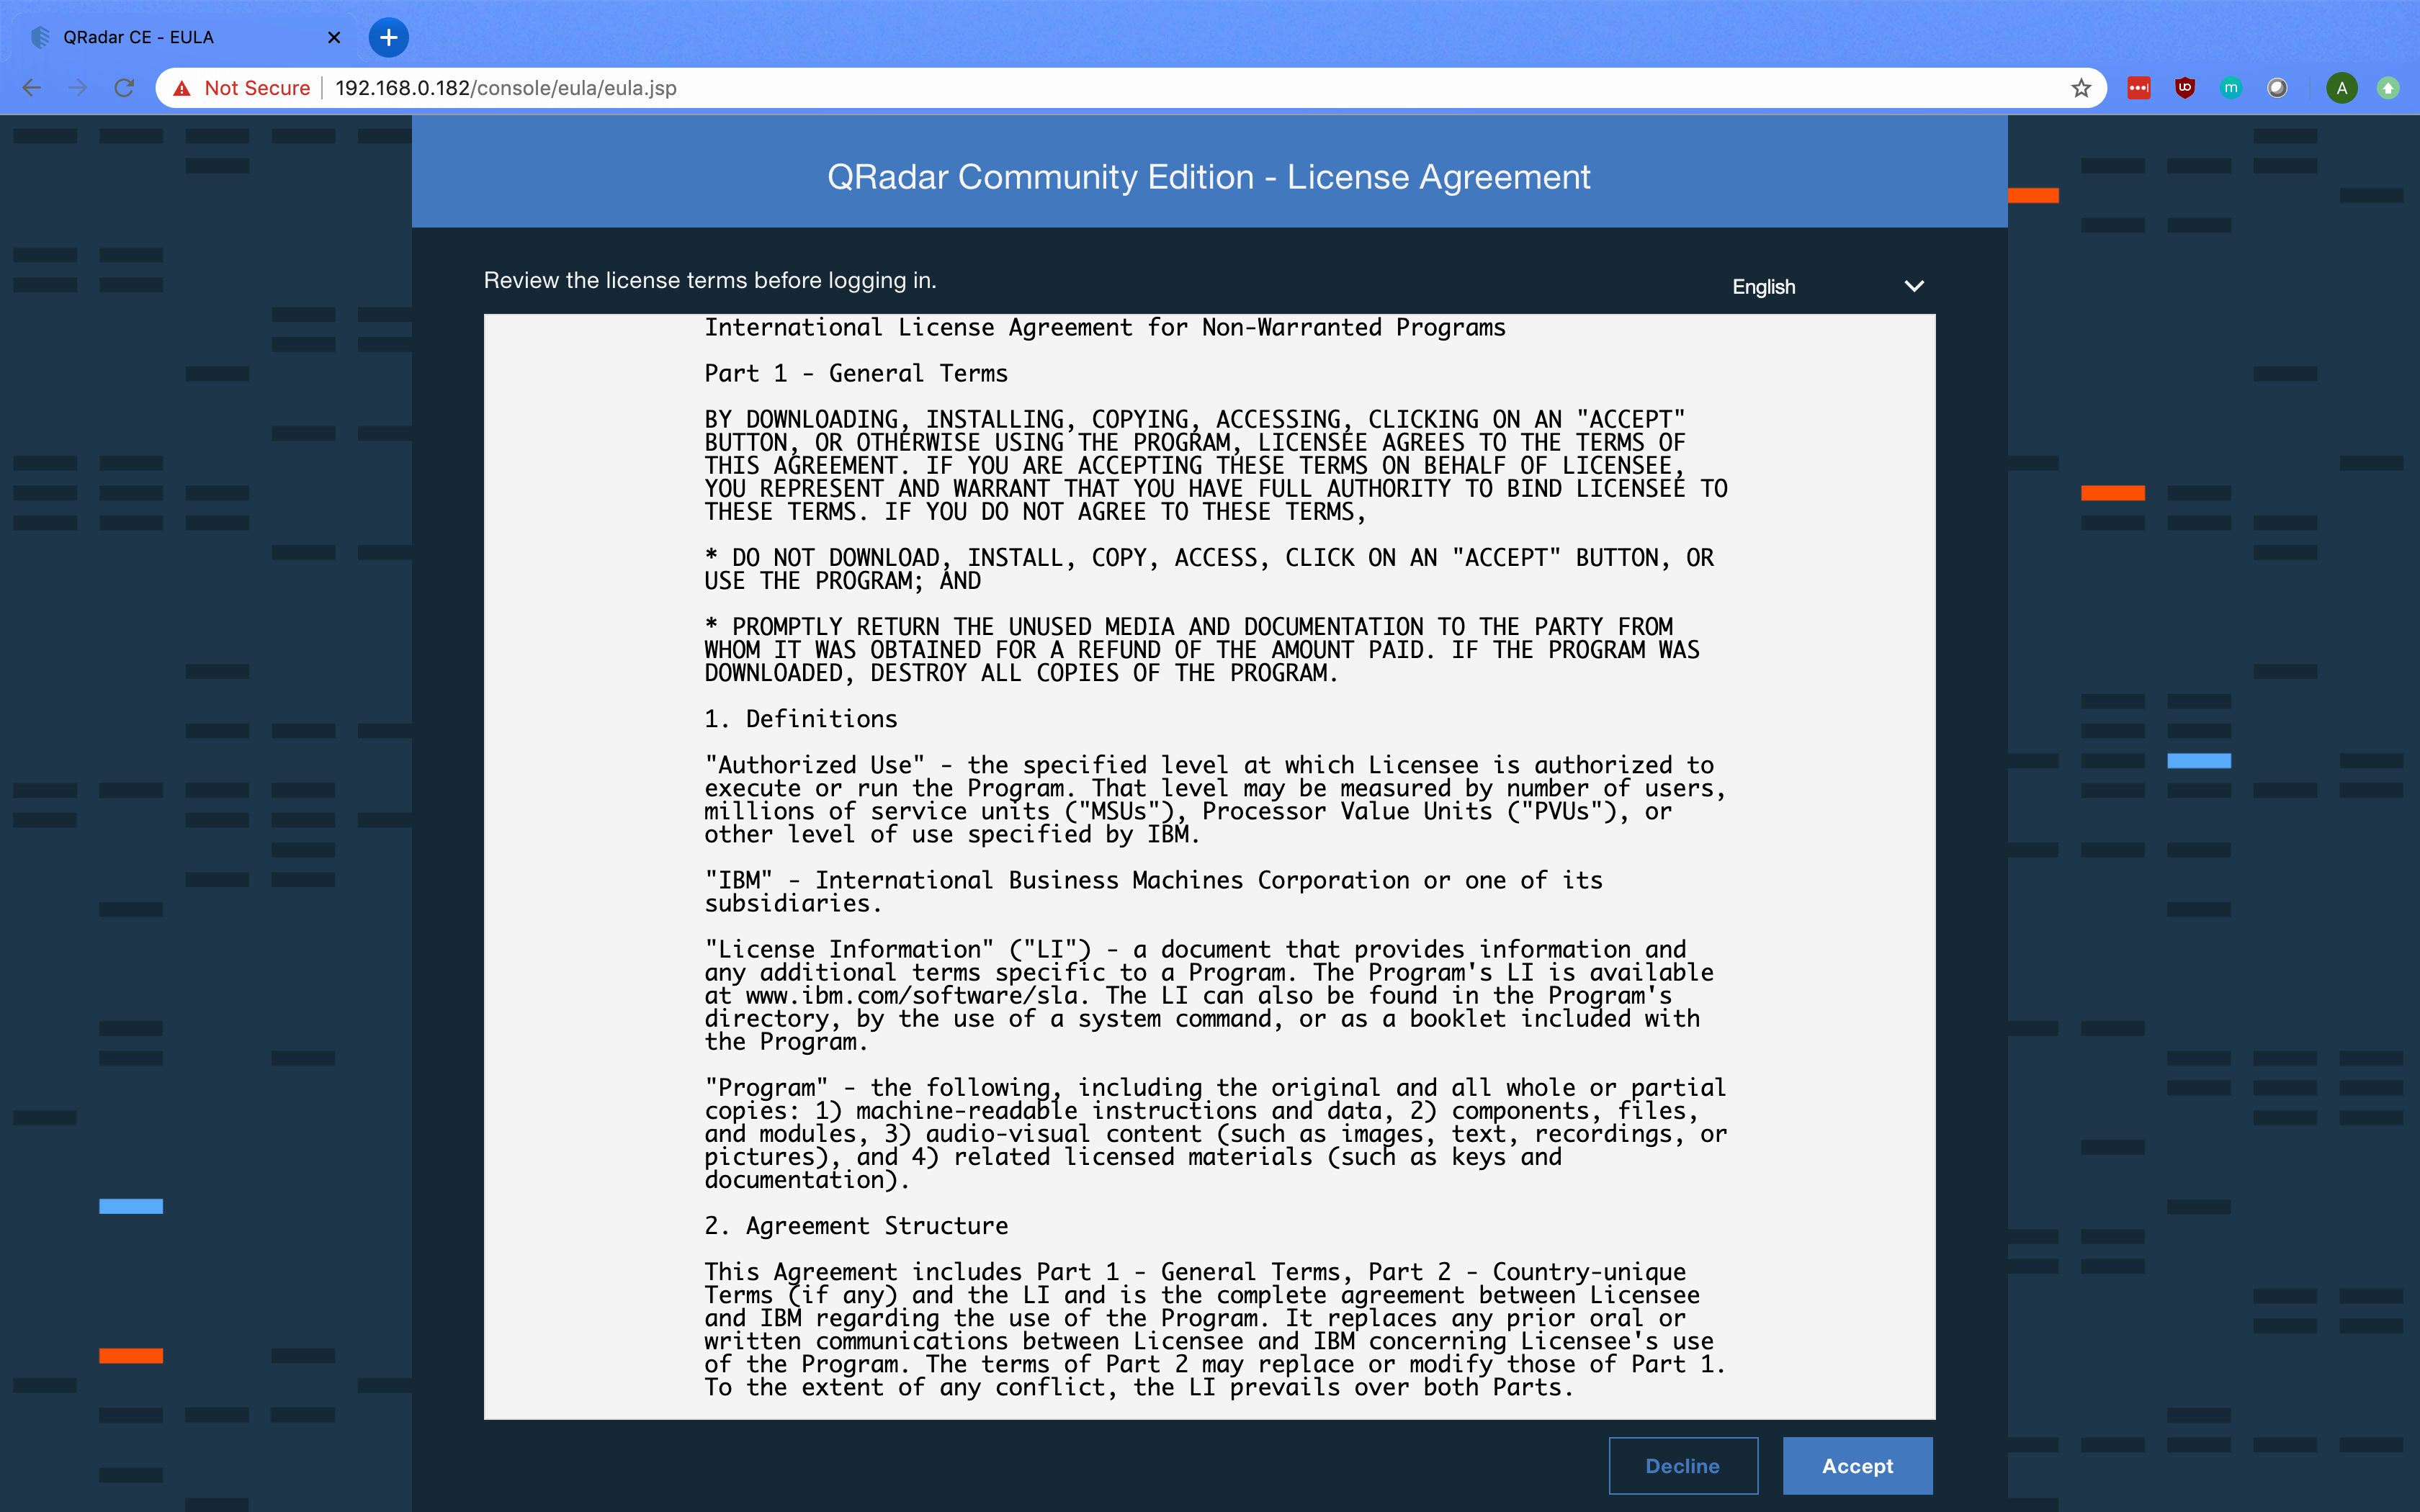
You will be greeted with the QRadar Community Edition - License Agreement. Read and click on Accept to continue.
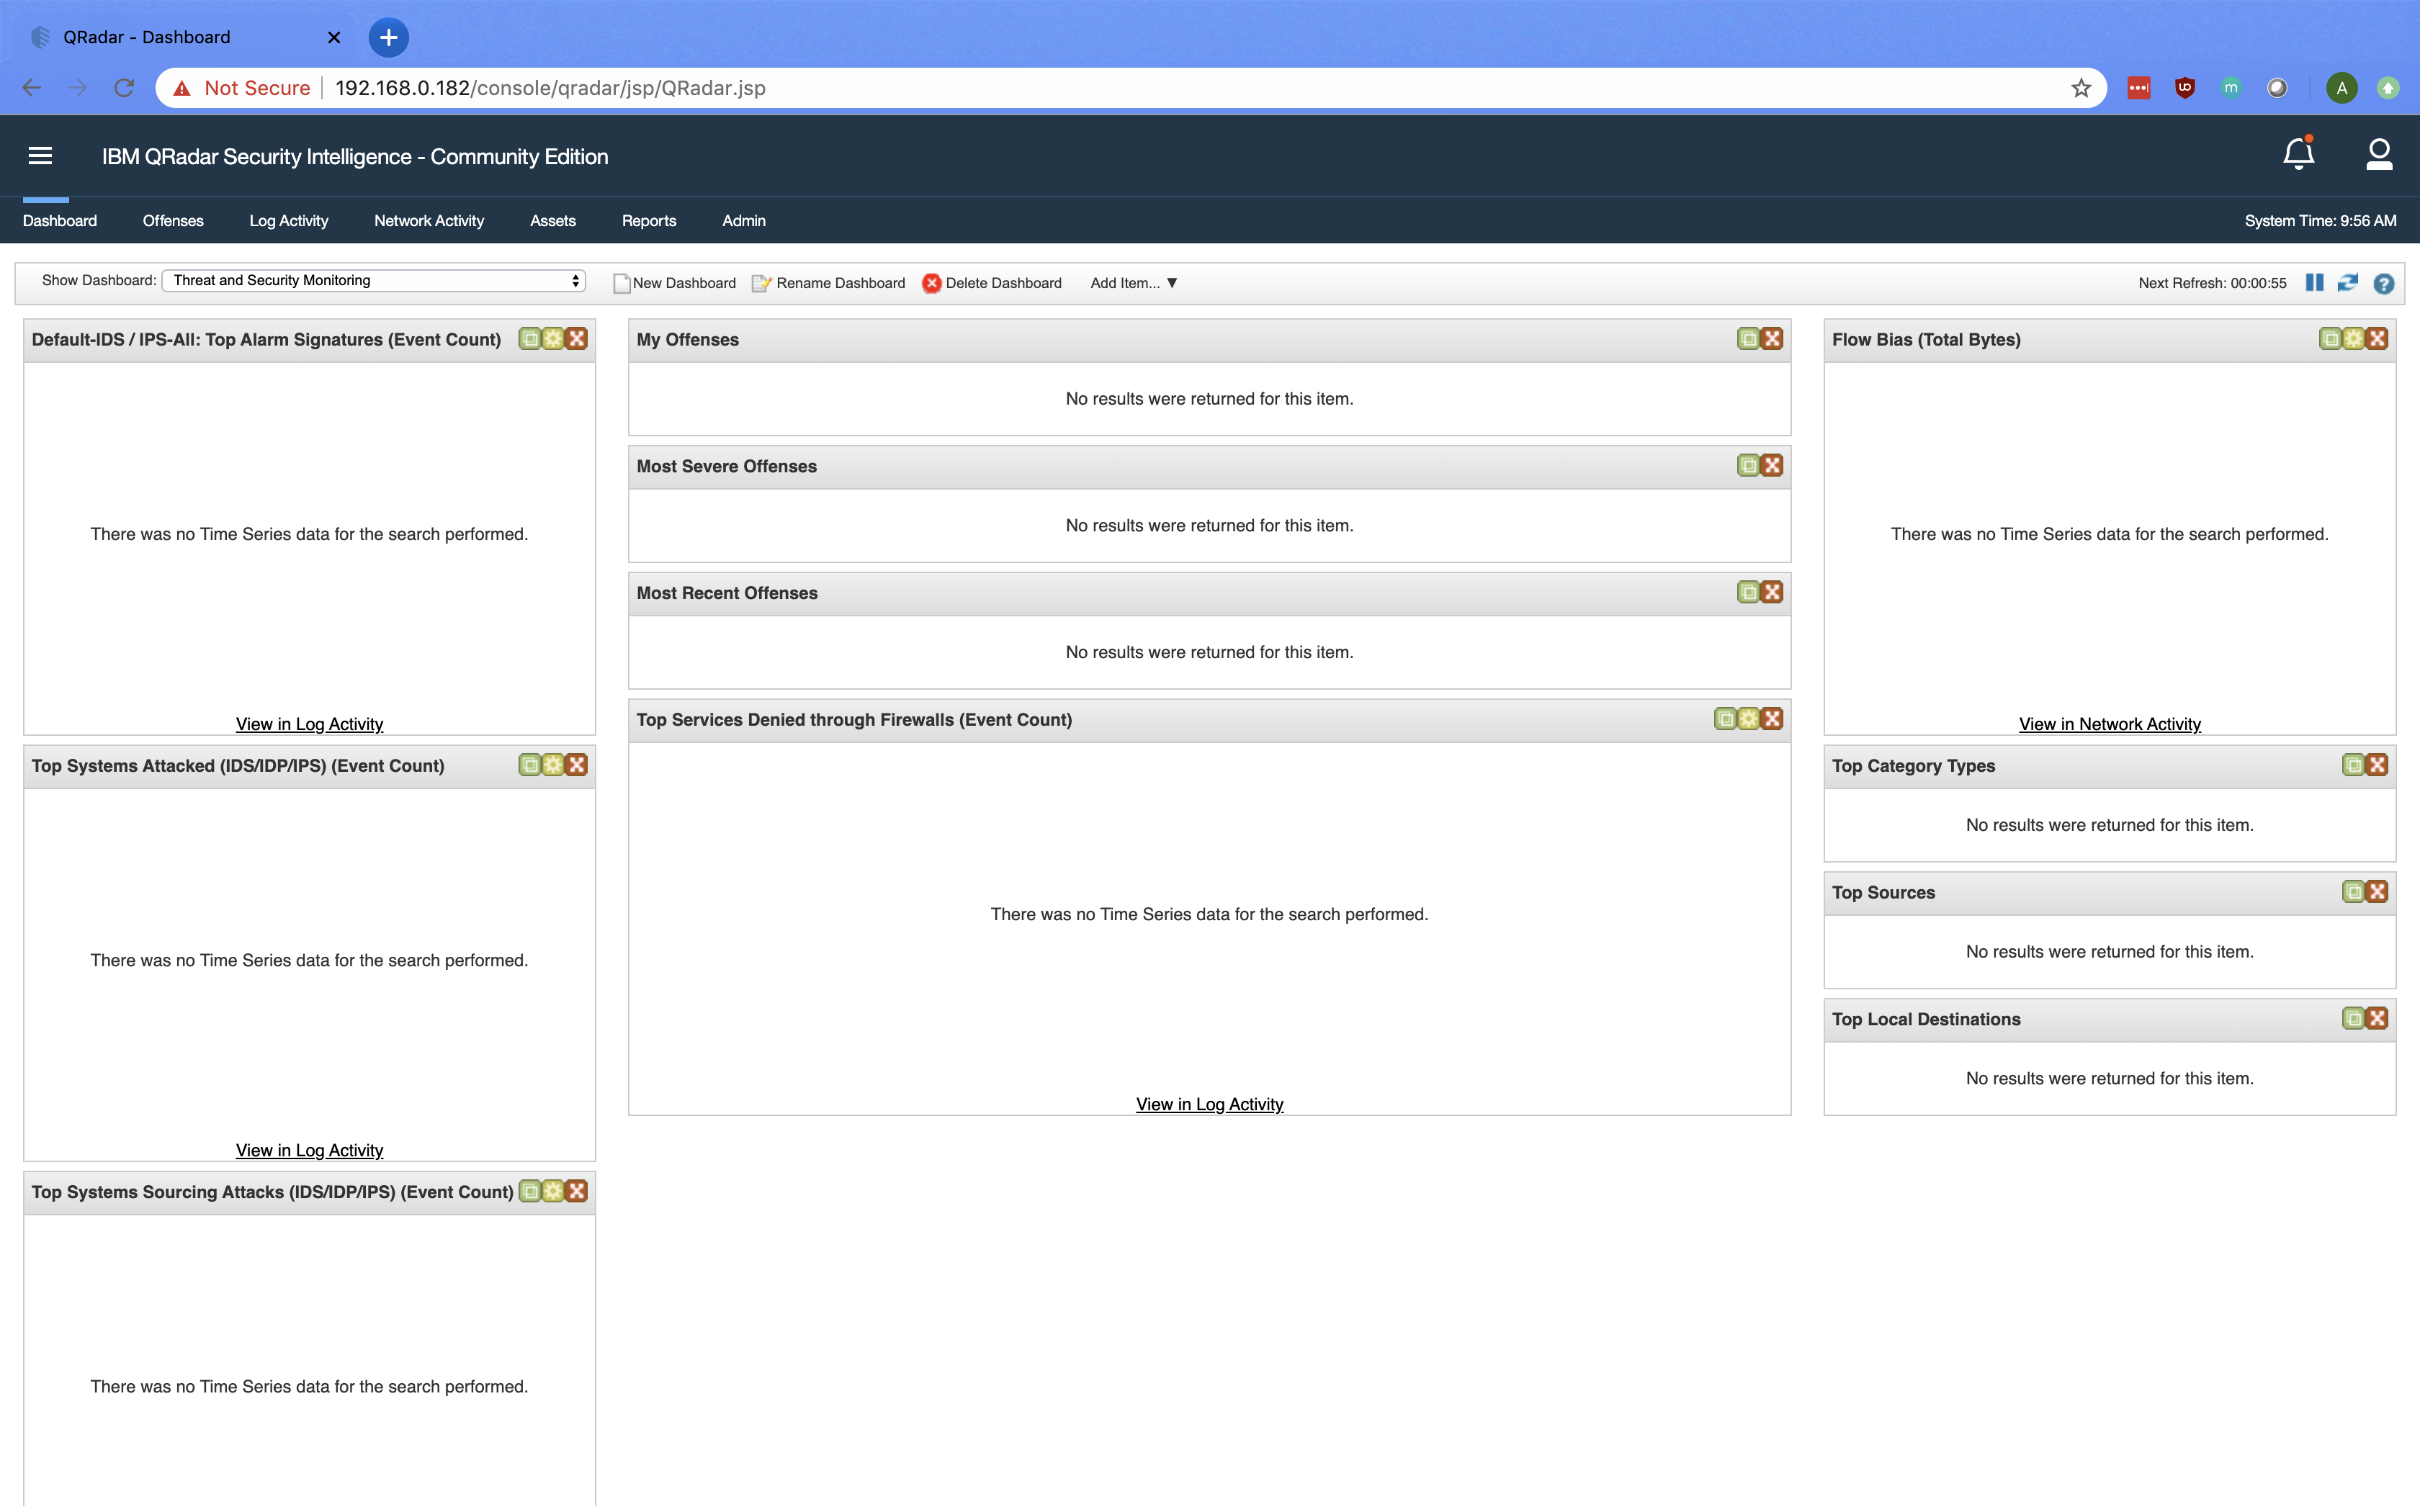
This is the Dashboard view of QRadar CE. However, I noticed that the System Time (displayed on the top-right) is not tuned to my timezone.
To change the System Time, click on Admin to open the Admin menu.
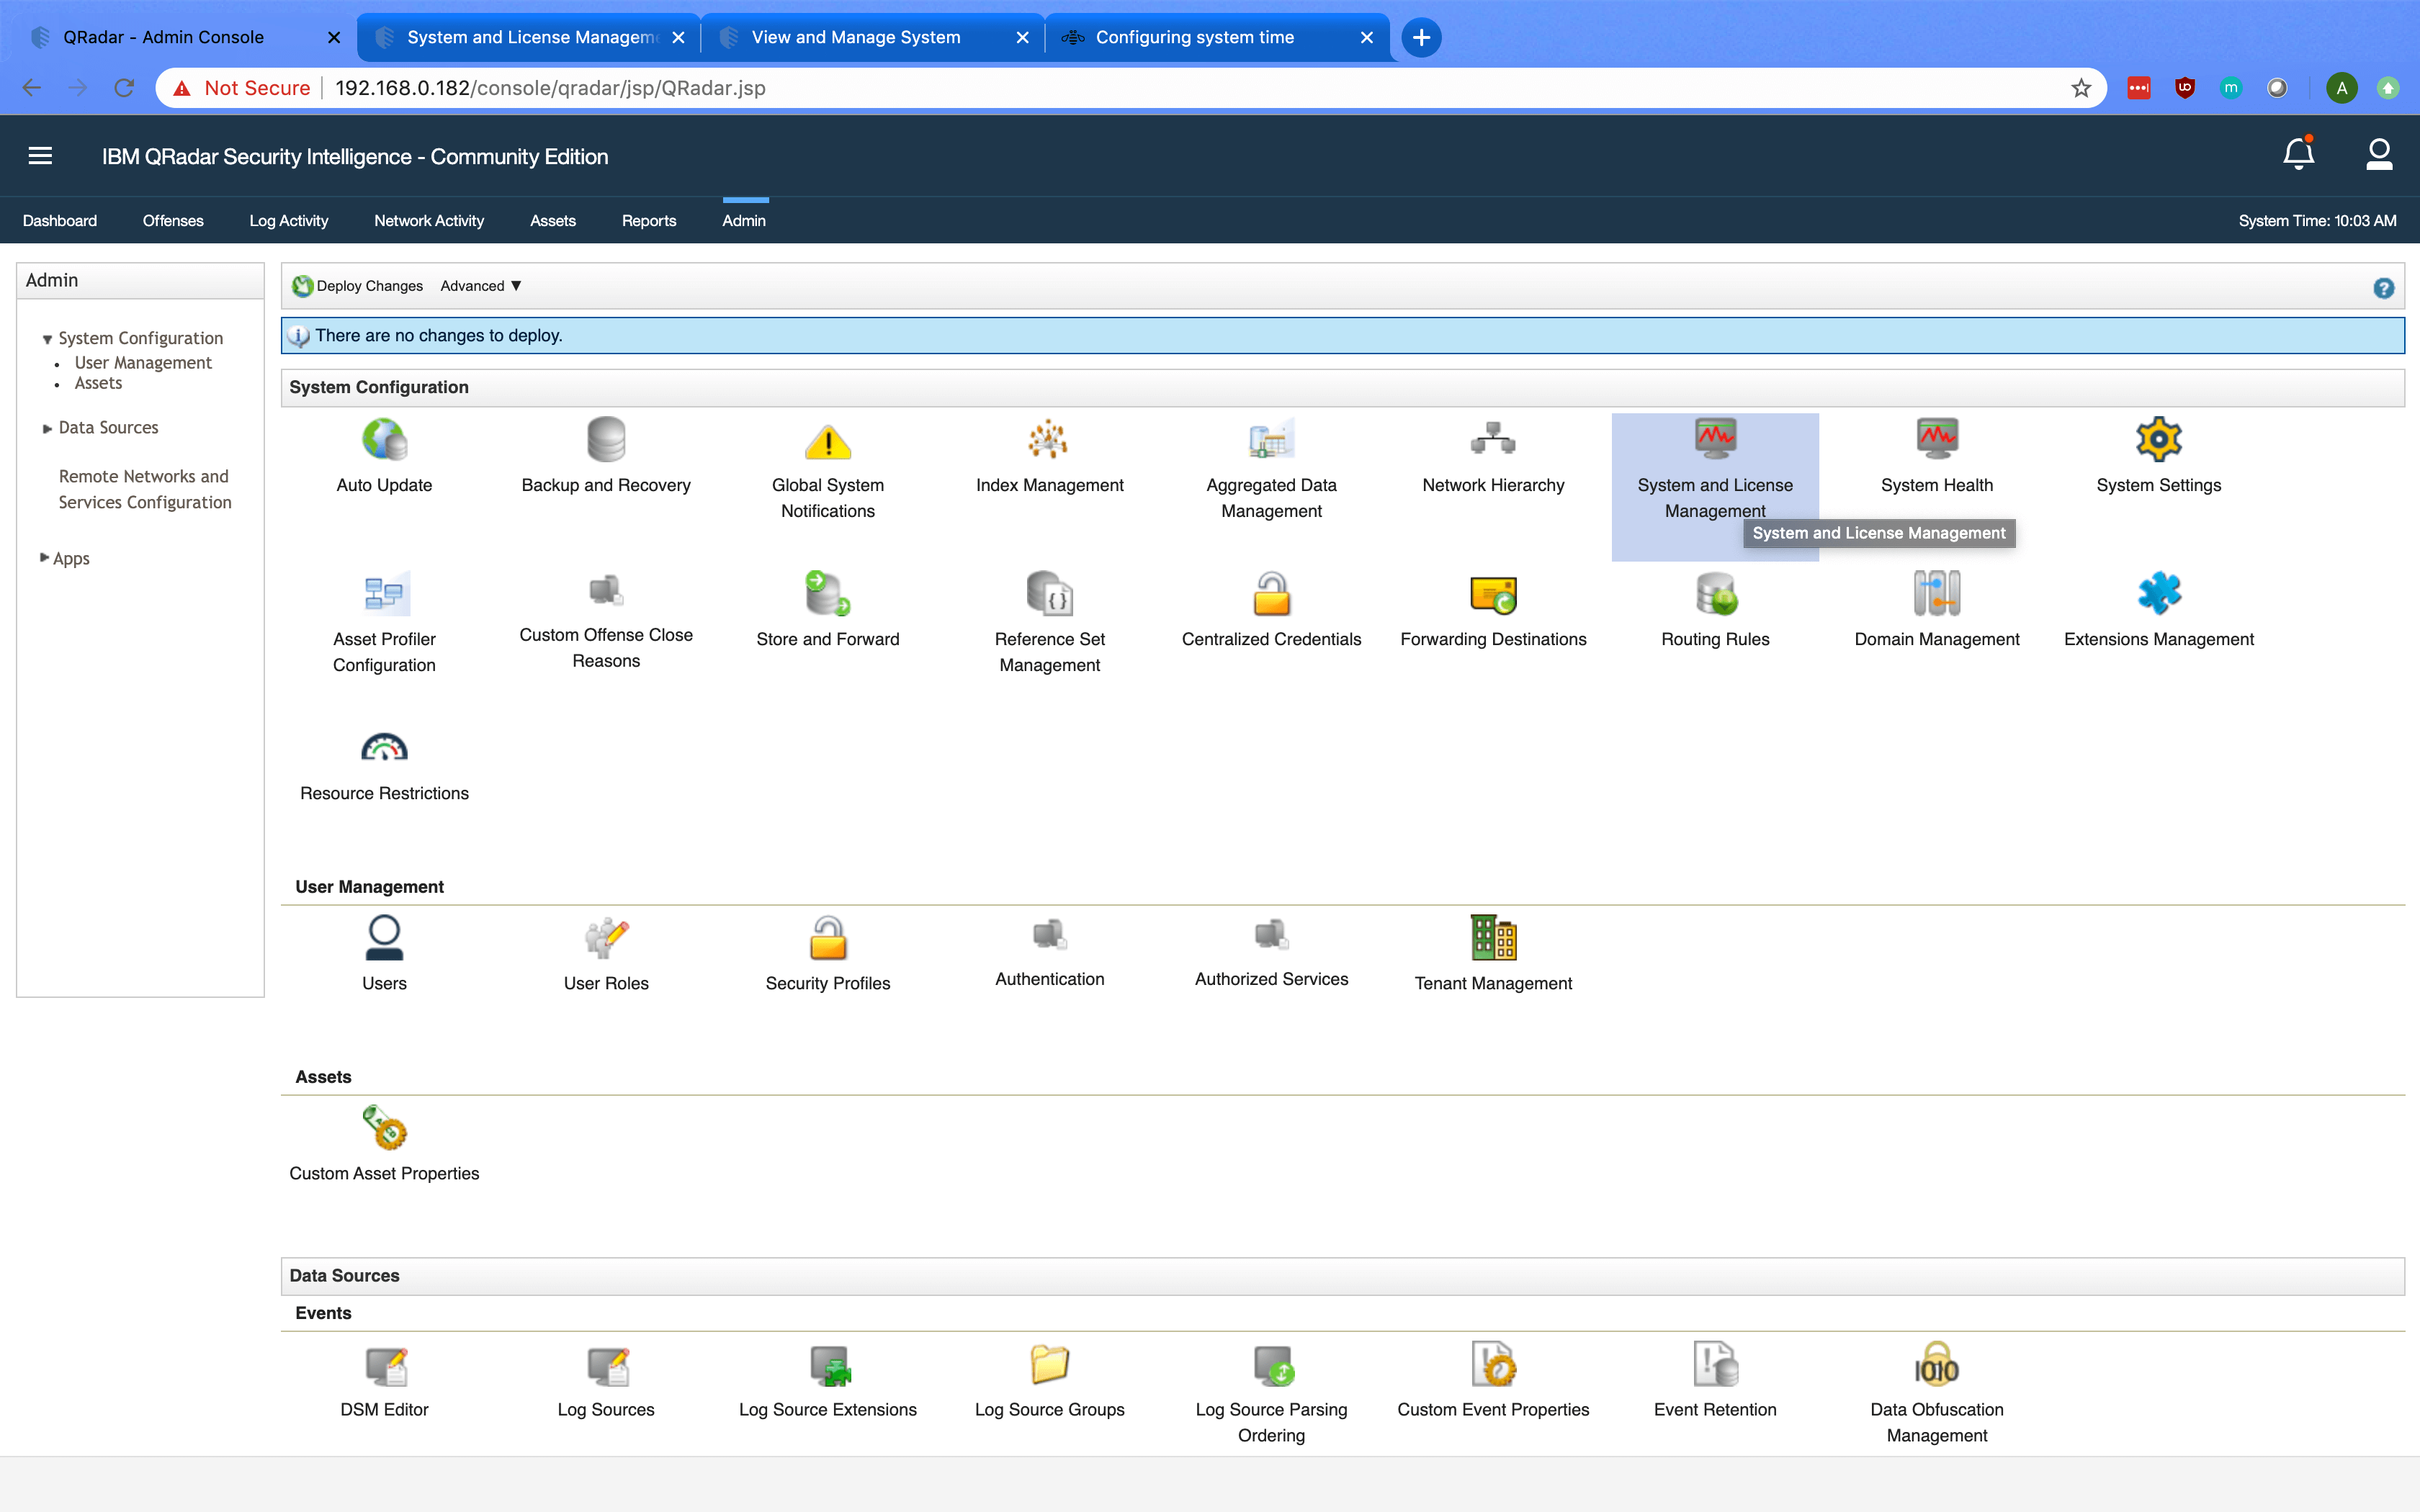
Next, click on System and License Management.
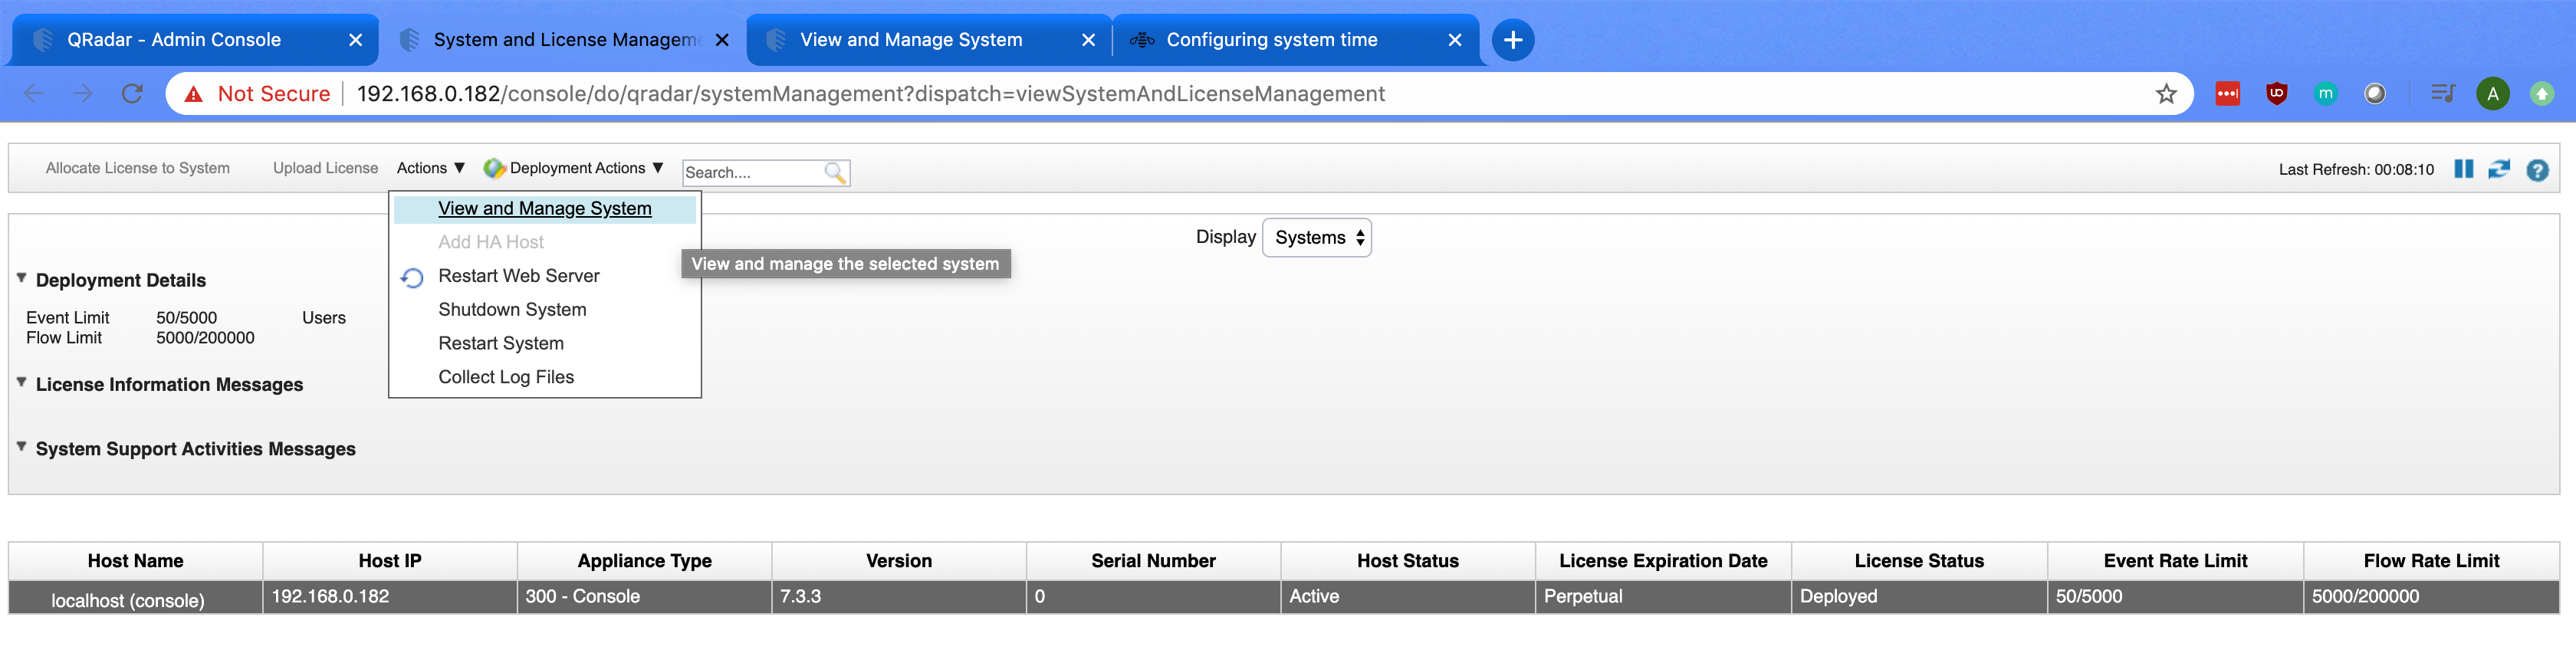
Select the localhost (console) item and click on the Actions menu item. Under Actions, click on View and Manage System.
Before we change the system time, I would like to mention that this is a critical area of QRadar CE as there are a variety of configuration options. You can view the licensing details such as EPS utilization, configure the firewall to whitelist IP addresses, and configure an email server among many other actions.
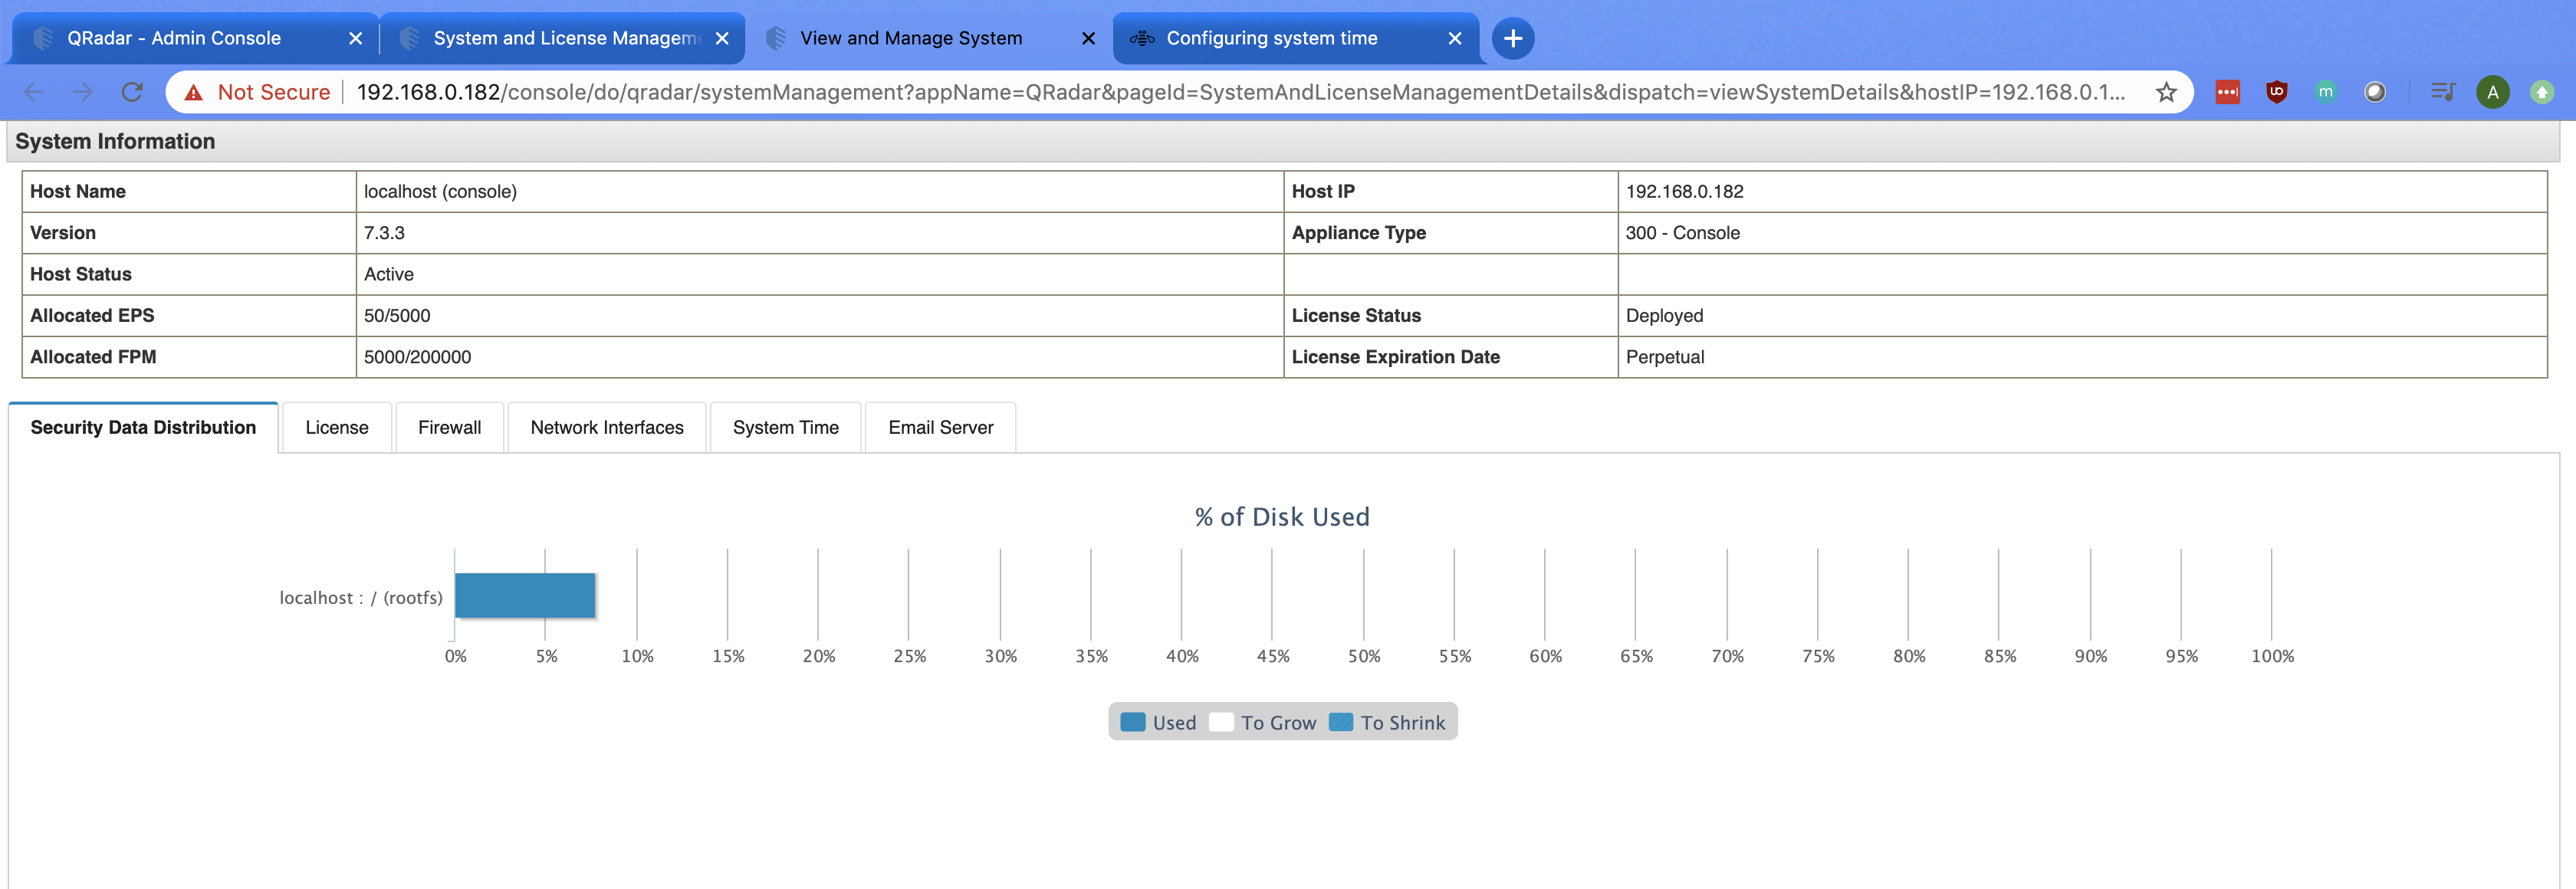
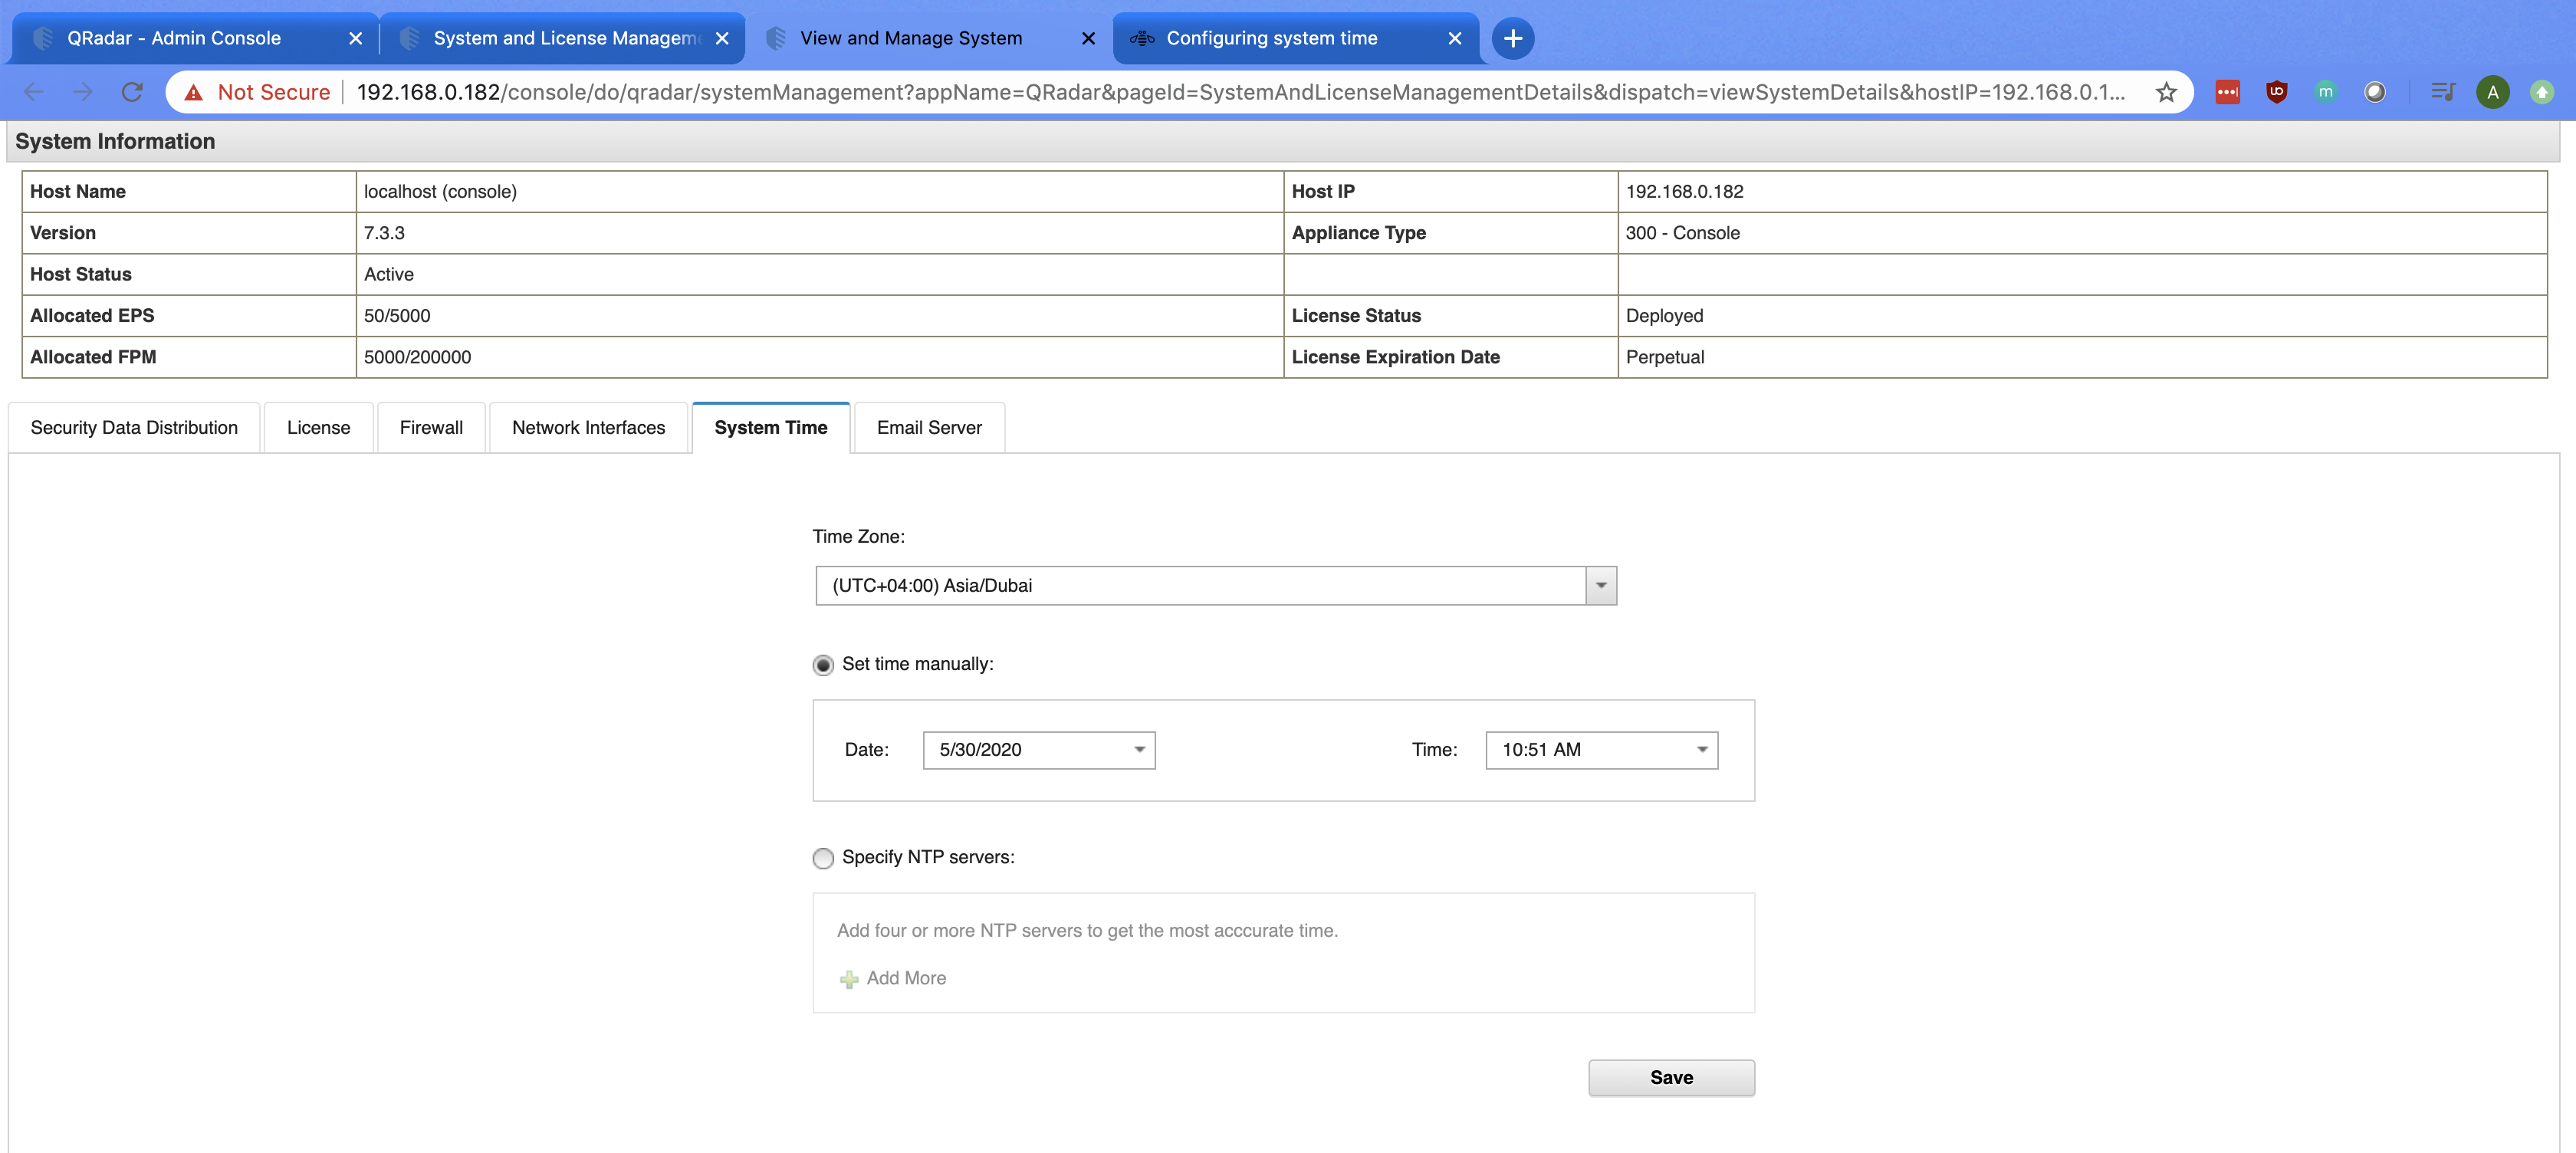
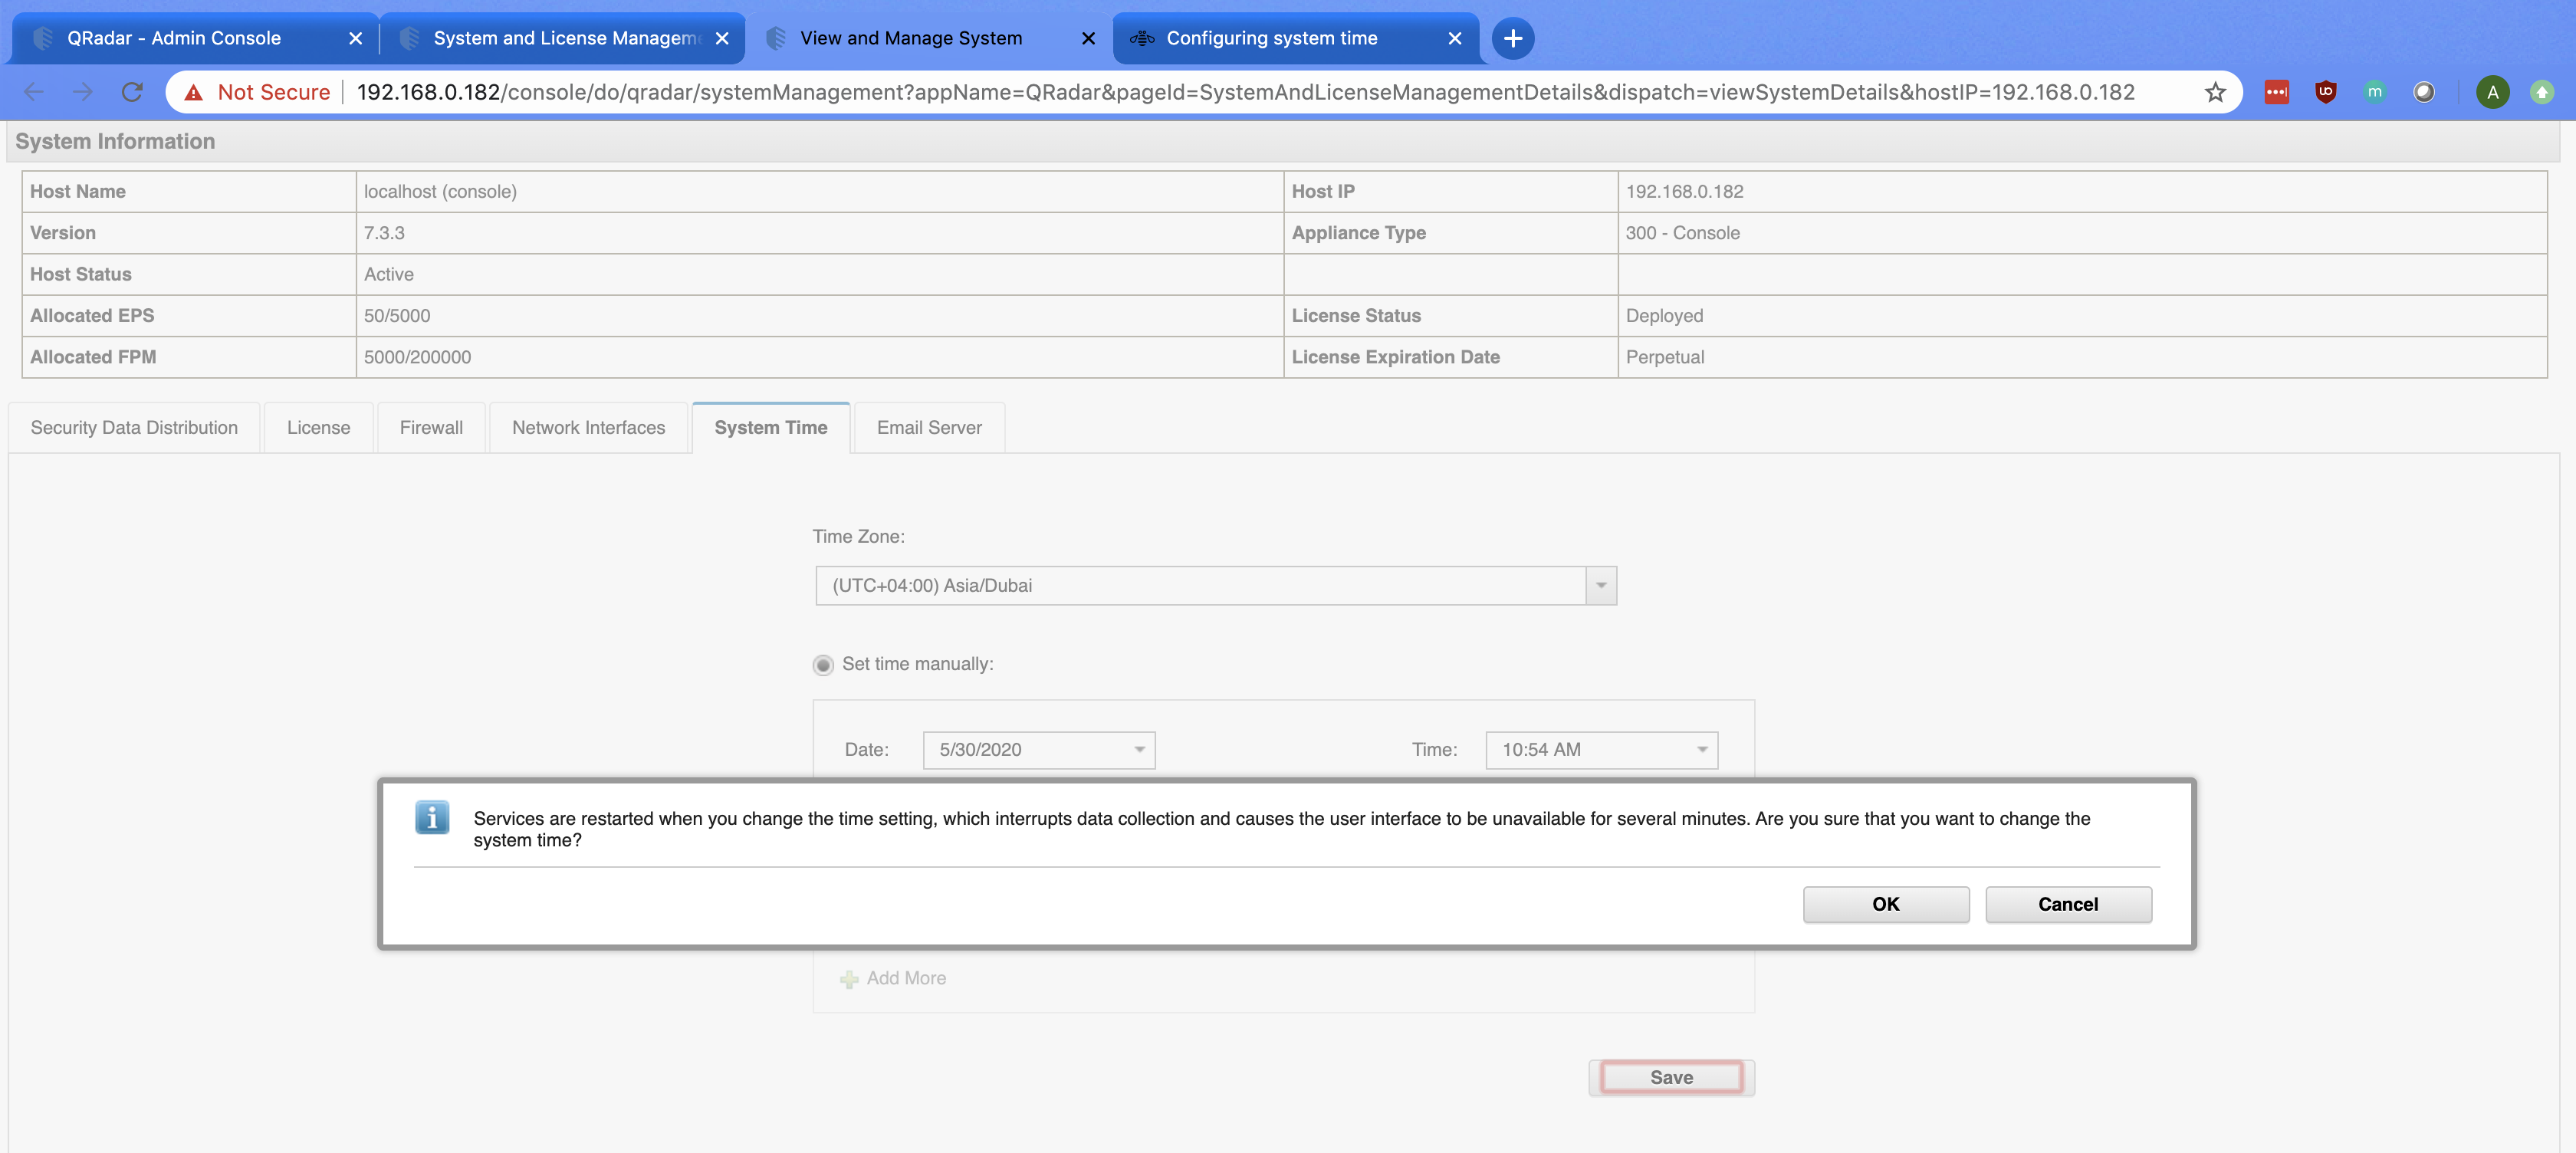
Click on System Time and set the desired time and select the correct timezone. Once completed, press Save.
You will be notified that services will be restarted and asked for another confirmation. Press OK.
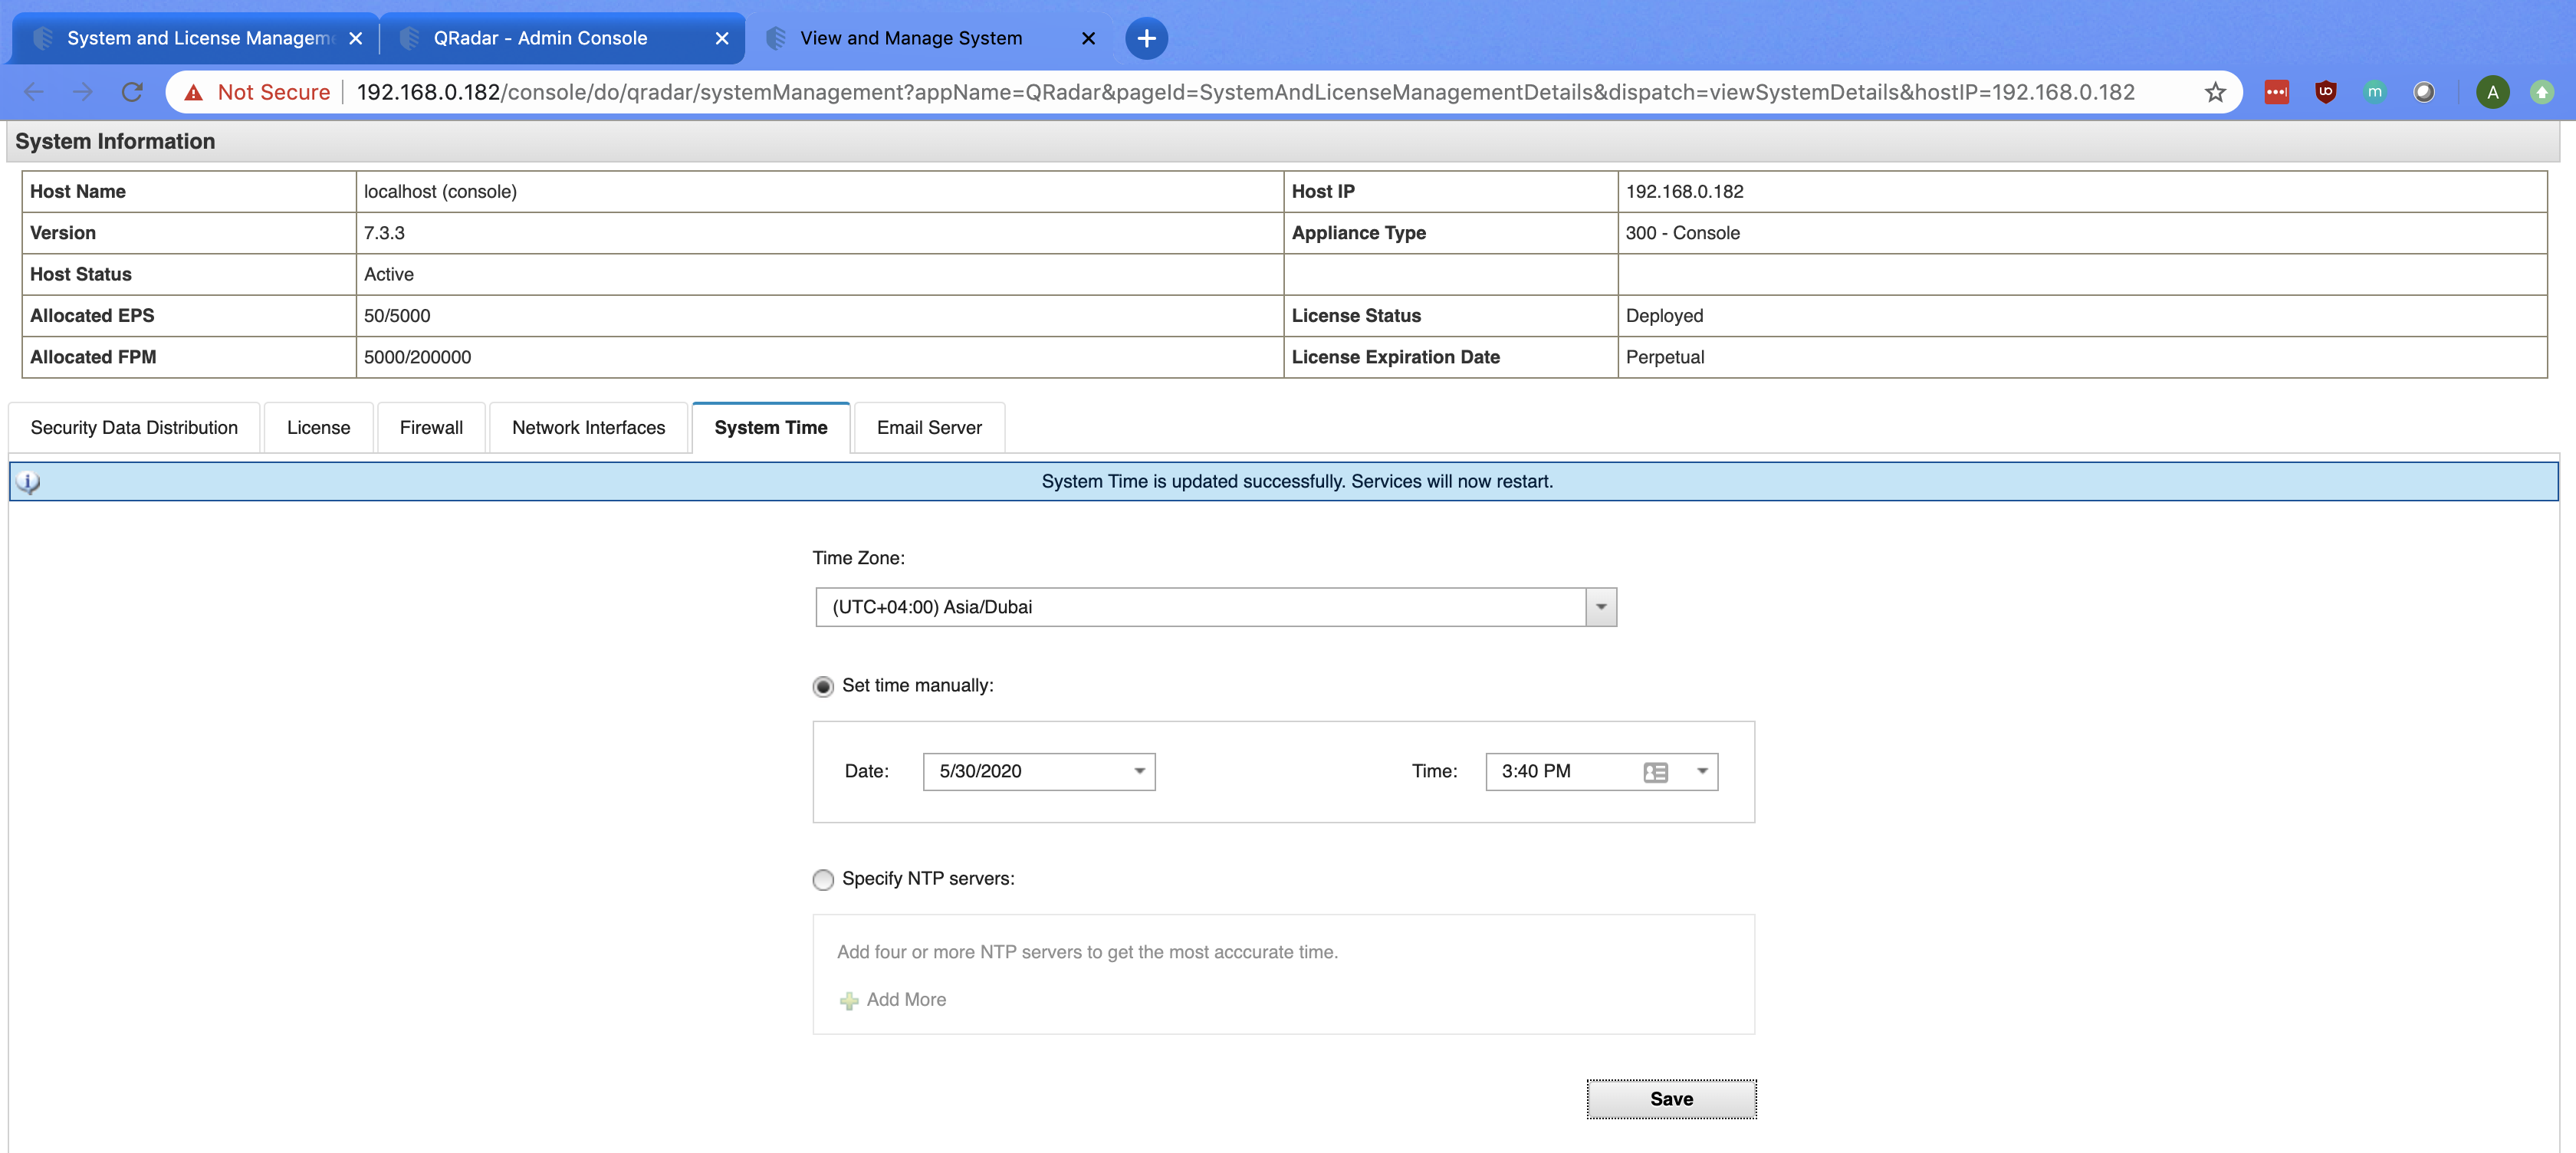
Once we provide confirmation, a message should appear saying System Time is updated successfully. Services will now restart as seen in the screenshot below. You can close the tab and refresh the QRadar CE home page in a few minutes.
Conclusion & What’s Next
In this tutorial, we installed QRadar CE V7.3.3 on VirtualBox and completed basic configuration of the system time. QRadar CE offers SIEM Administrators, SOC Analysts, and enthusiasts the power to experiment and practice real-world concepts in a test environment.
The next step is to feed some logs into our newly installed QRadar CE. It is to be noted that QRadar CE only supports a handful of parsers/DSMs (Device Support Modules) out of the box. The complete list can be viewed in the QRadar CE V7.3.3 Official Documentation. However, more DSMs can be added for more integrations. Check out this video for more details.
I recommend starting with a basic integration such as Linux OS. This can be easily achieved with Linux VM (such as CentOS or Ubuntu) using syslog. Check out this video for more details.
Here are some other useful resources:
- QRadar CE V7.3.3 Official Documentation
- QRadar V7.3.3 Getting Started Guide
- QRadar Supported DSMs
- DSM Configuration Guide
- IBM X-Force App Exchange
- Jose Bravo Videos on YouTube
Please reach out if you have any questions or comments.